✨ New Arrivals Just Dropped!Explore
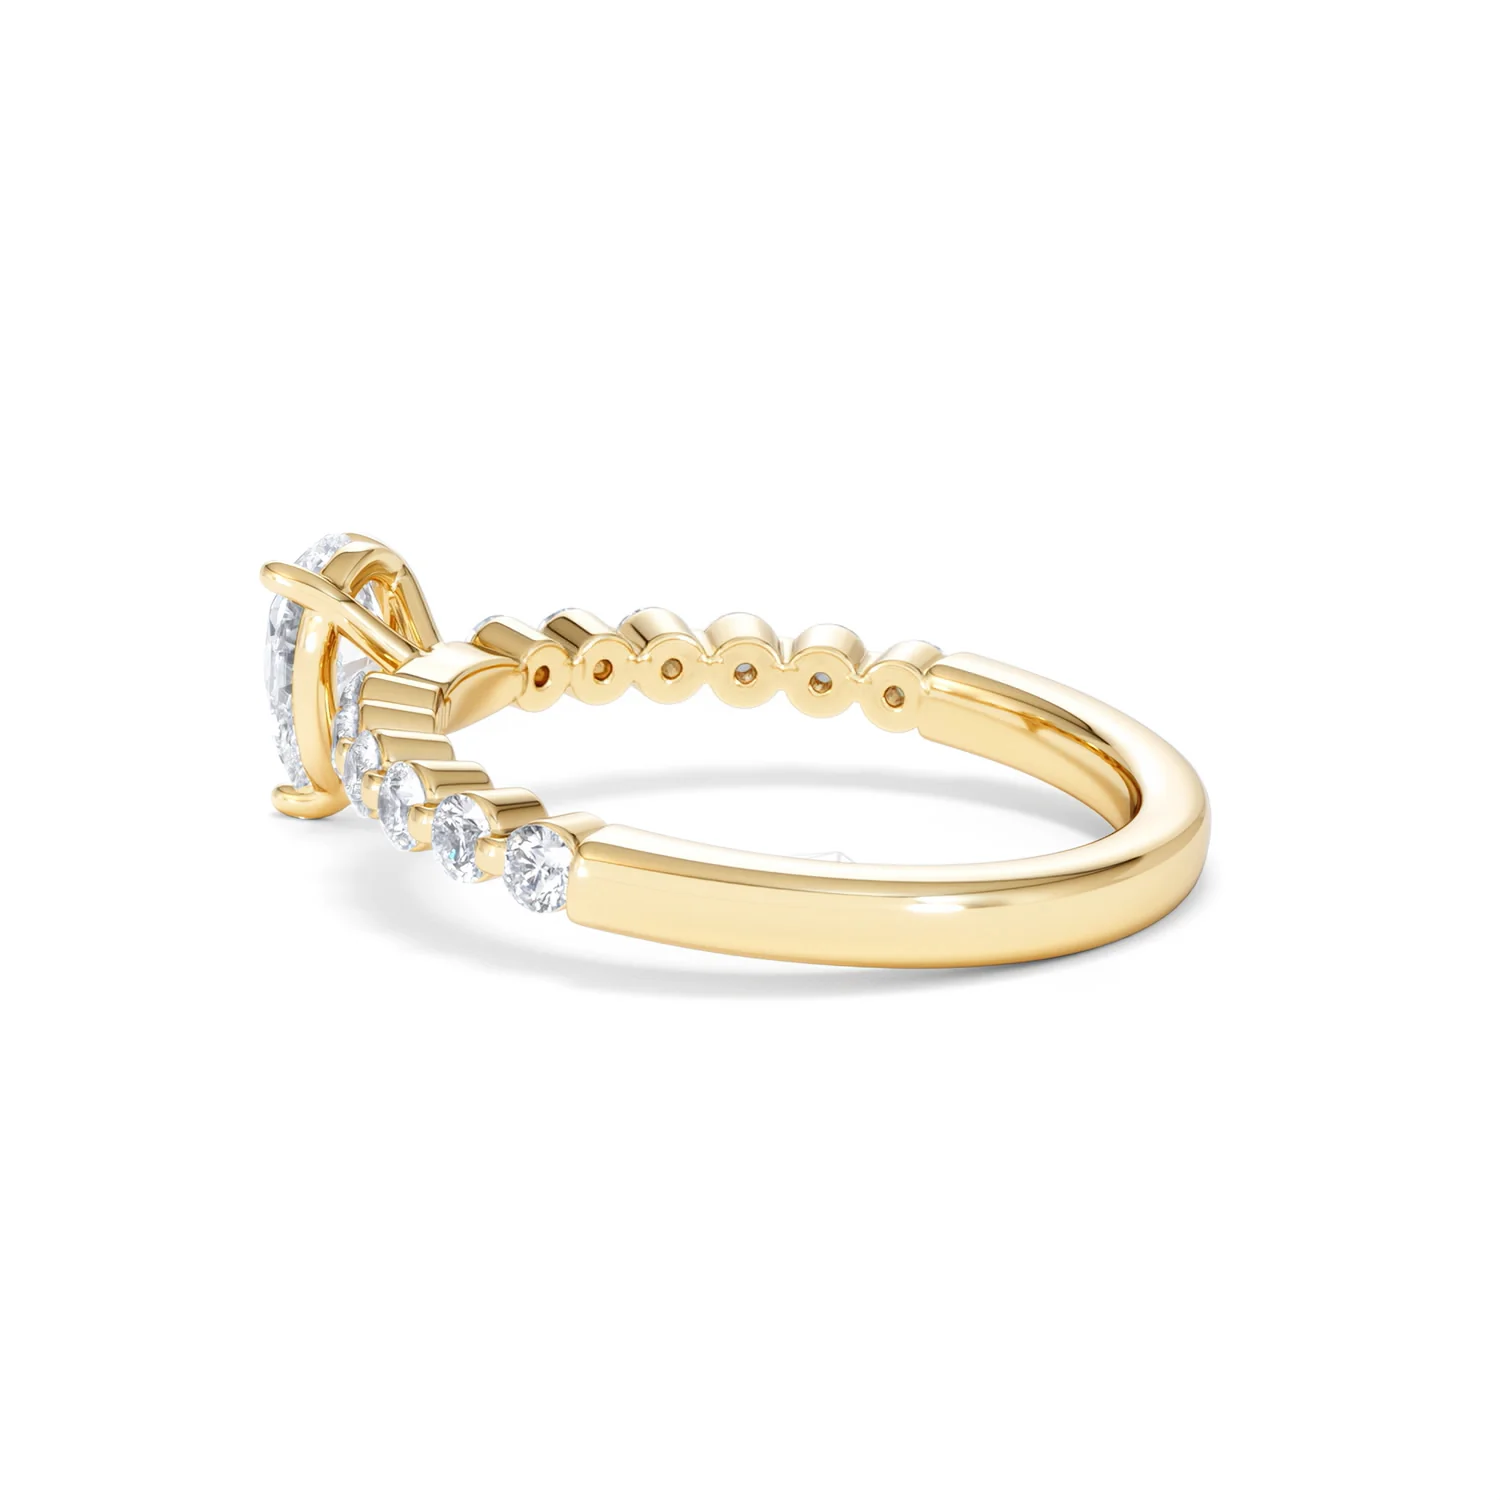
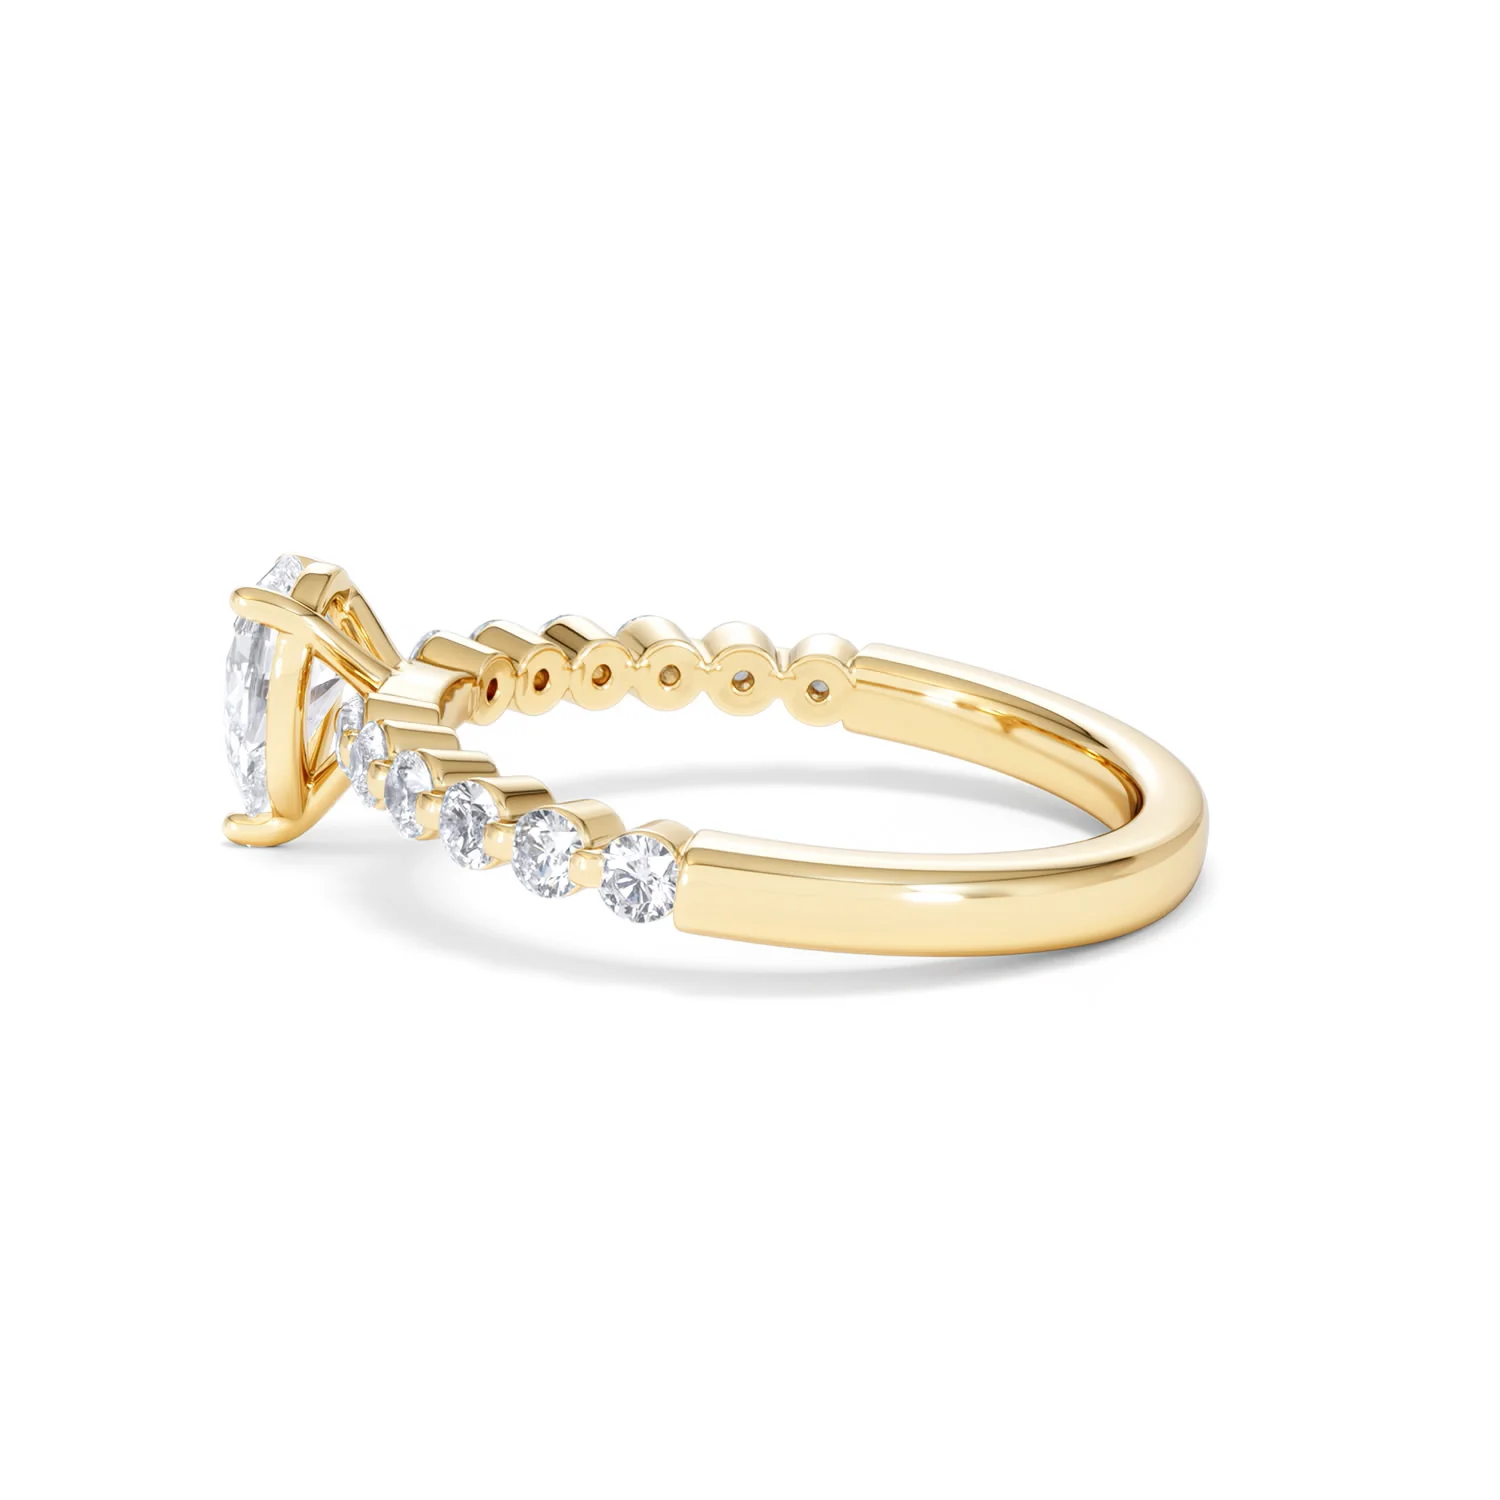
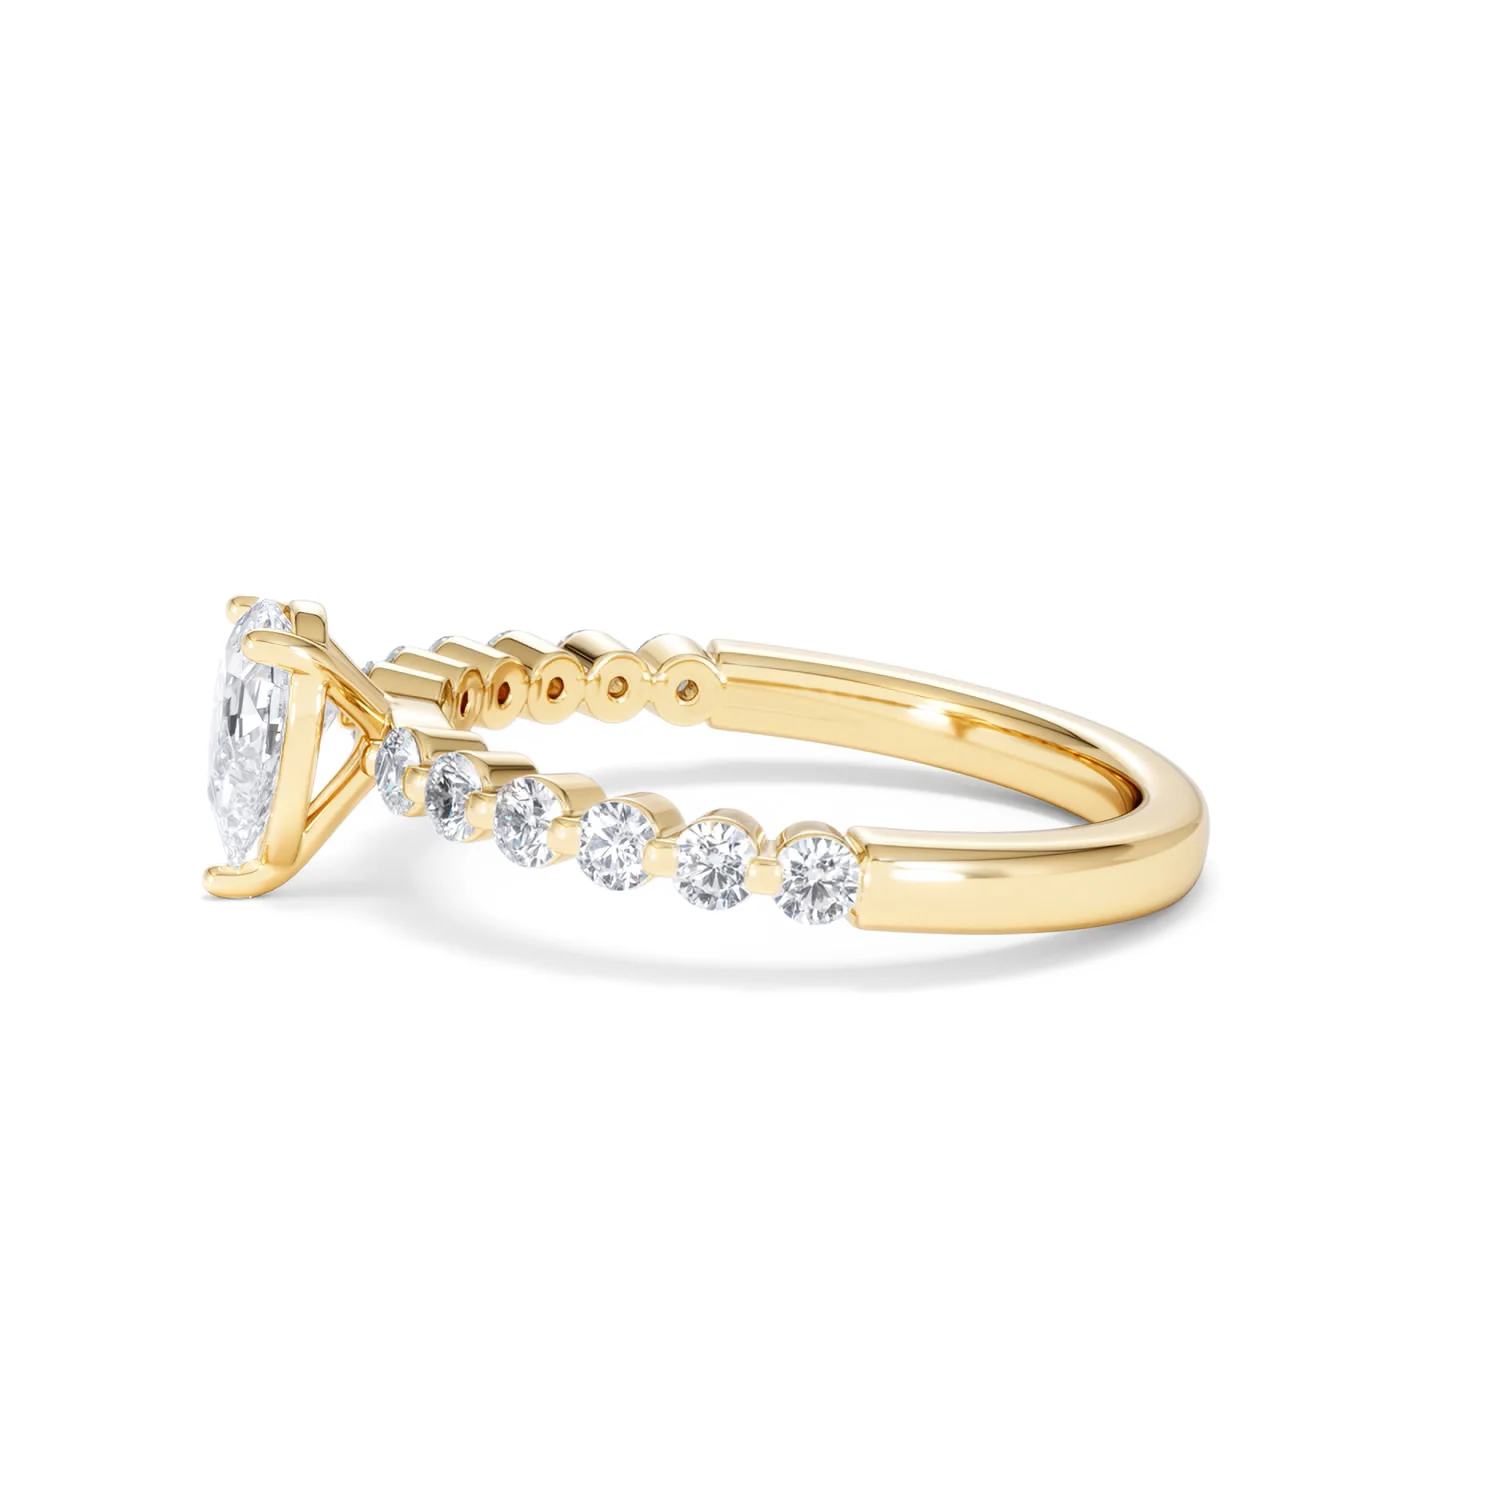
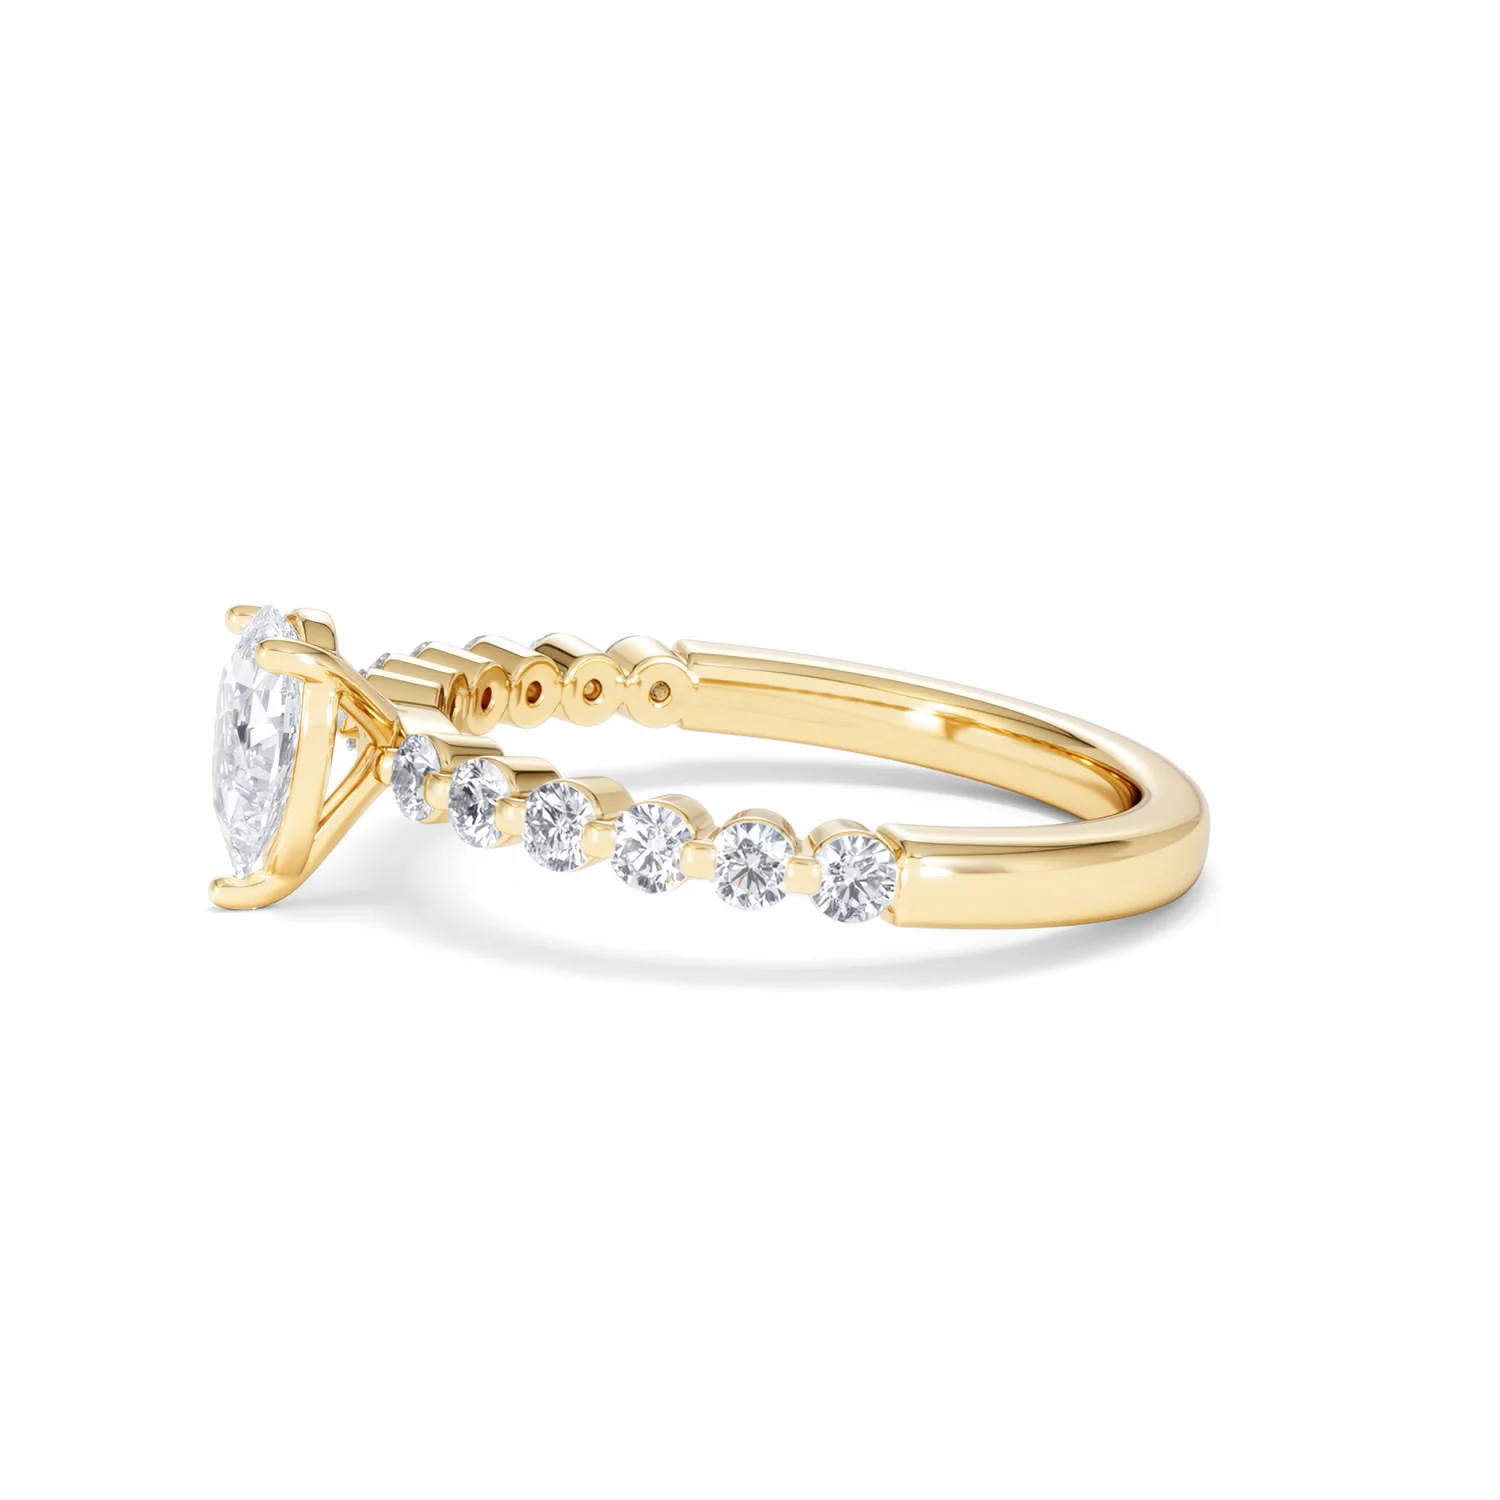
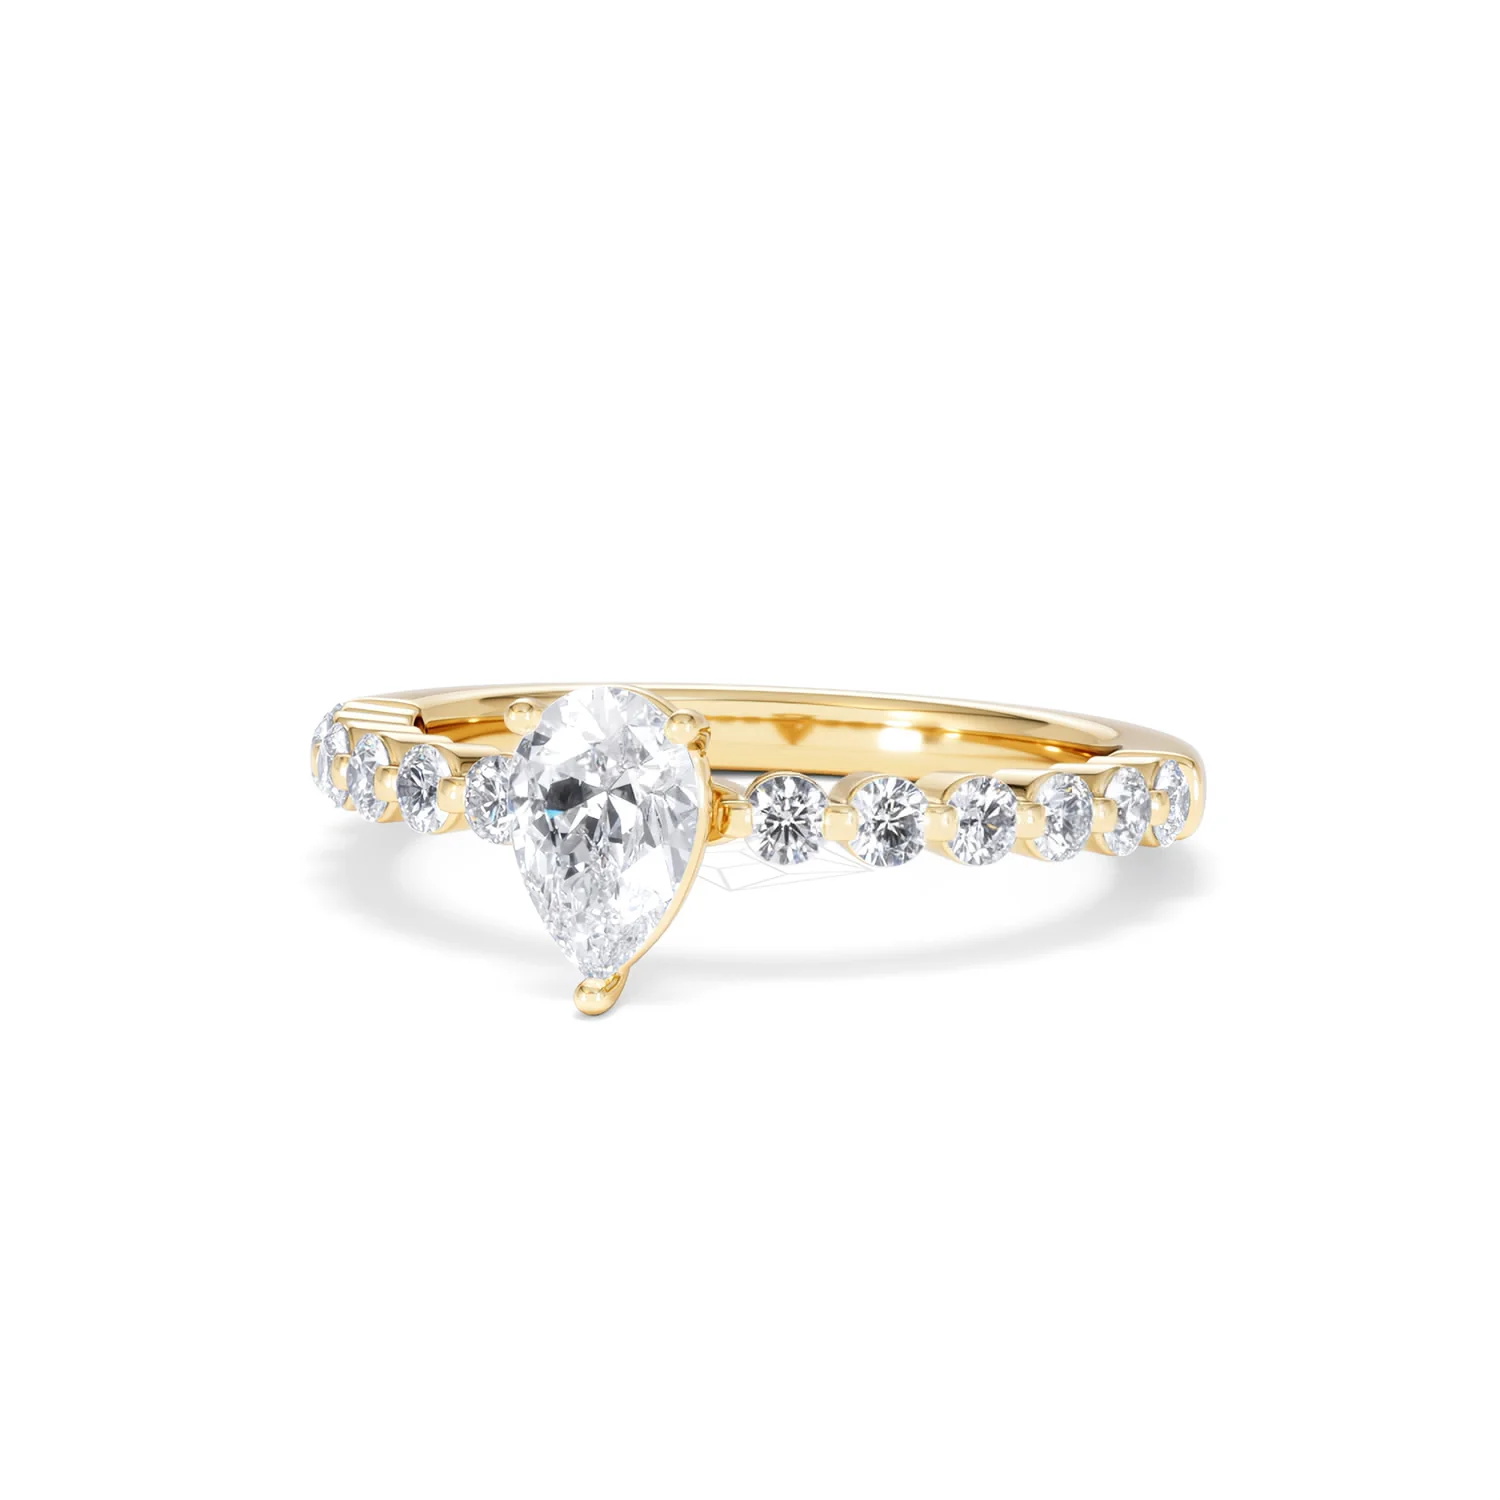
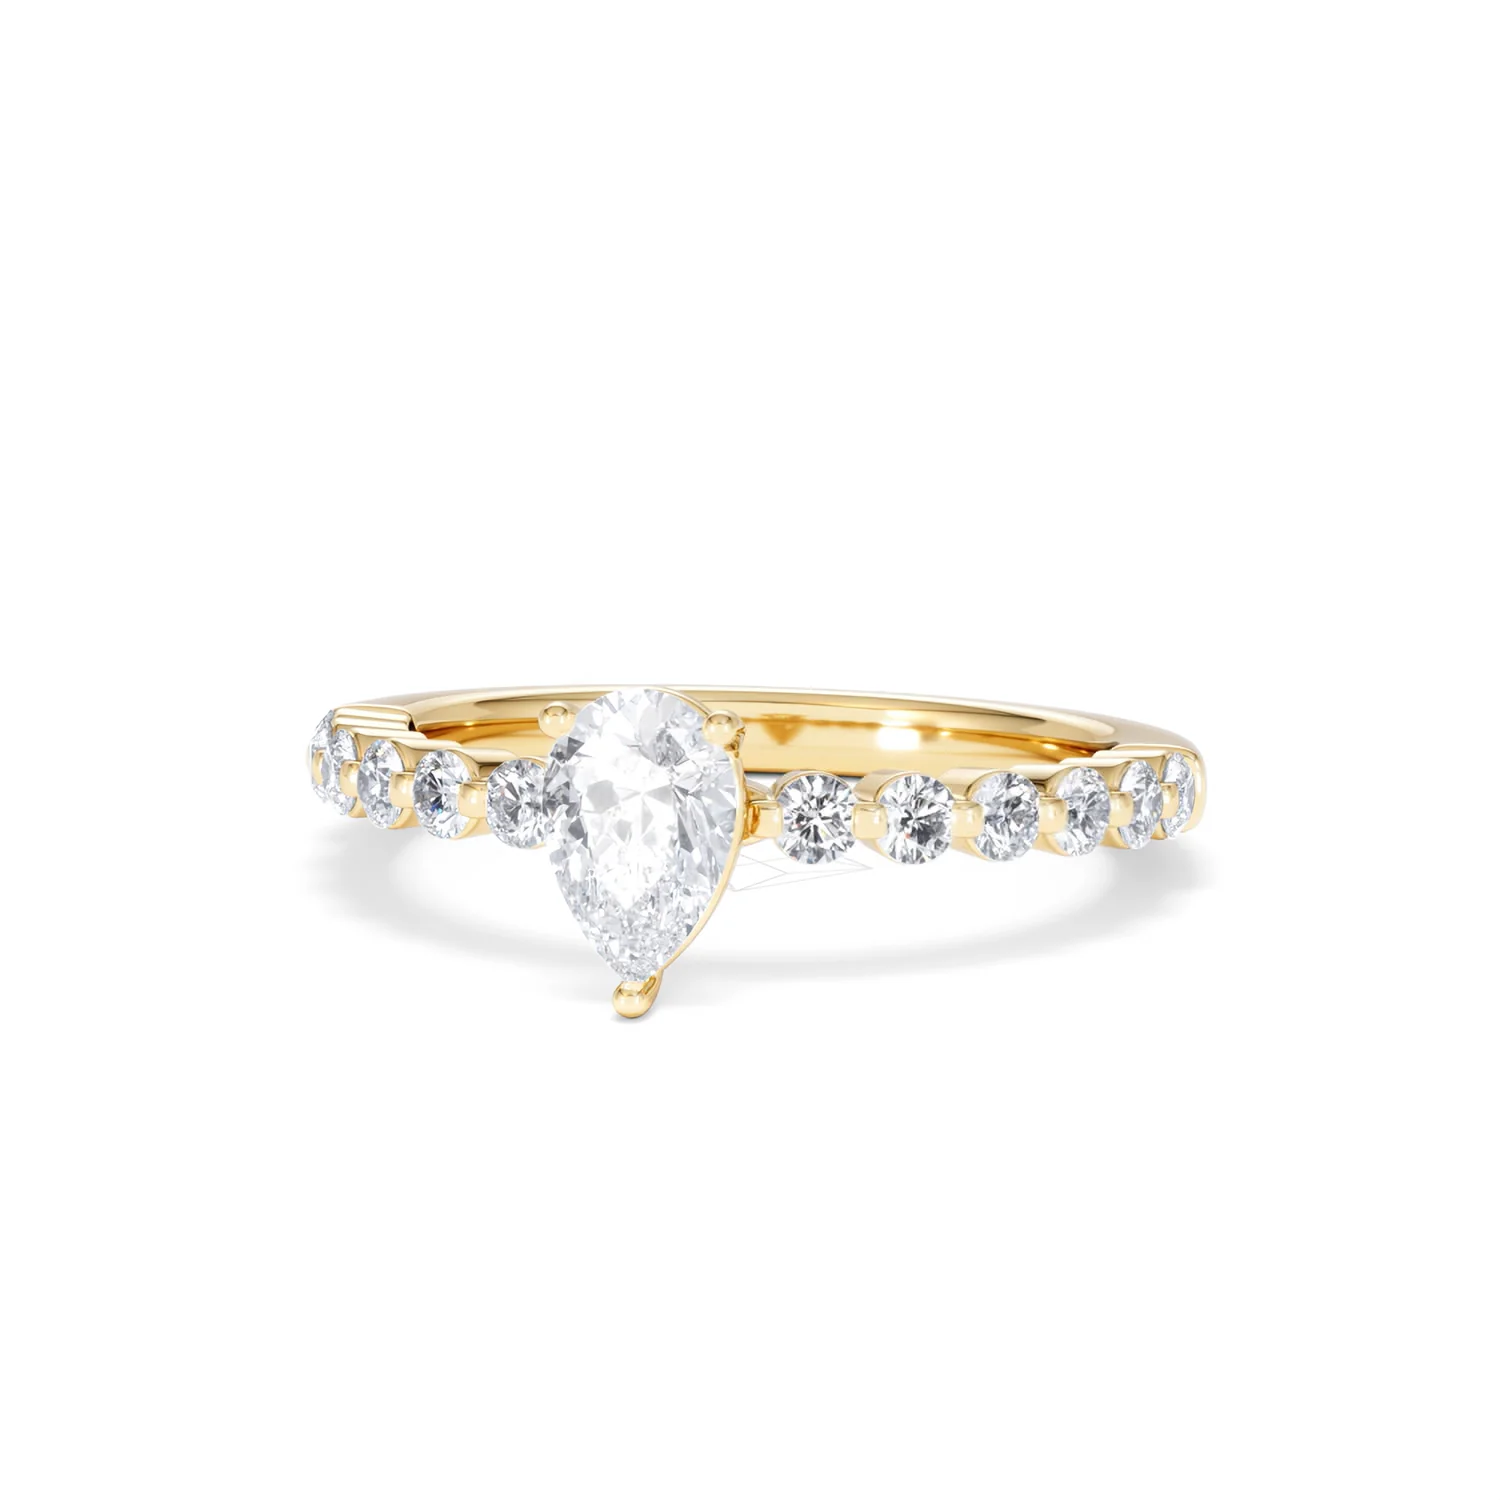
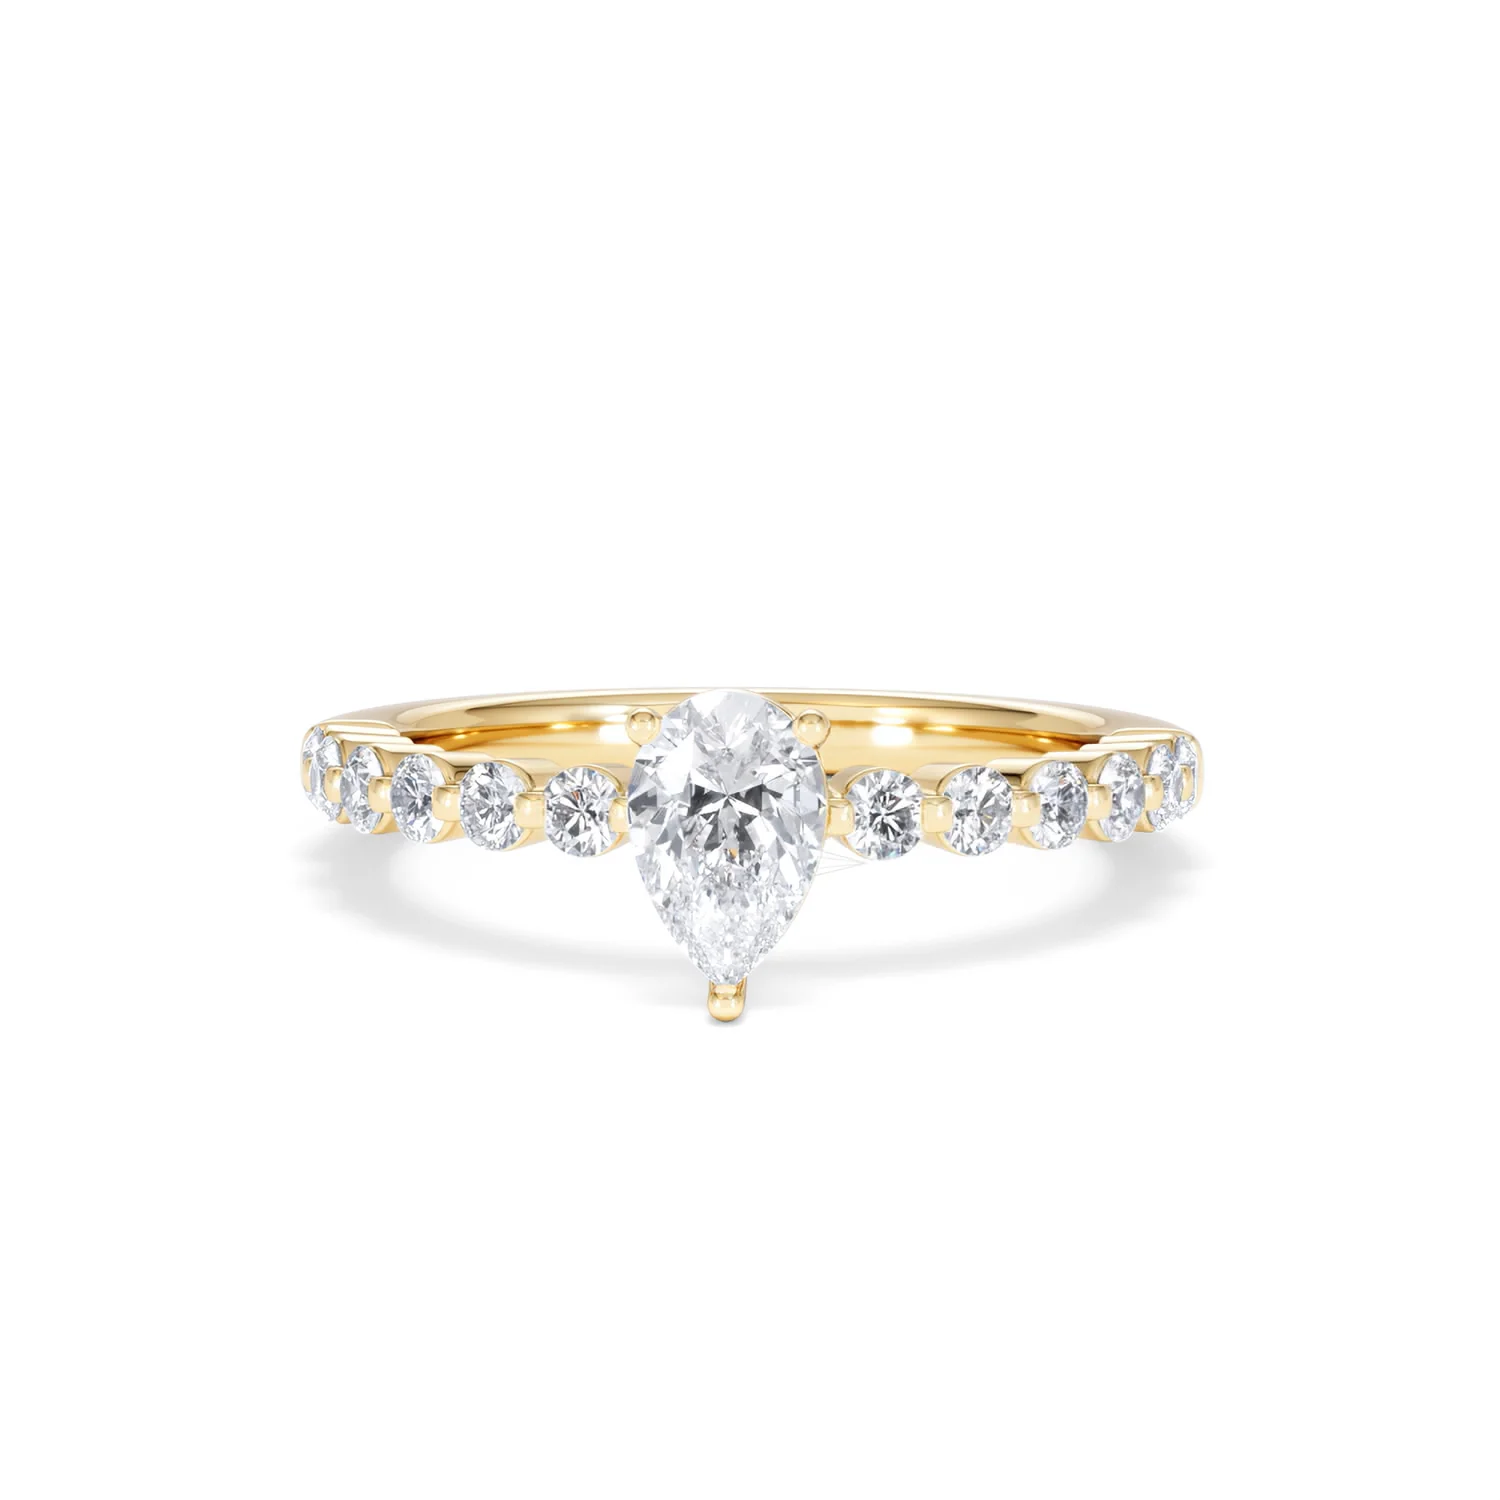
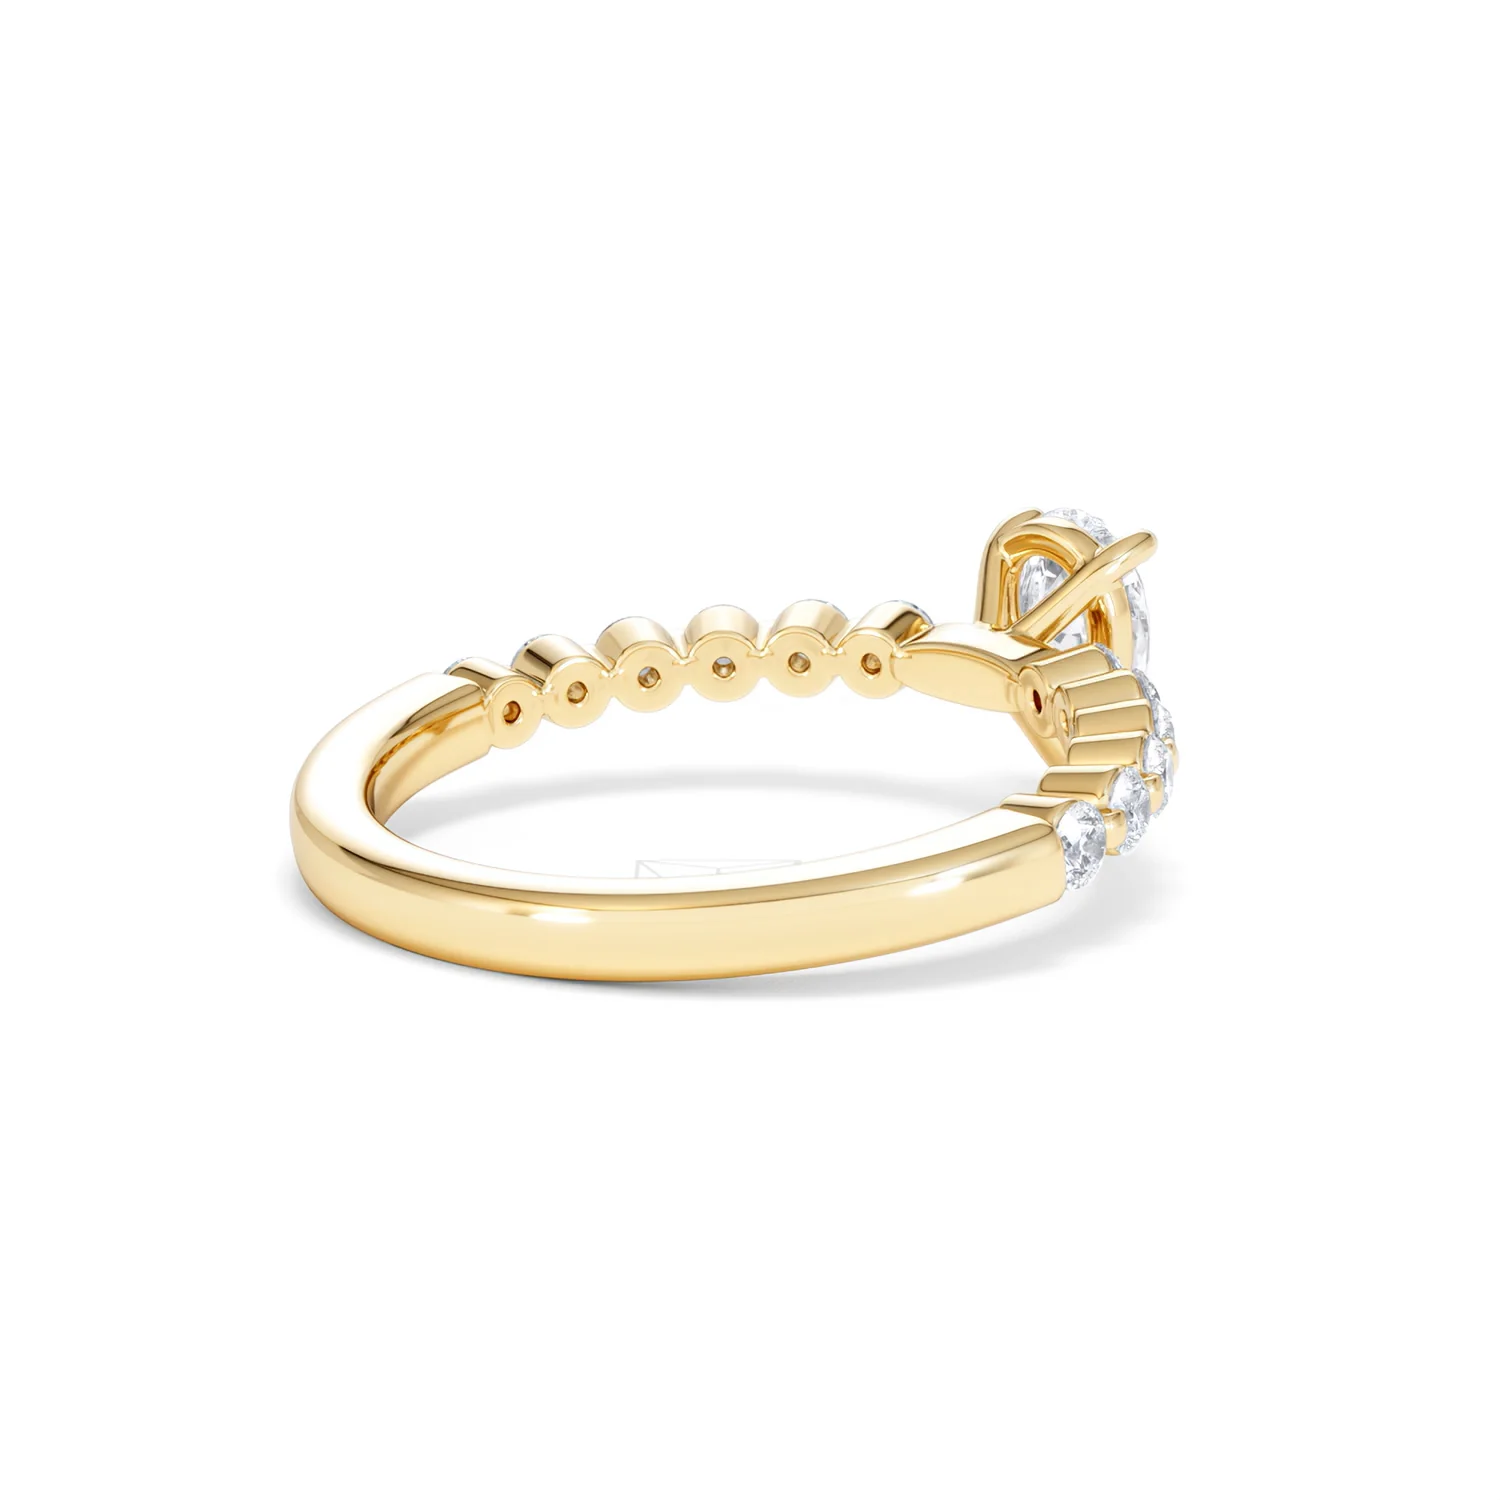
Solstice Pear Cut 0.80ct Lab Diamond Pear Shape Engagement Ring F/VS in 9k Gold
HomeStore

Solstice Pear Cut 0.80ct Lab Diamond Pear Shape Engagement Ring F/VS in 9k Gold

Solstice Pear Cut 0.80ct Lab Diamond Pear Shape Engagement Ring F/VS in 9k Gold

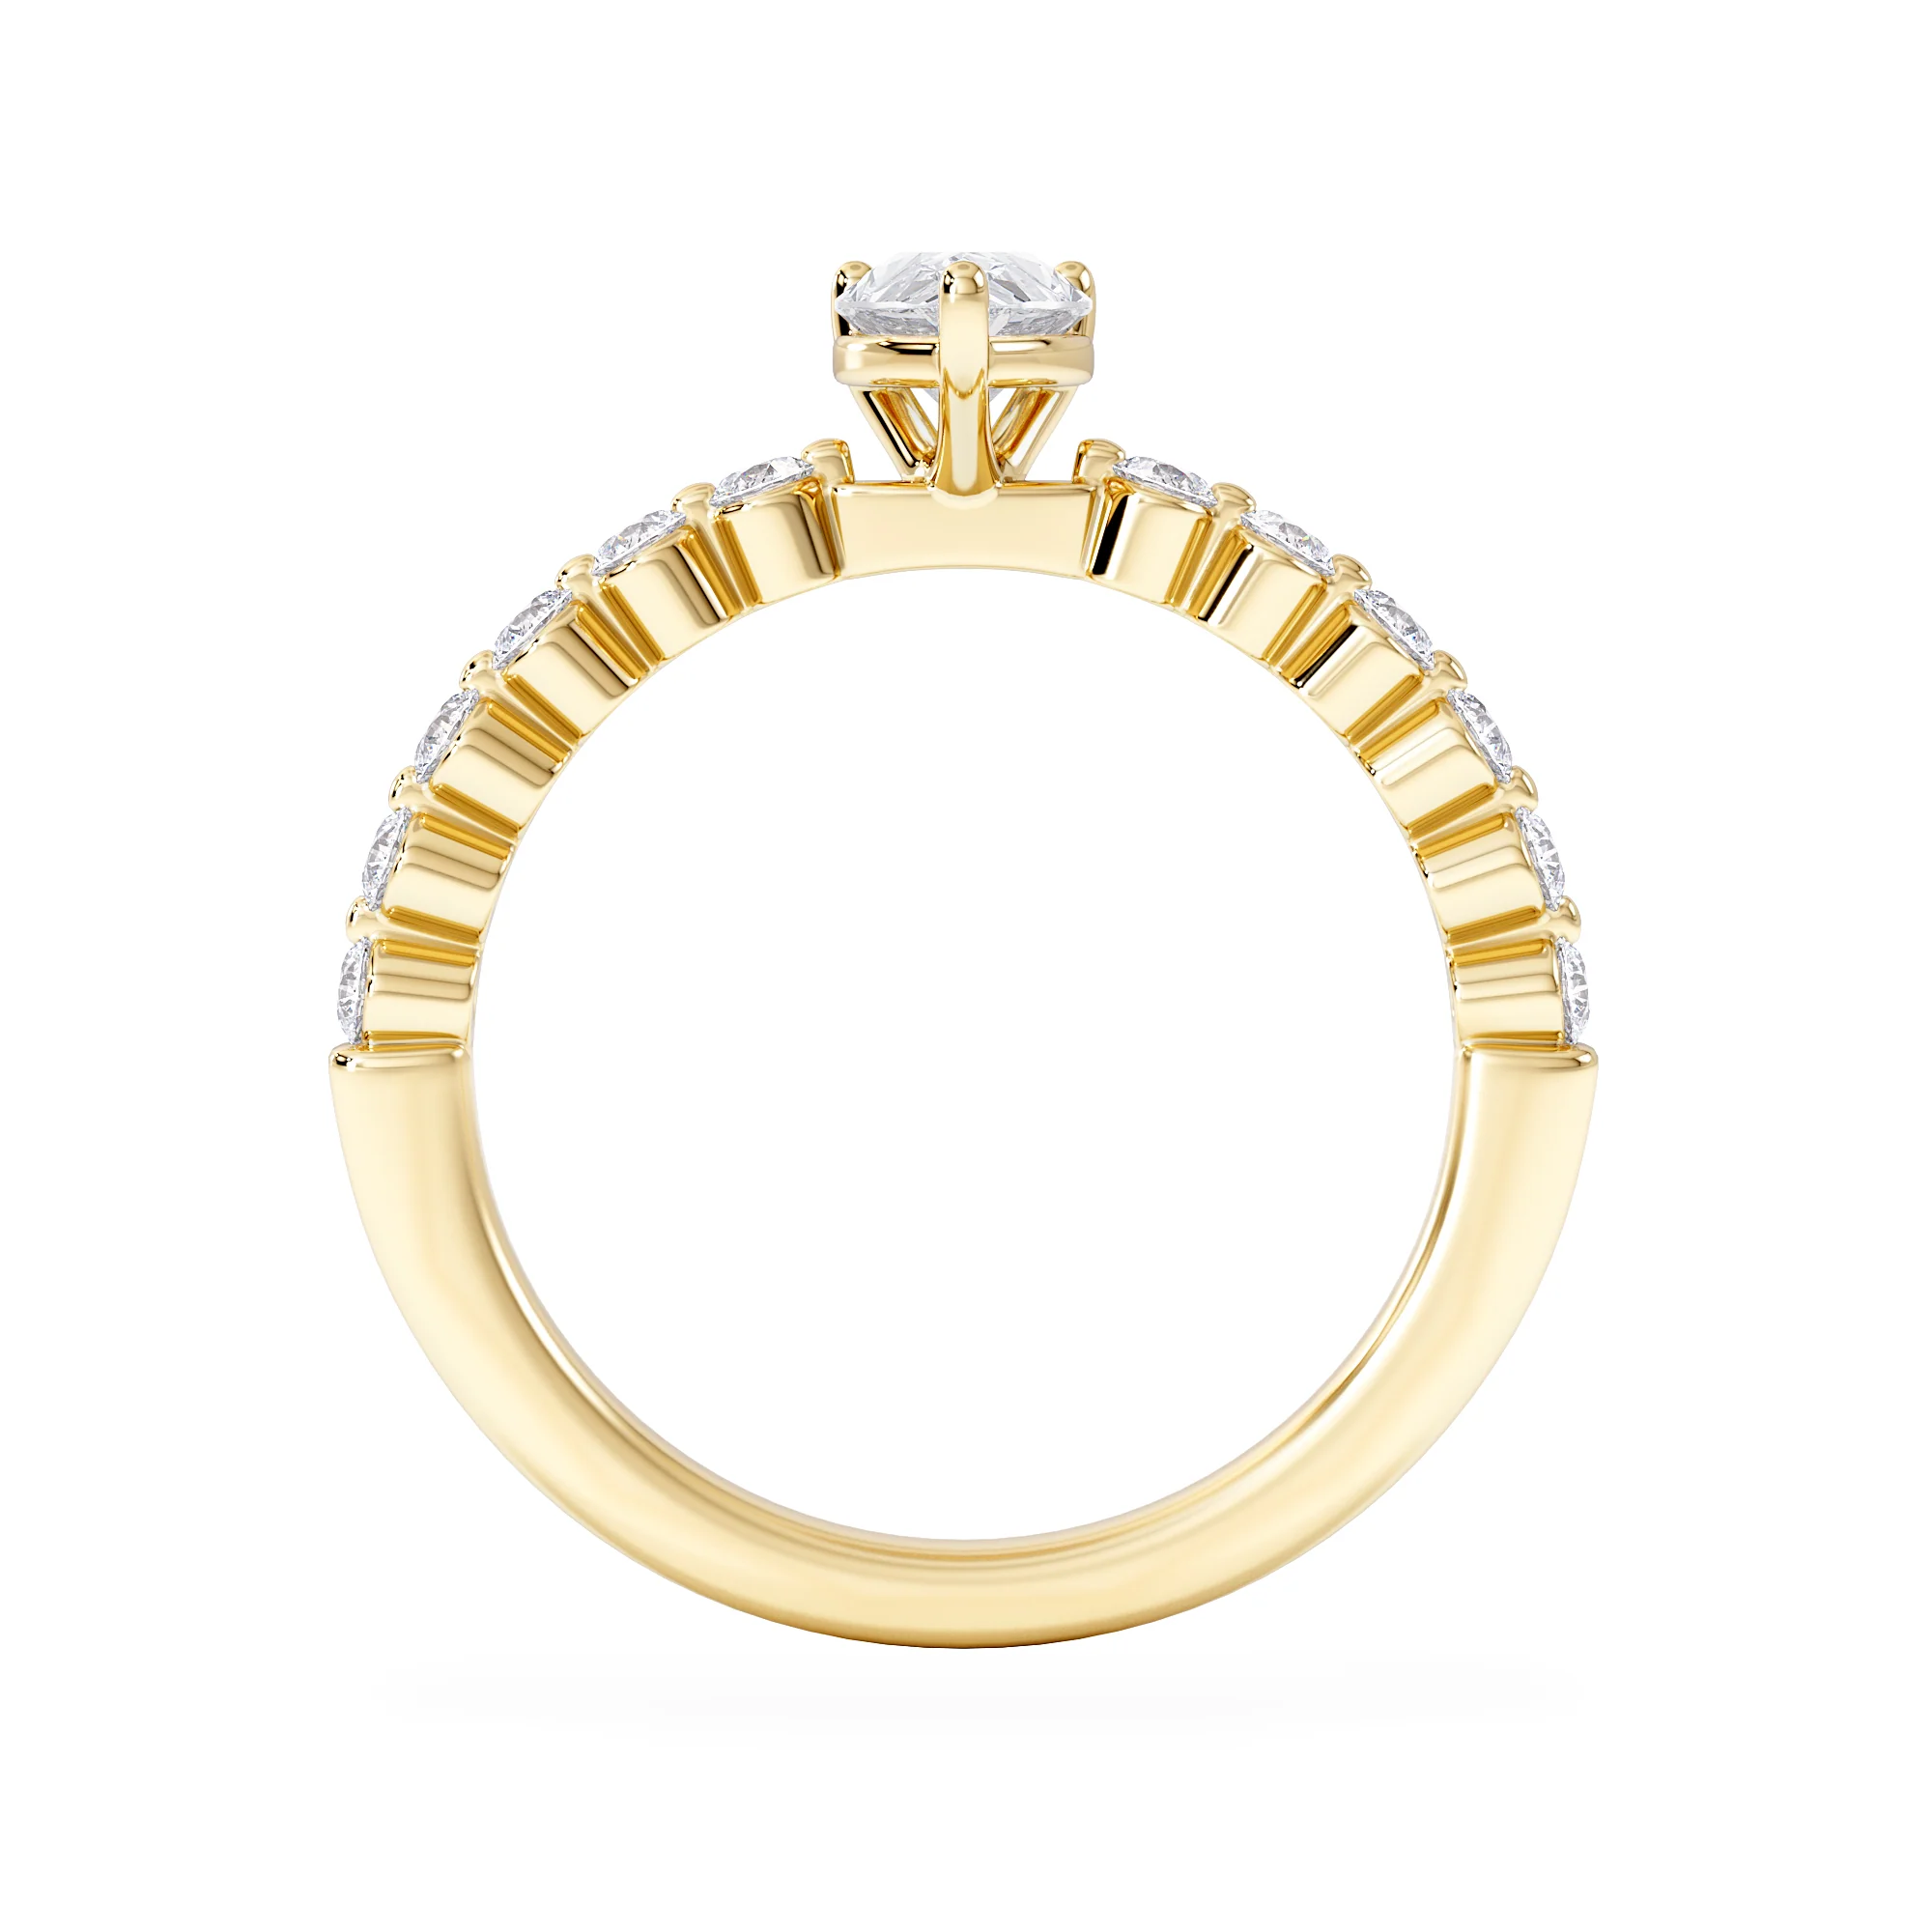
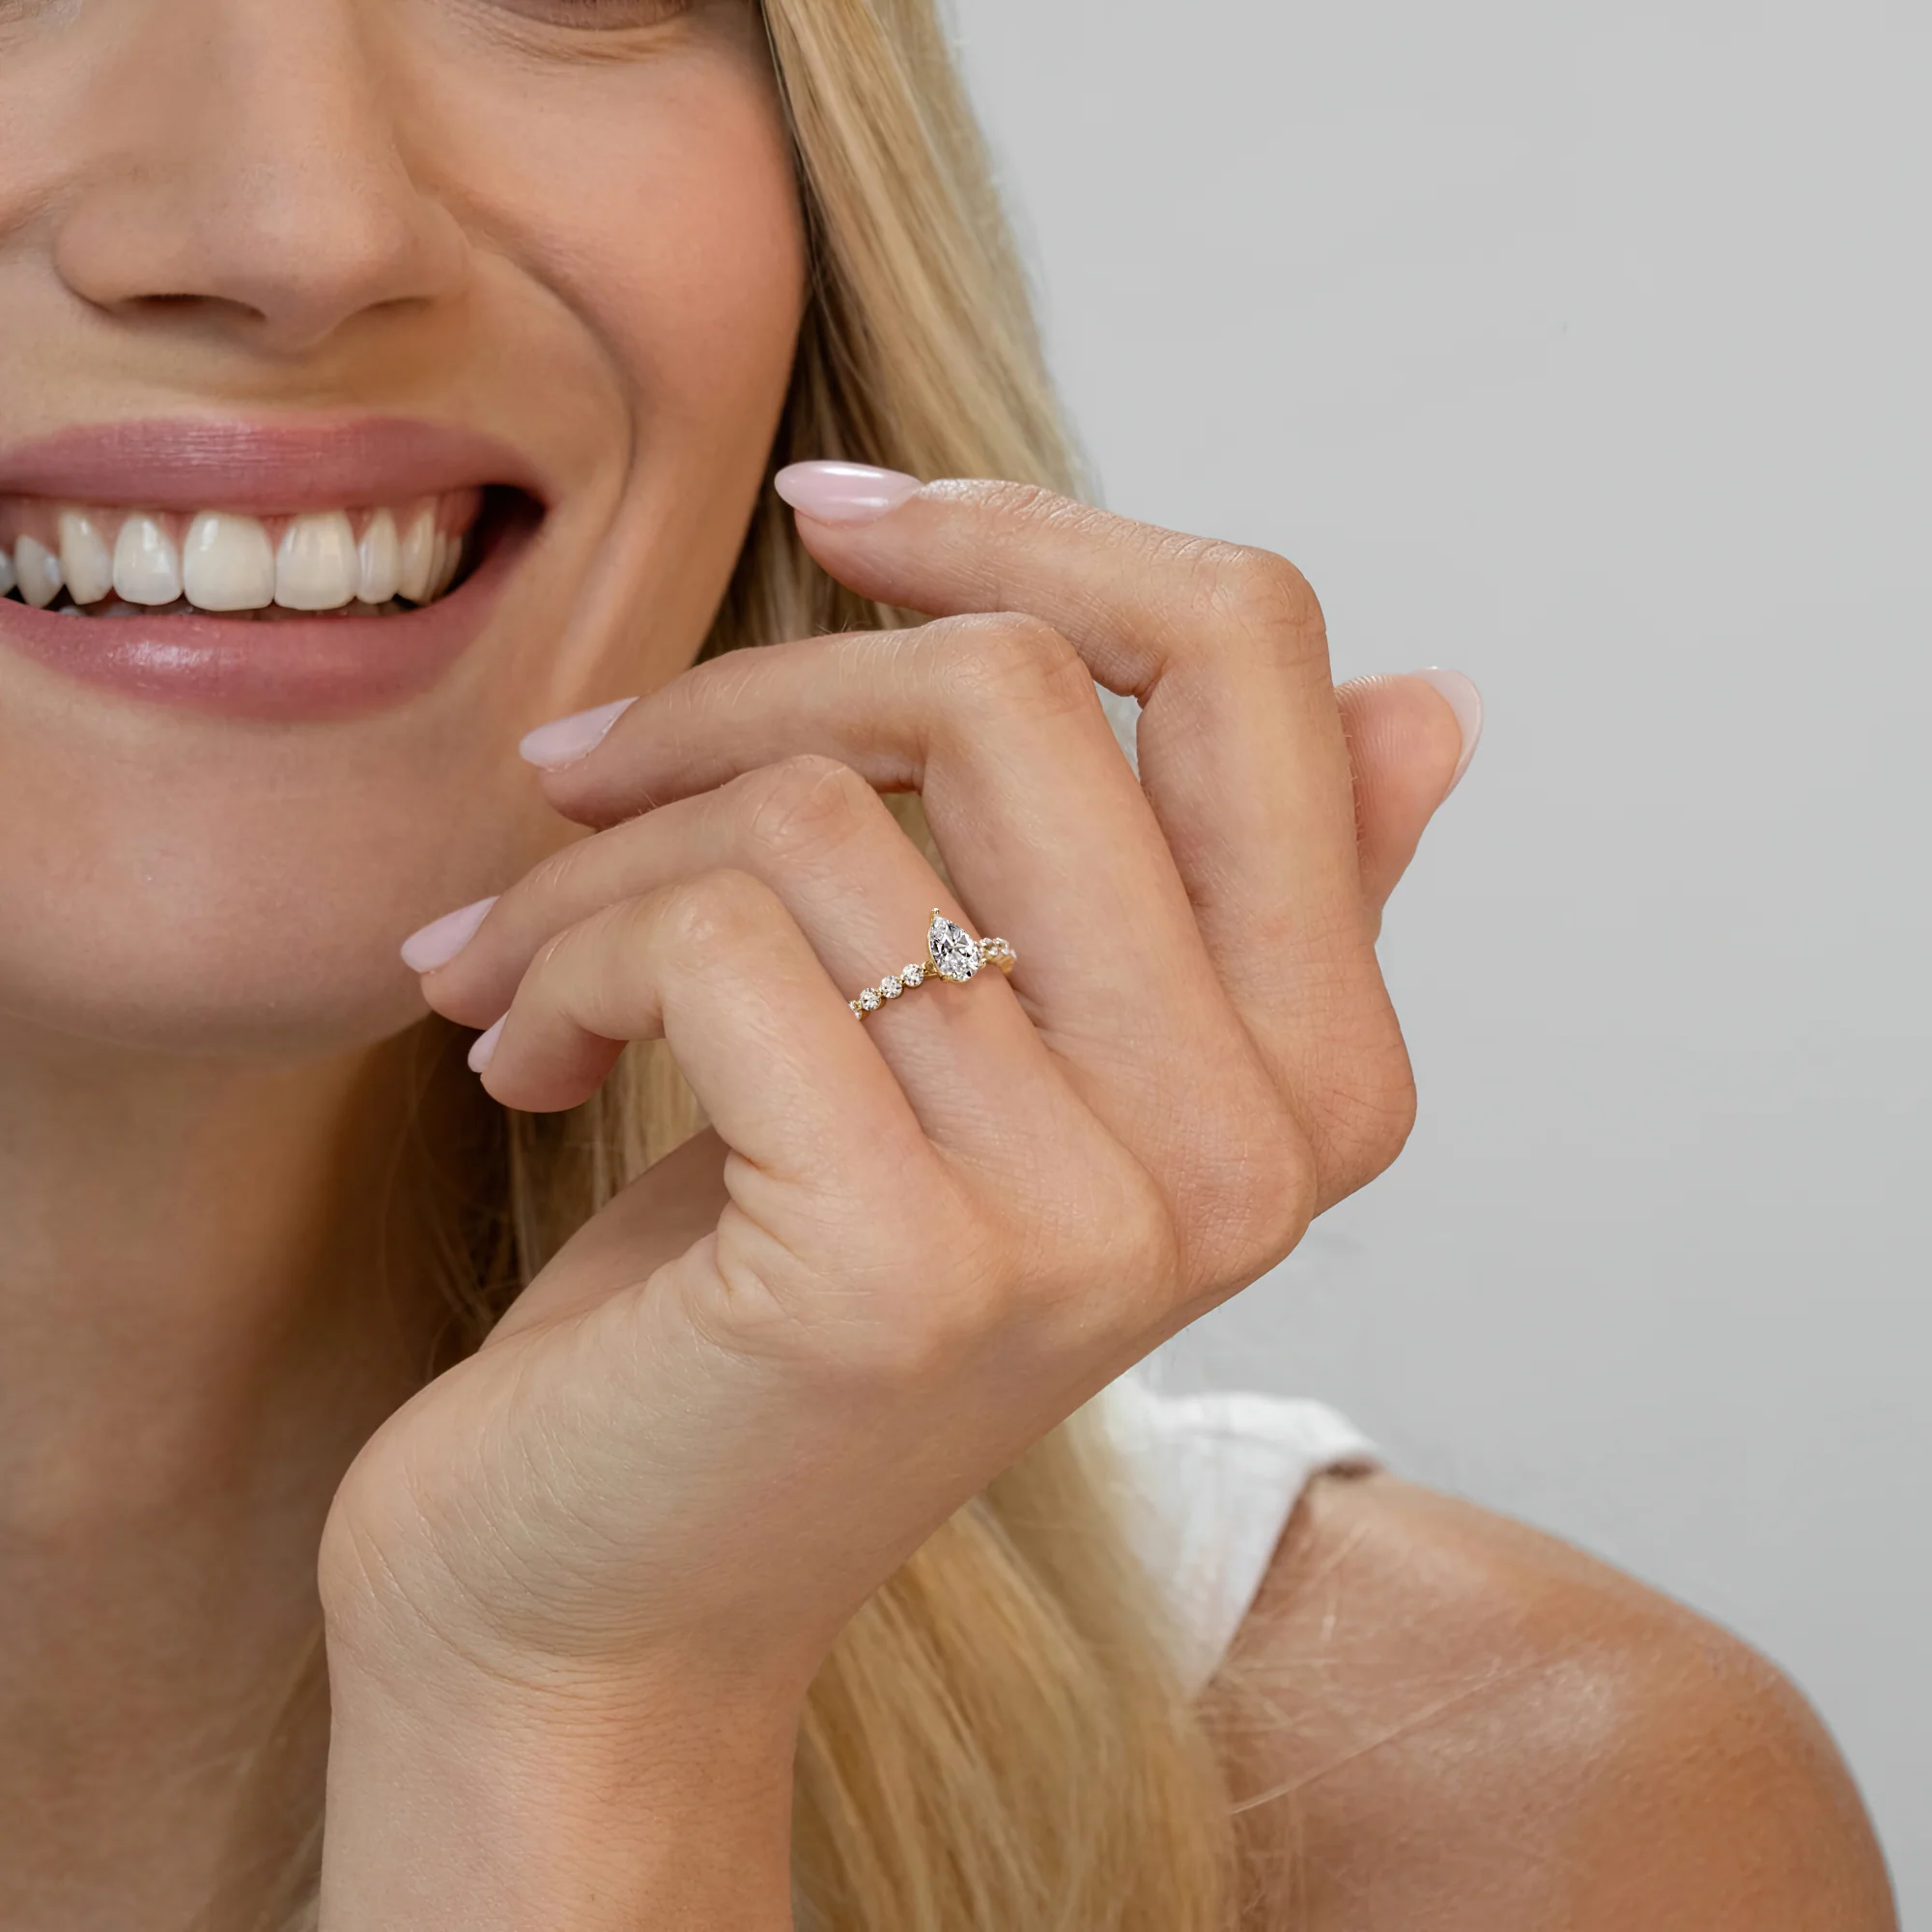
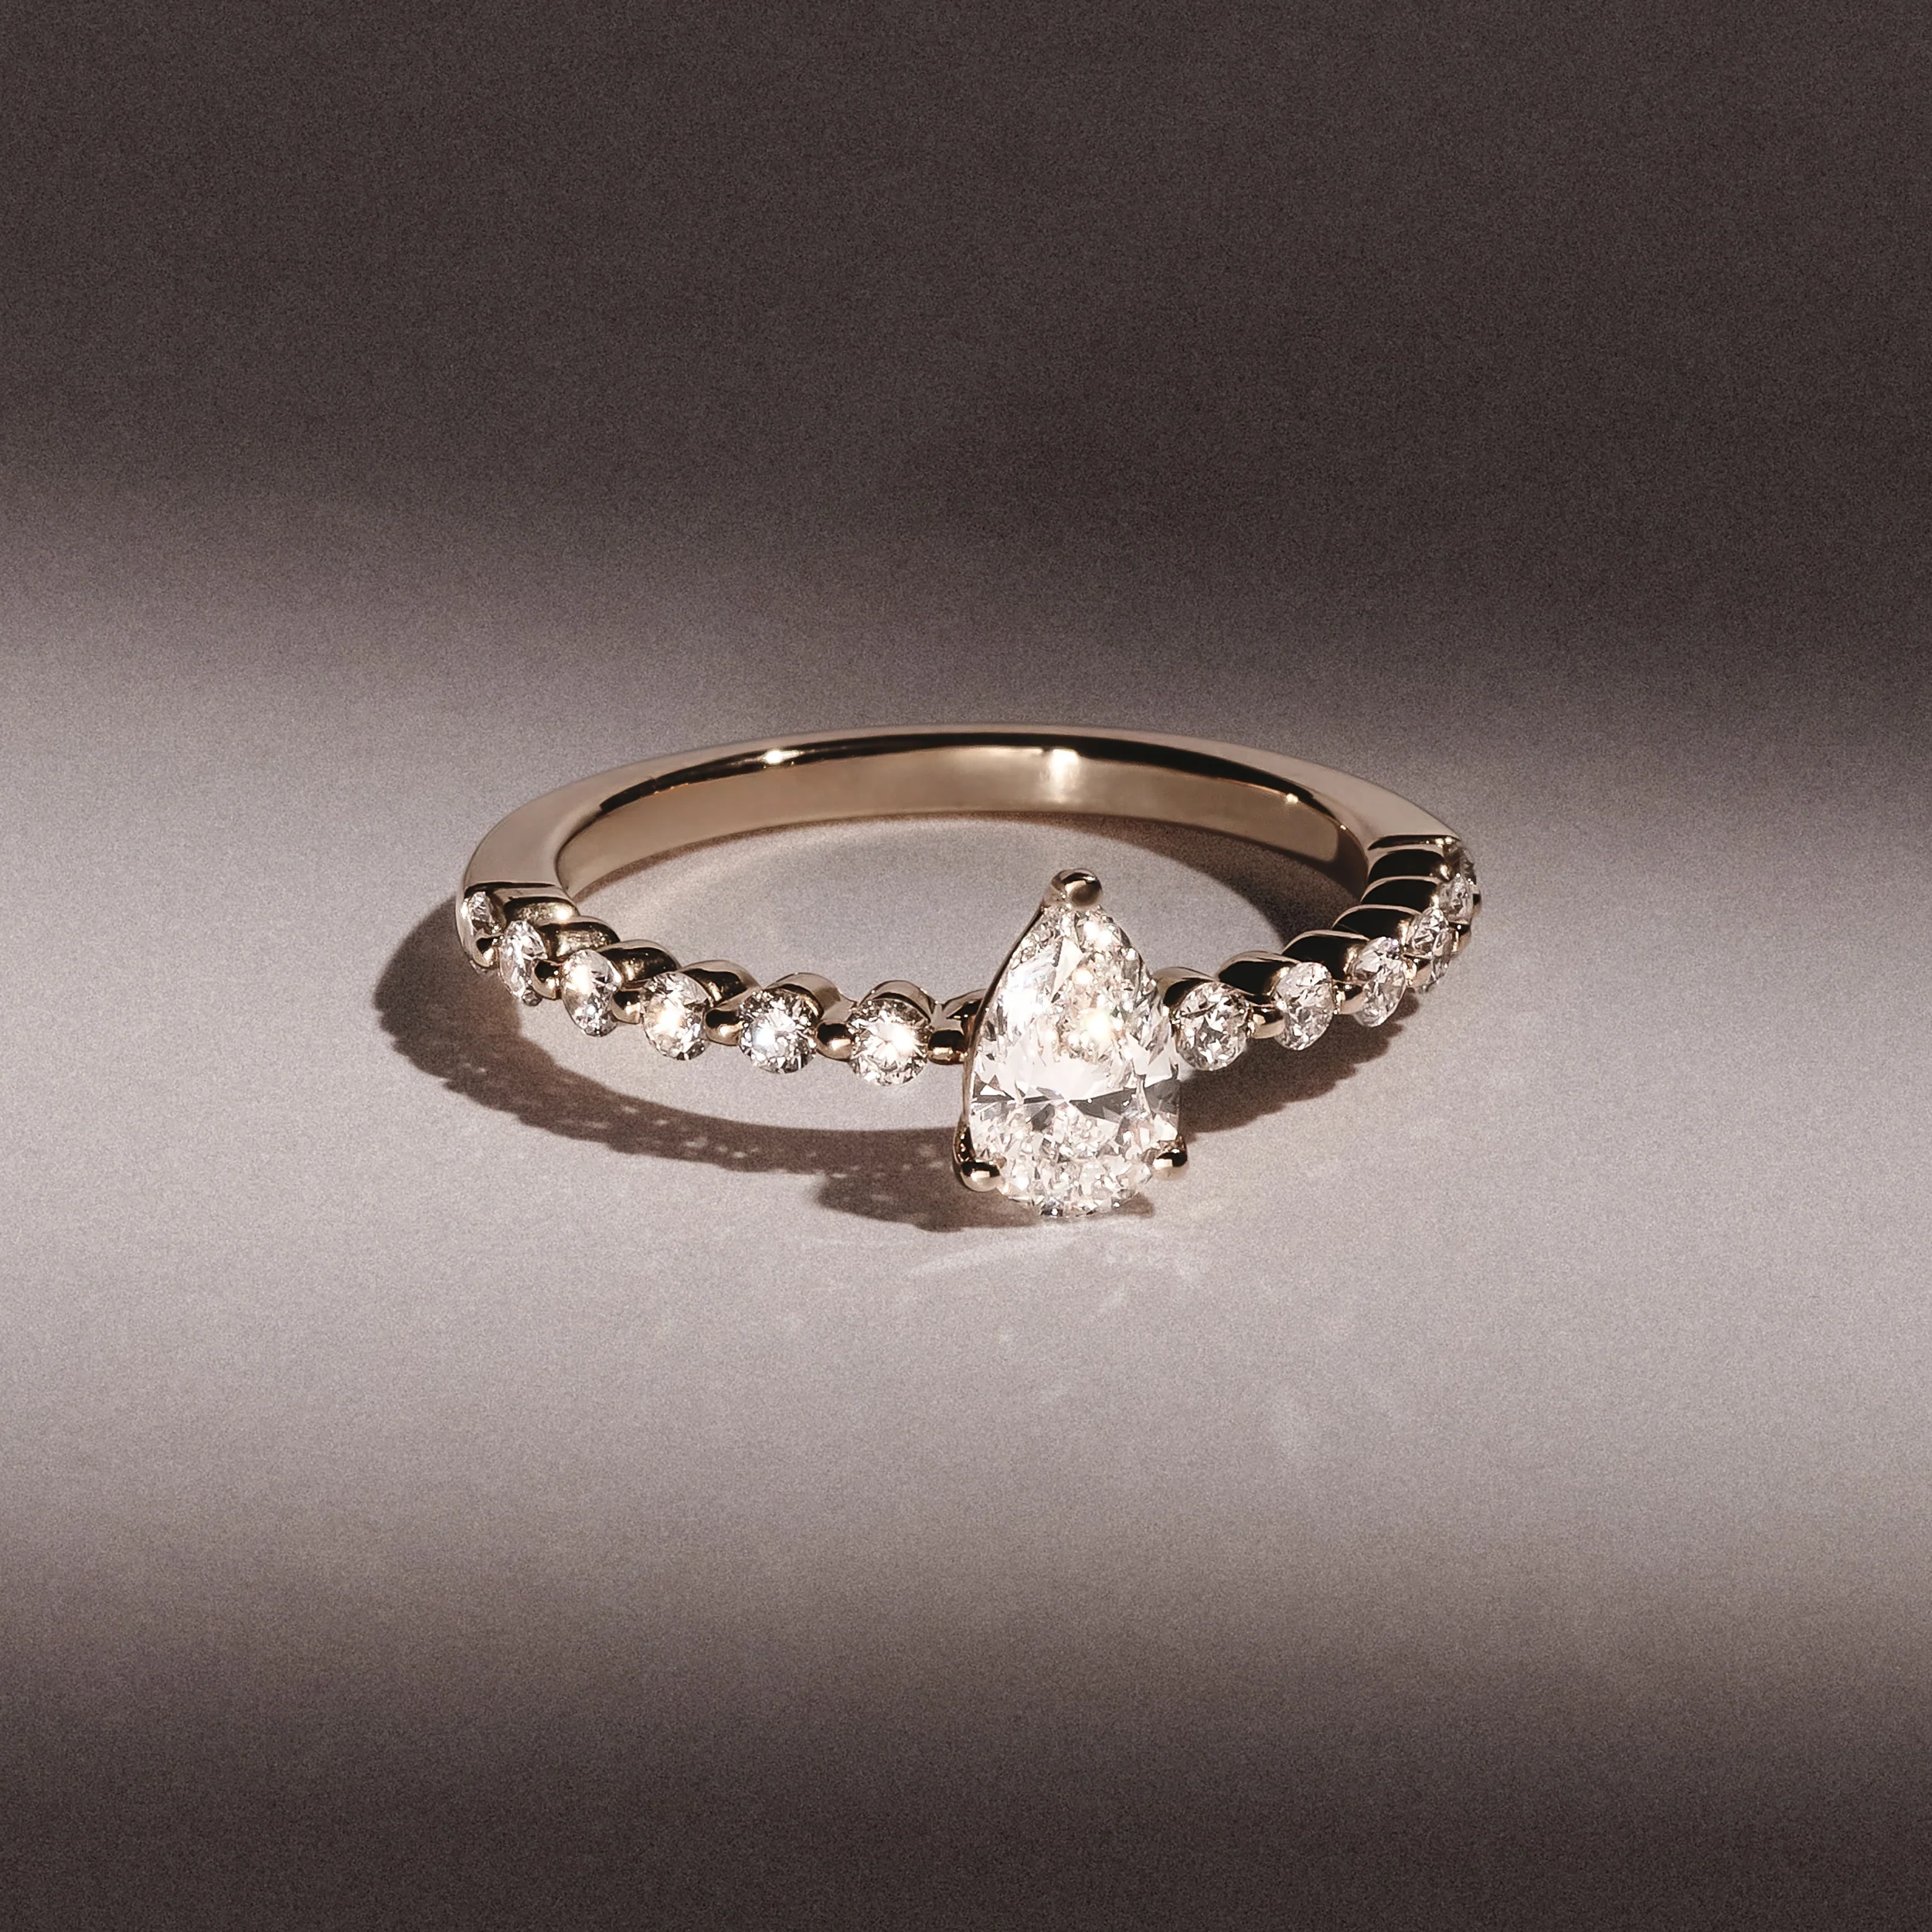
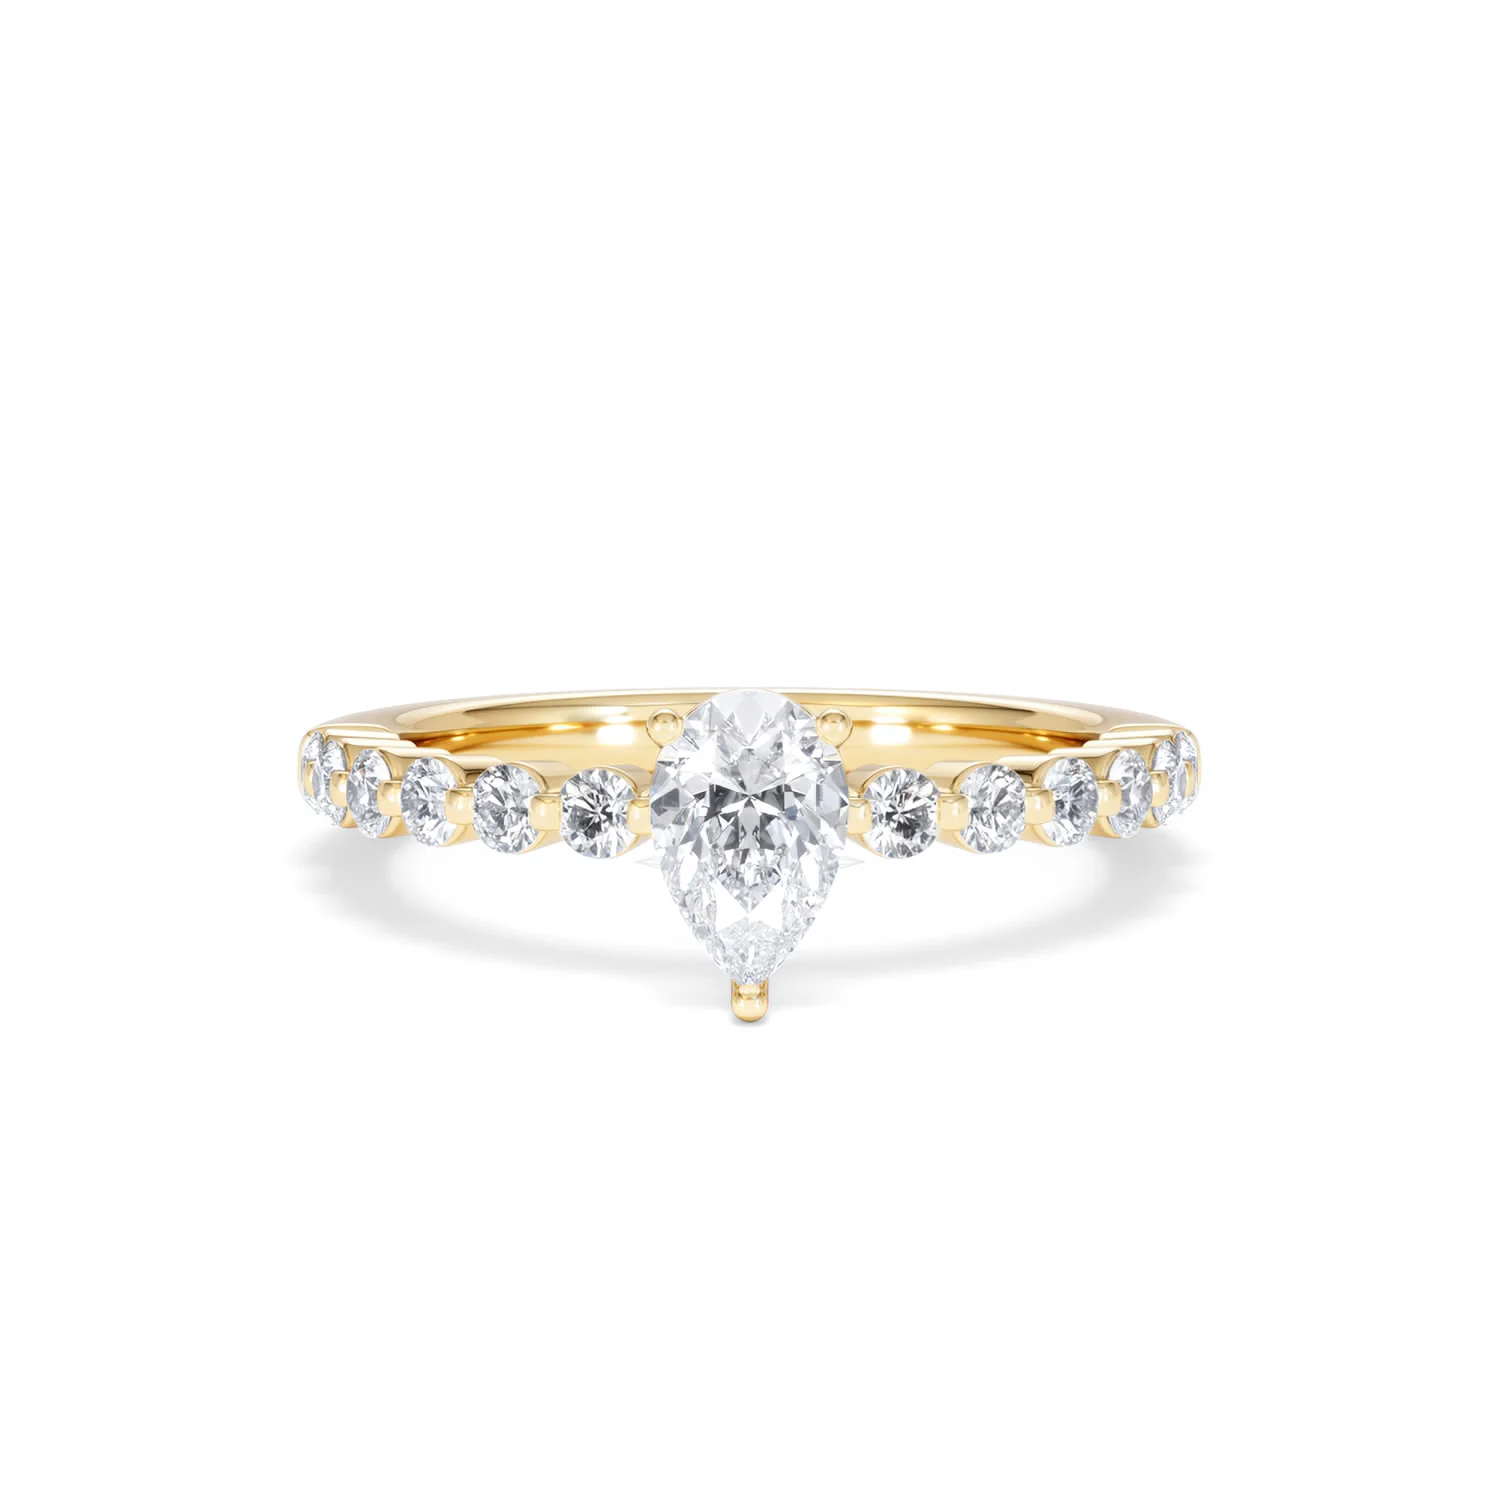
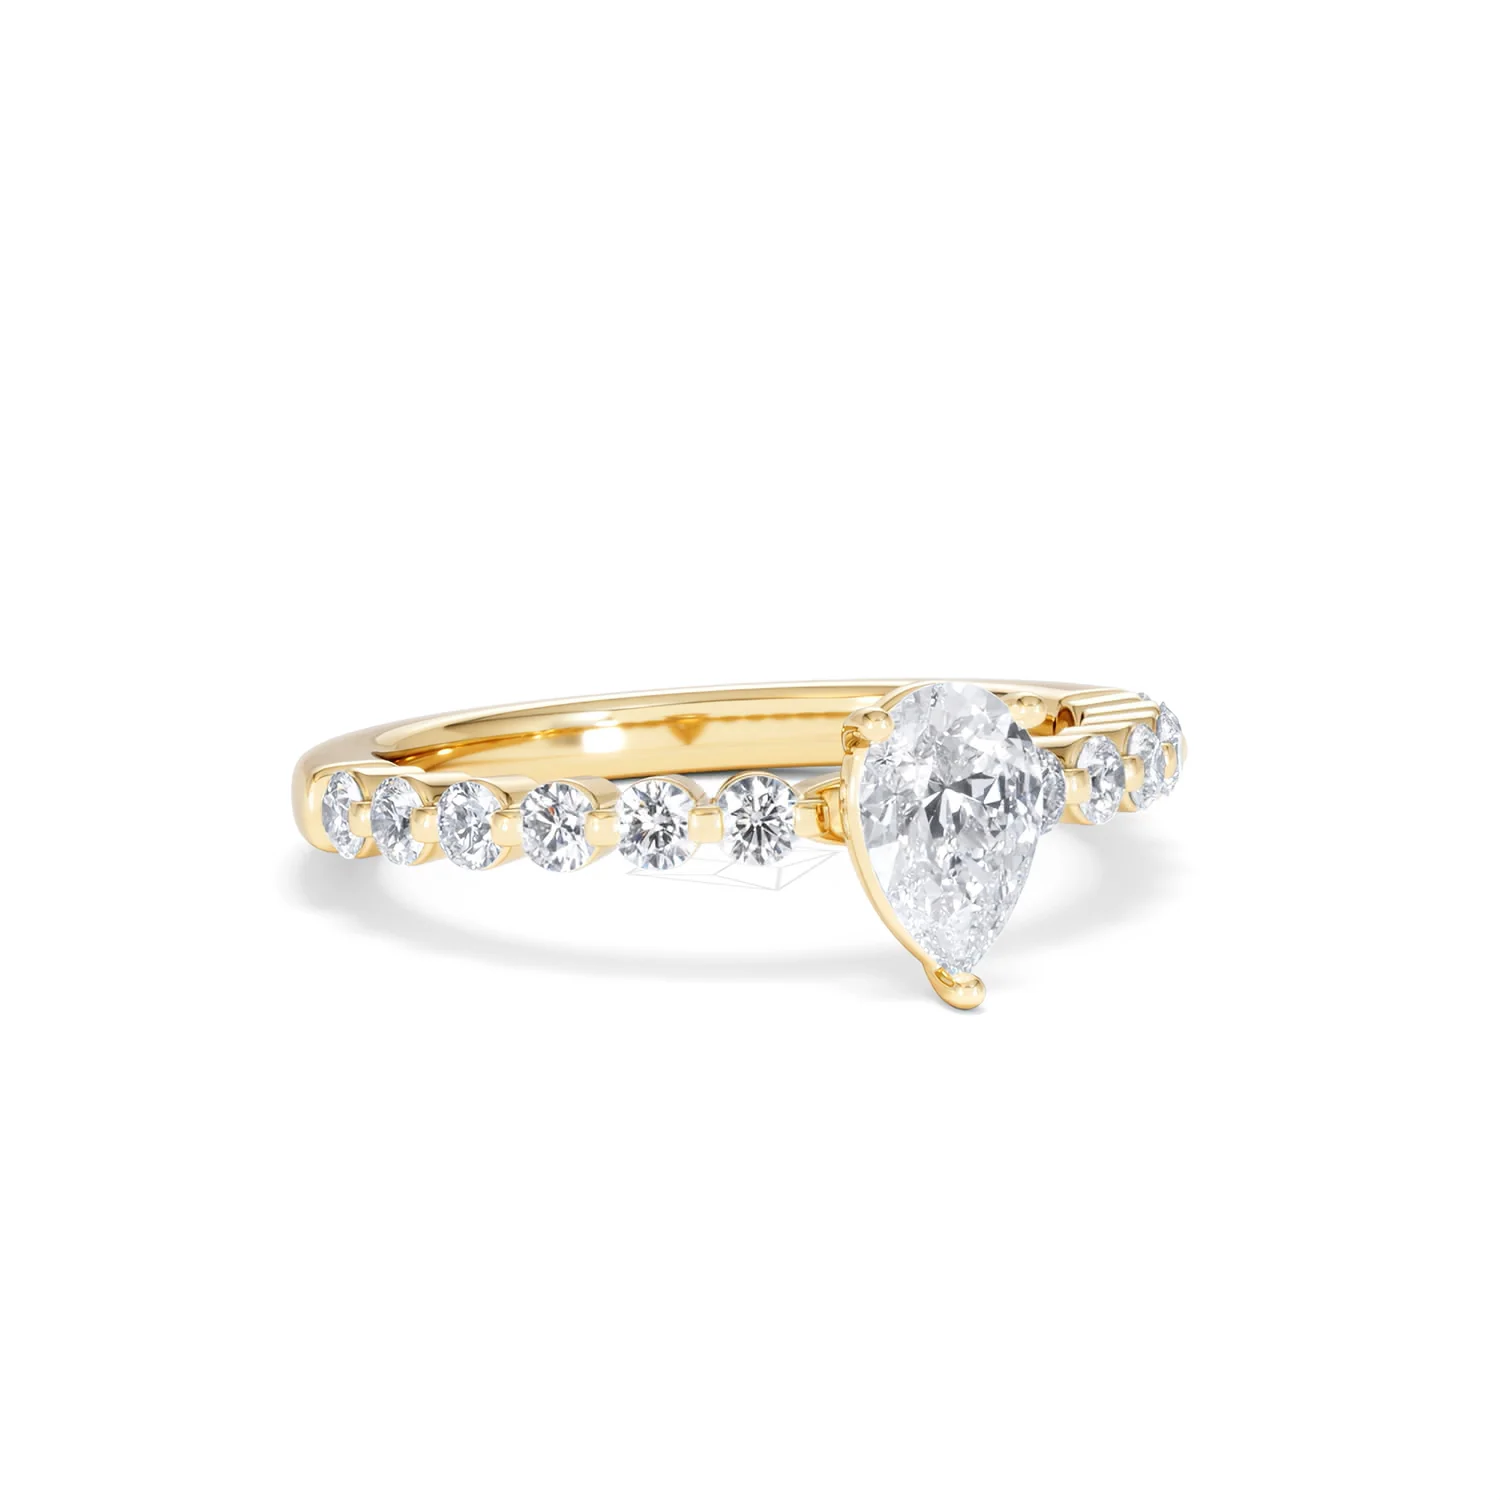
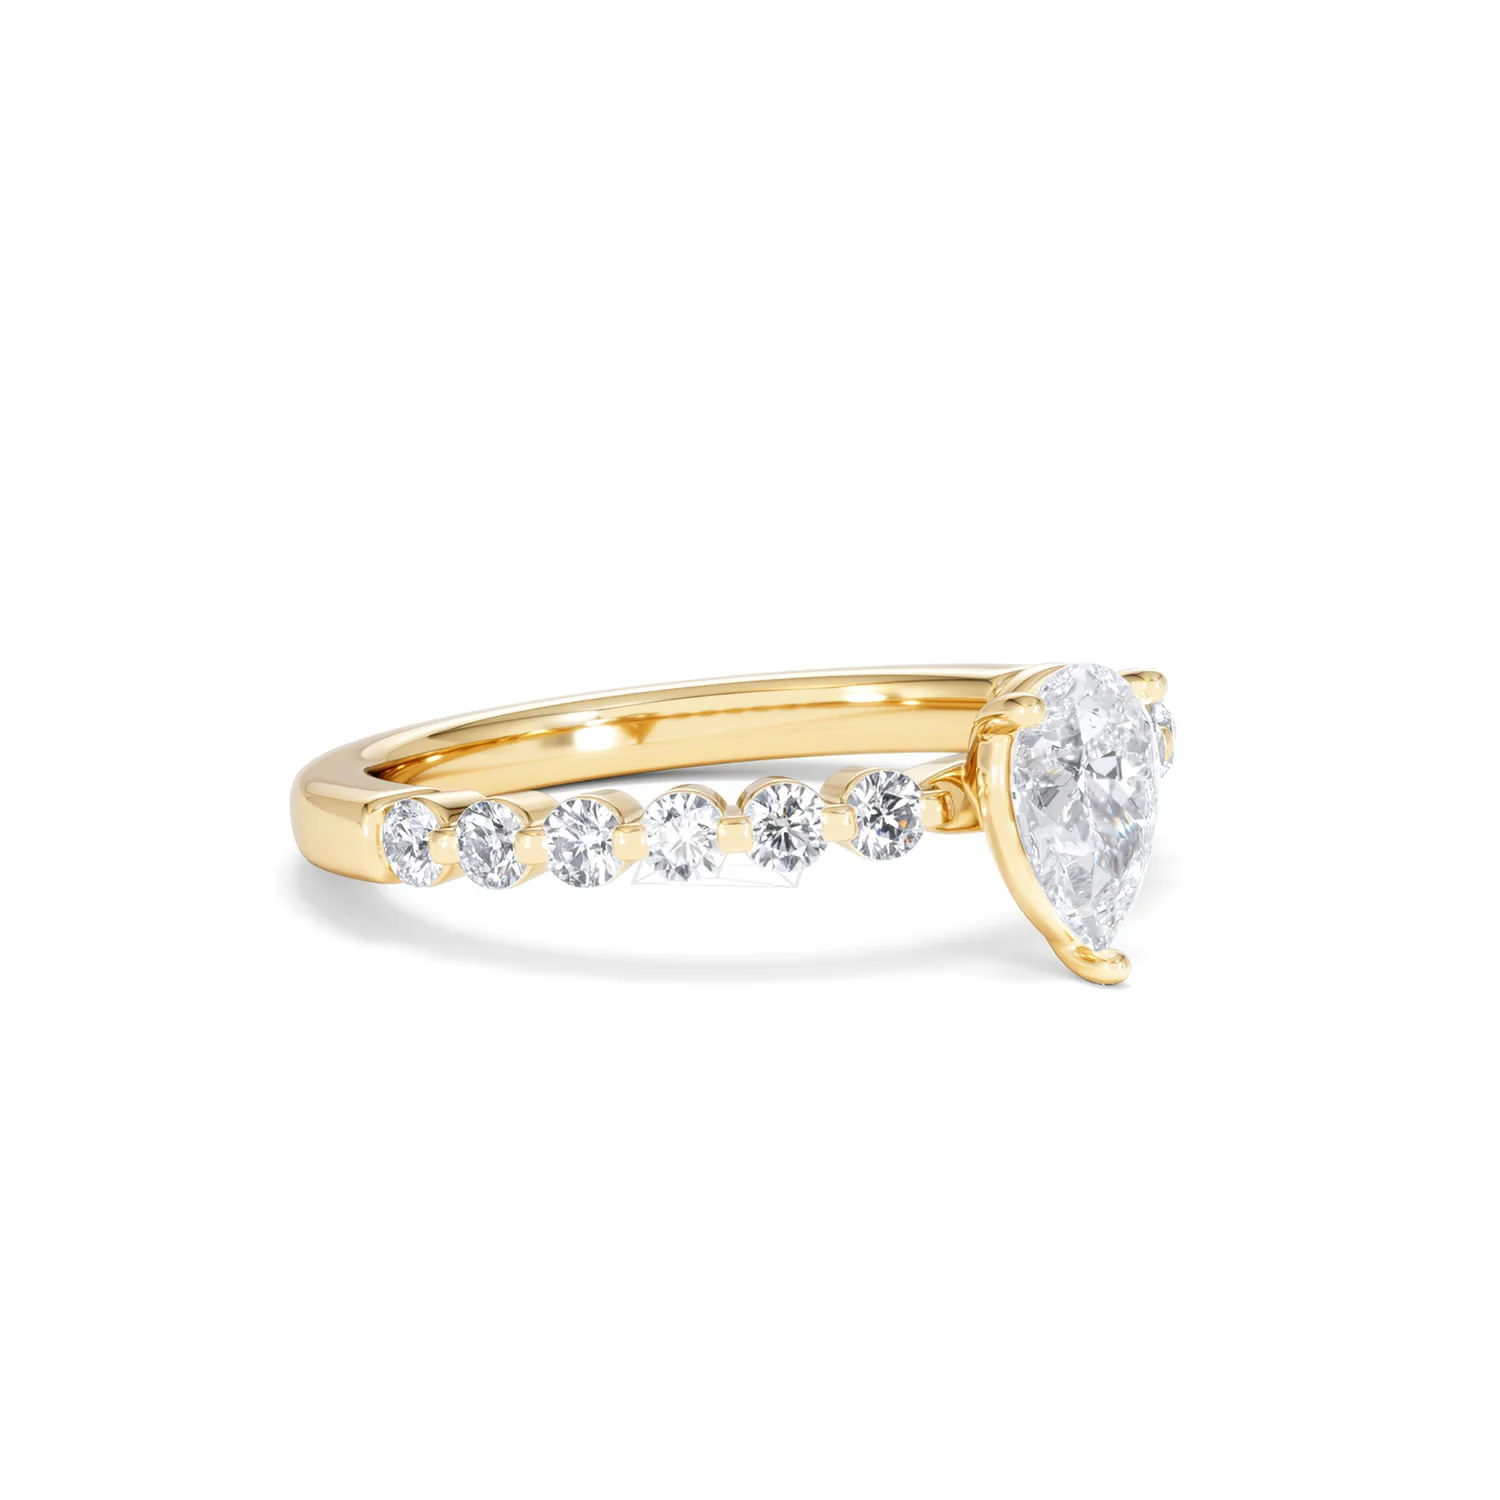
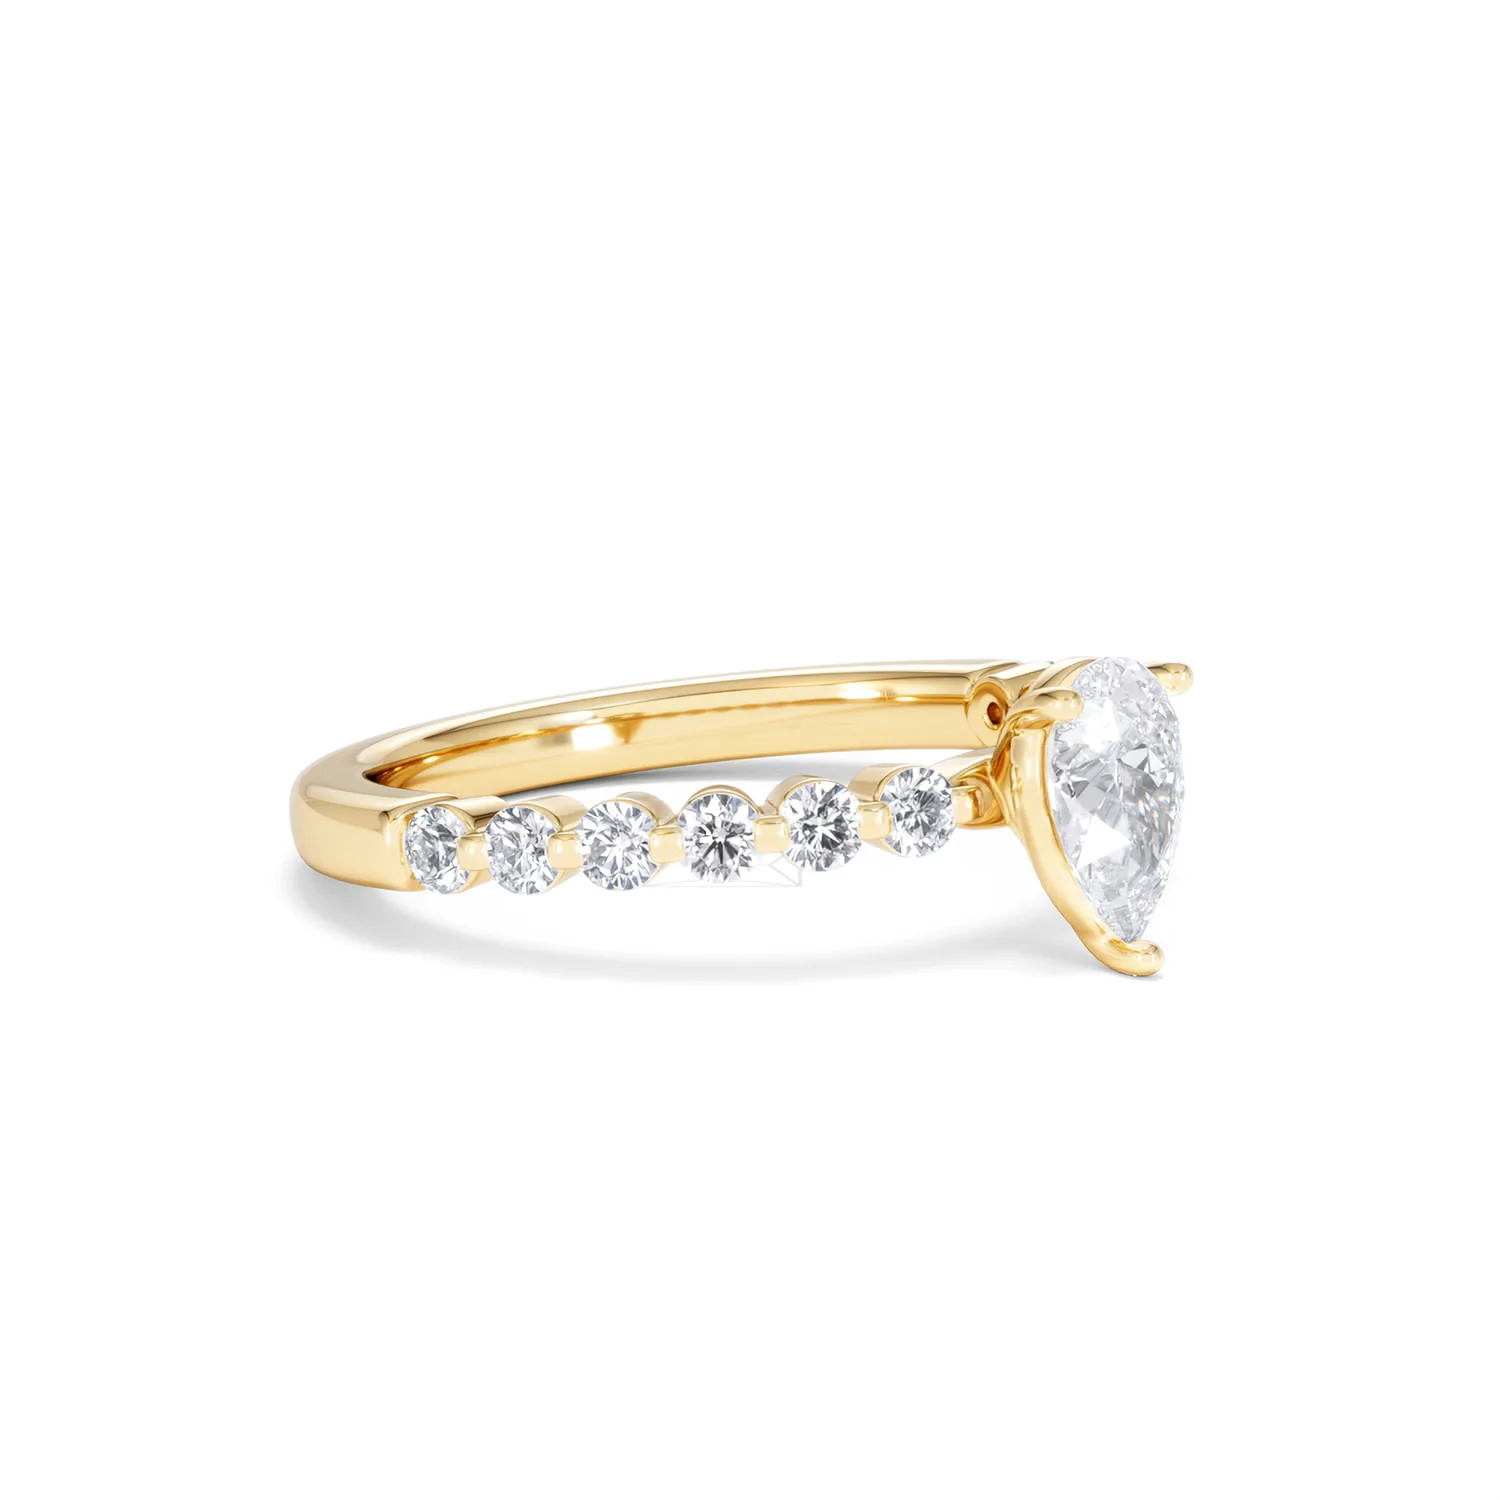
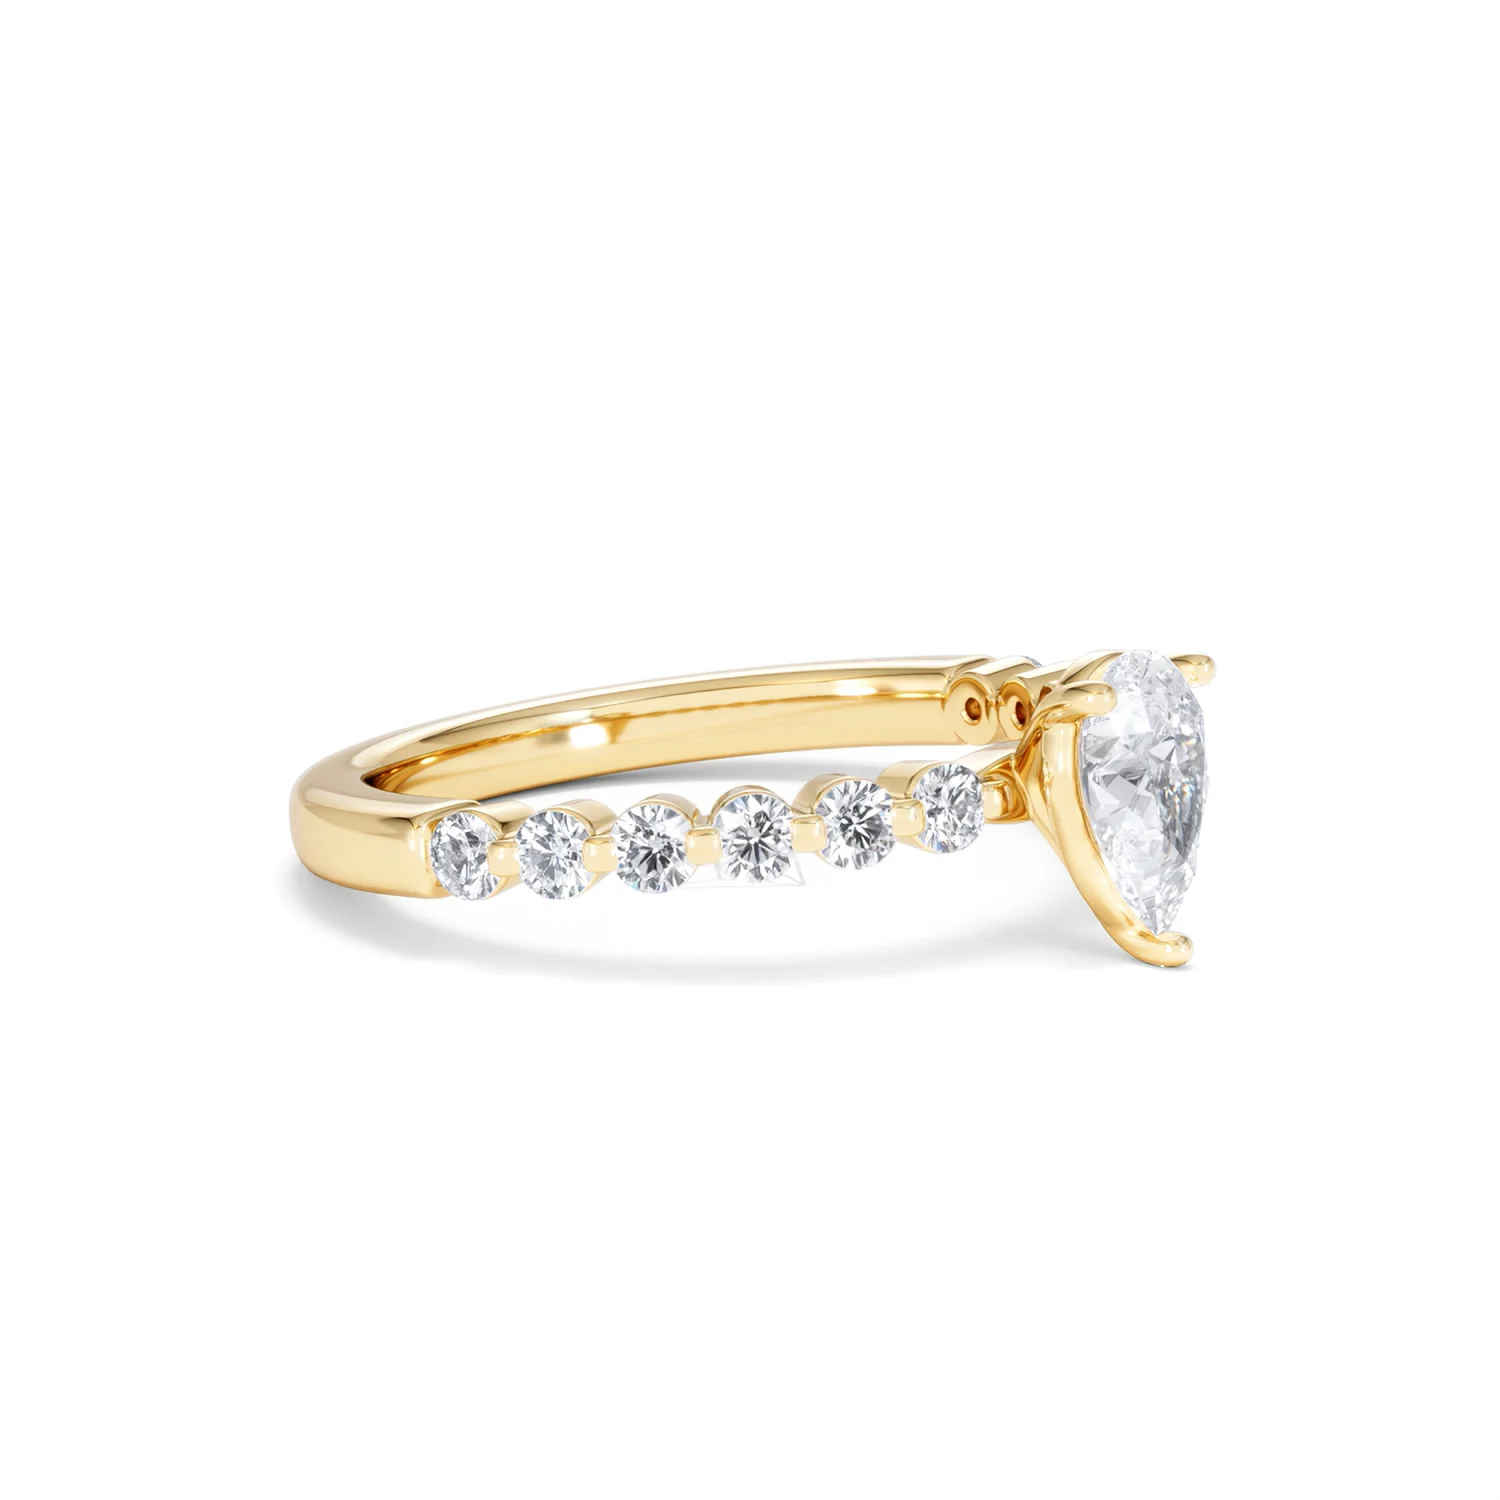
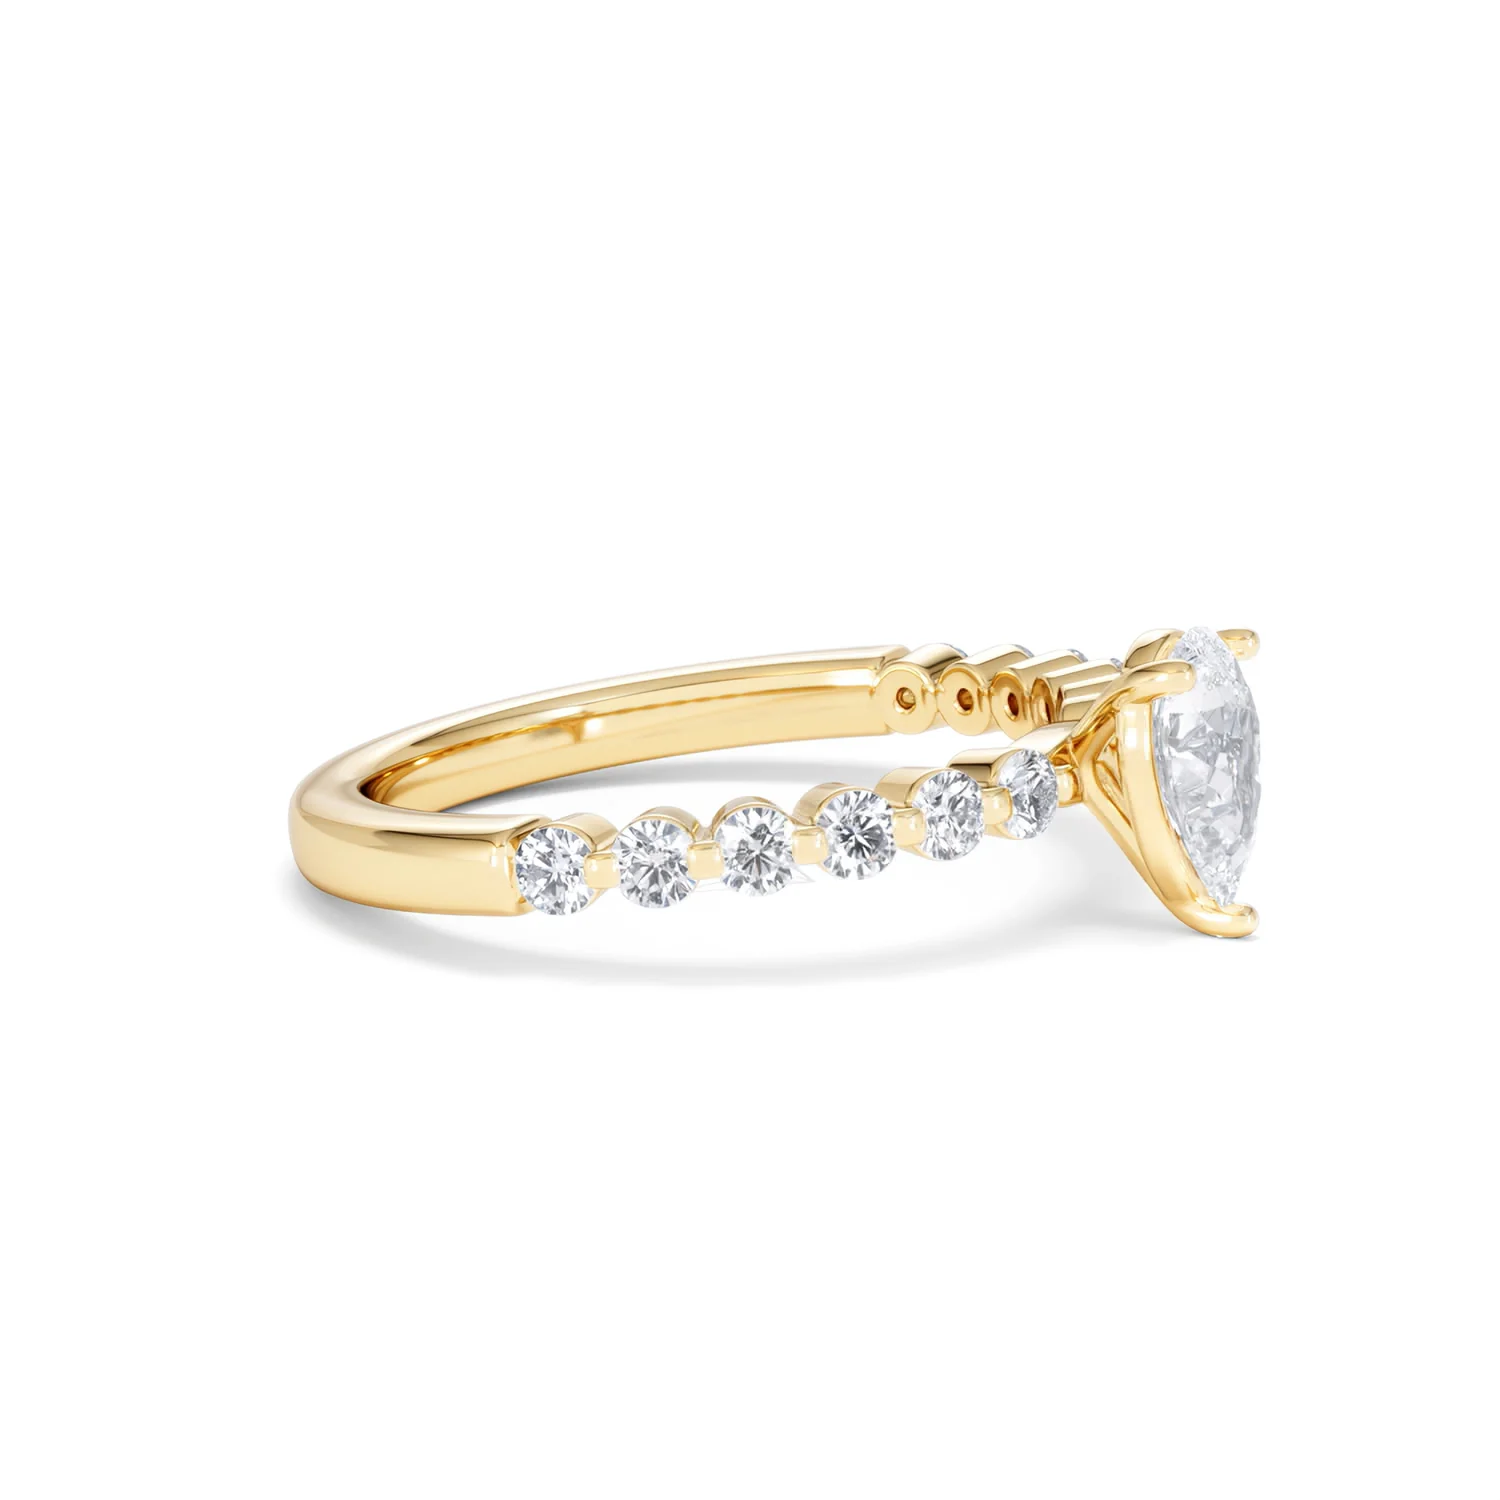
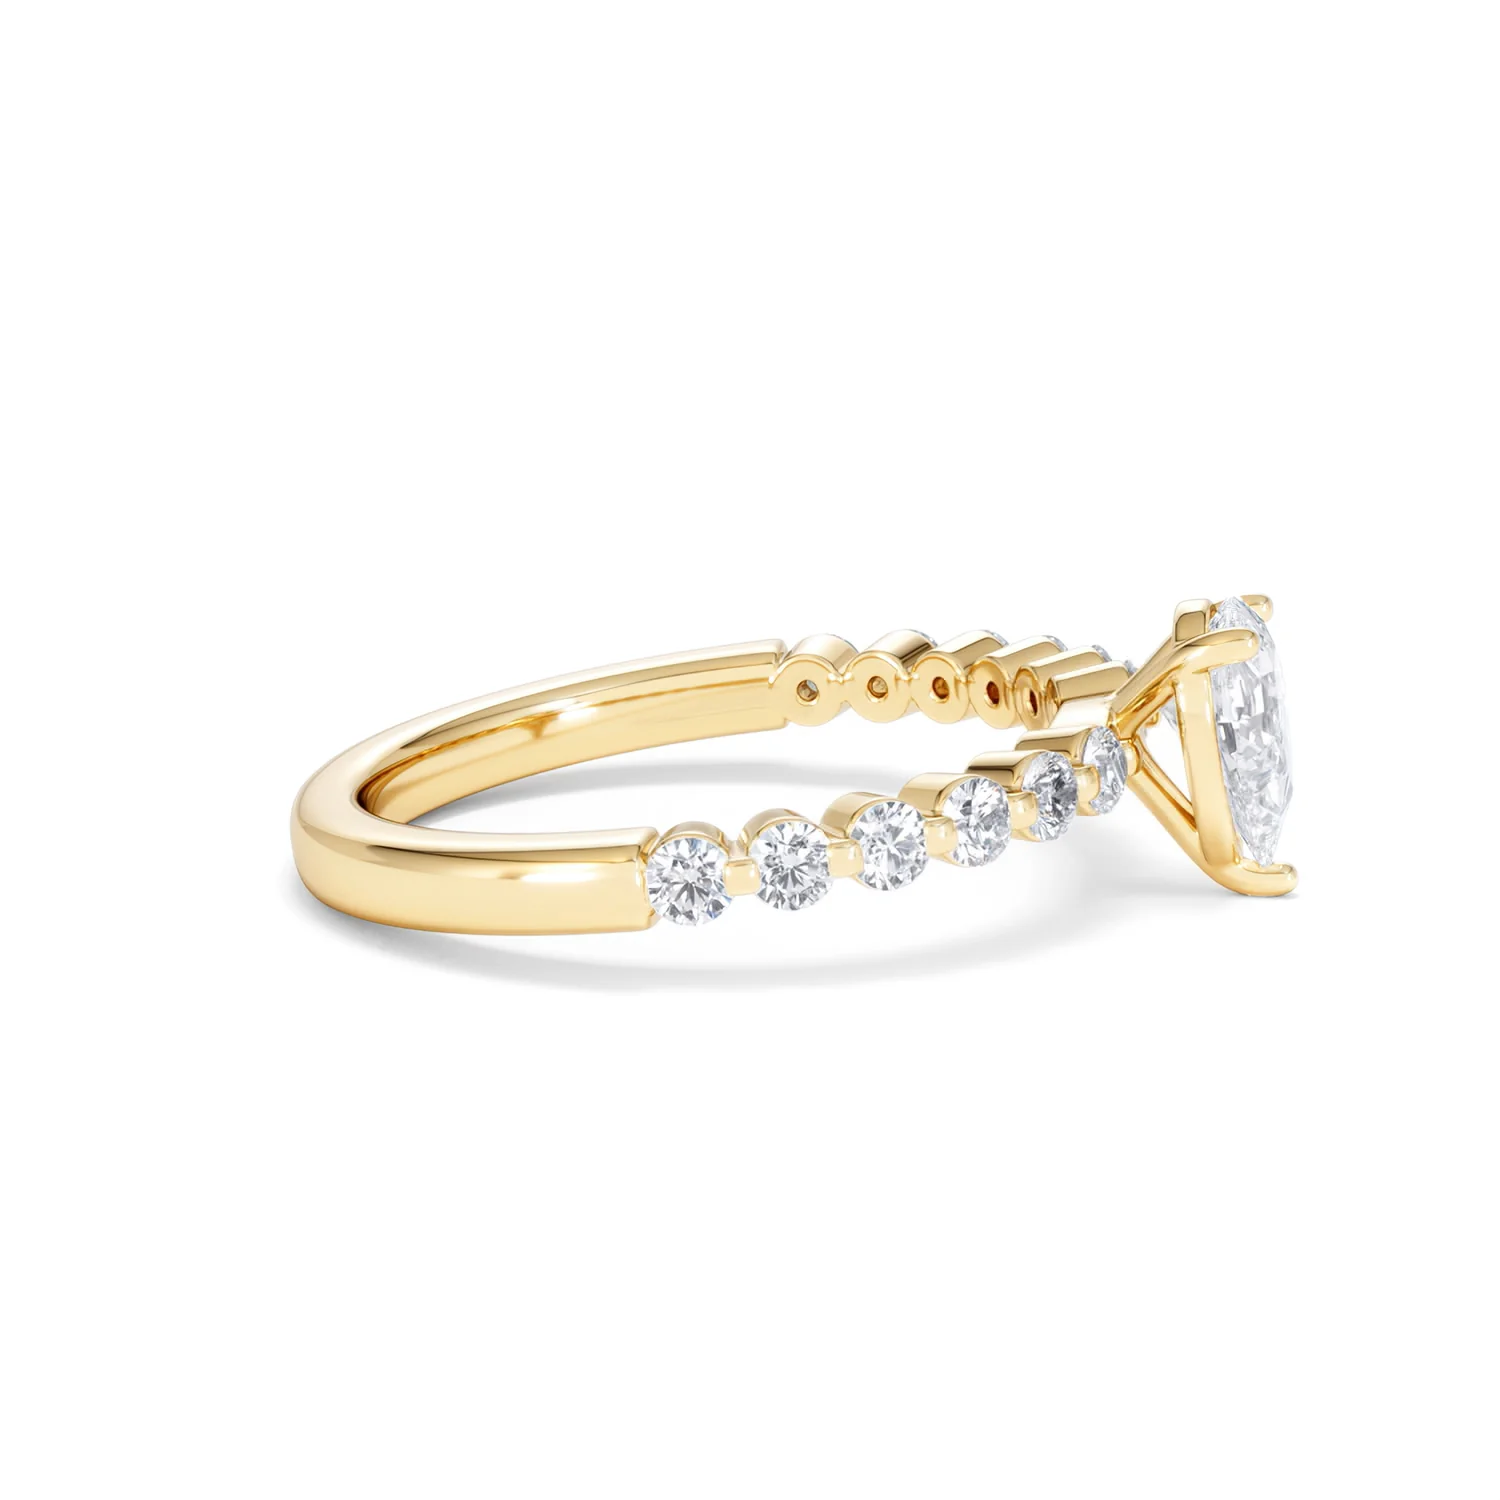
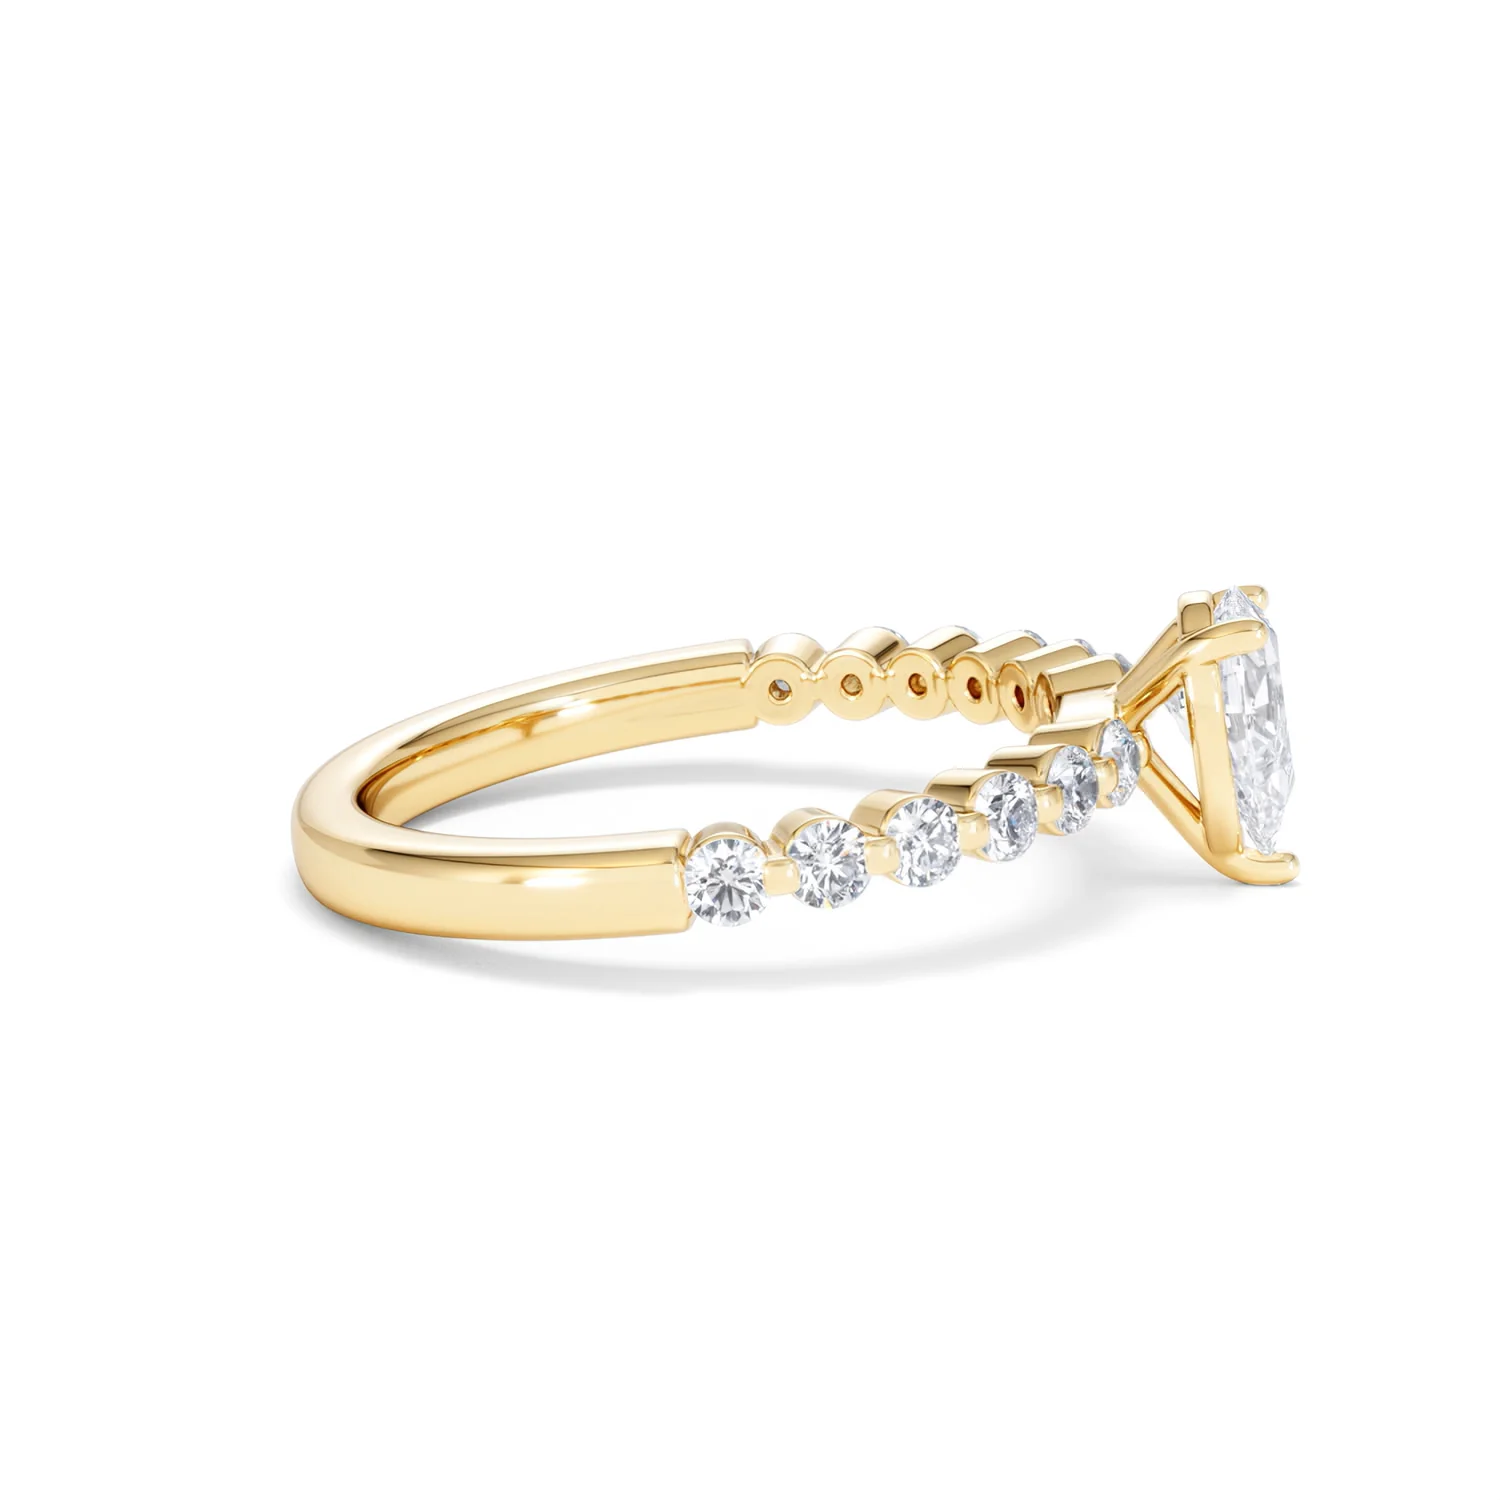
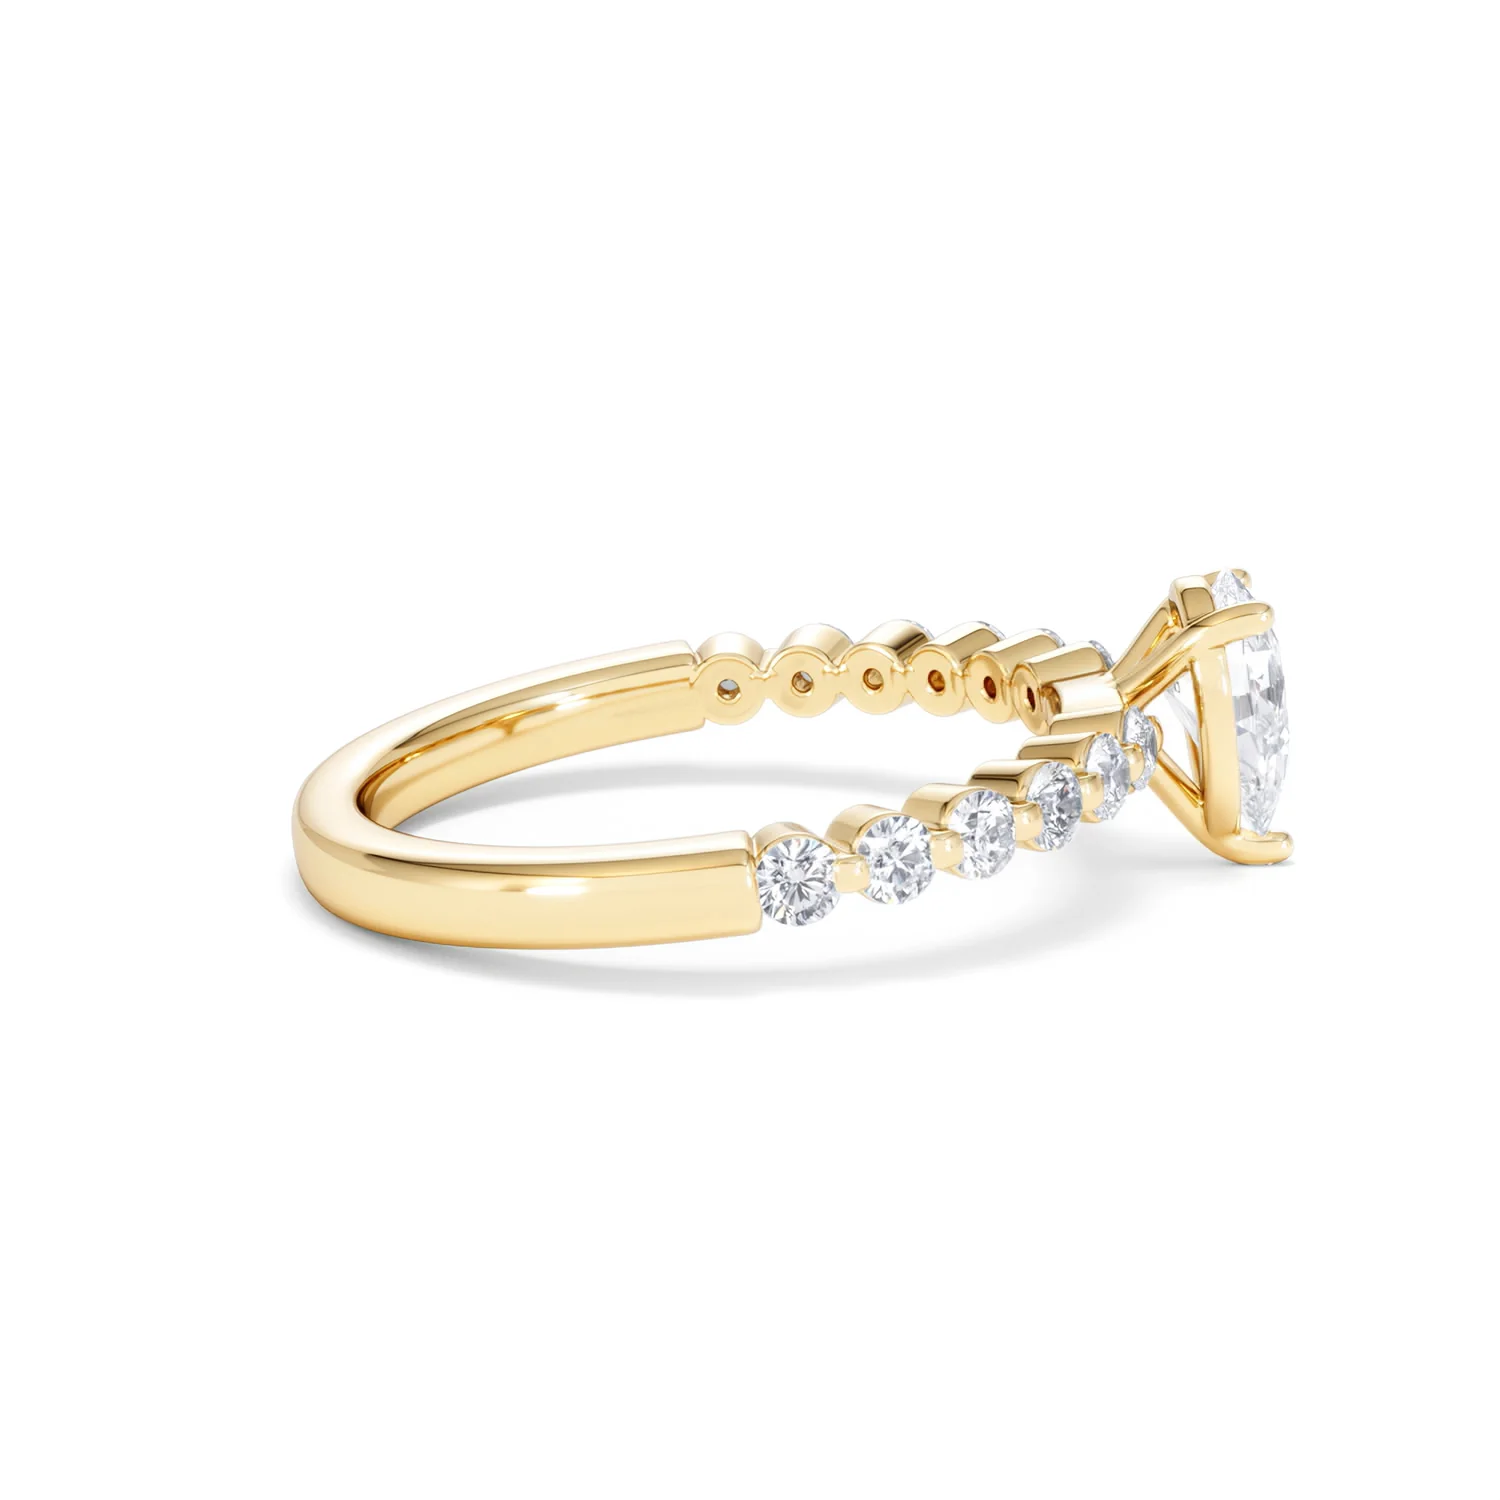
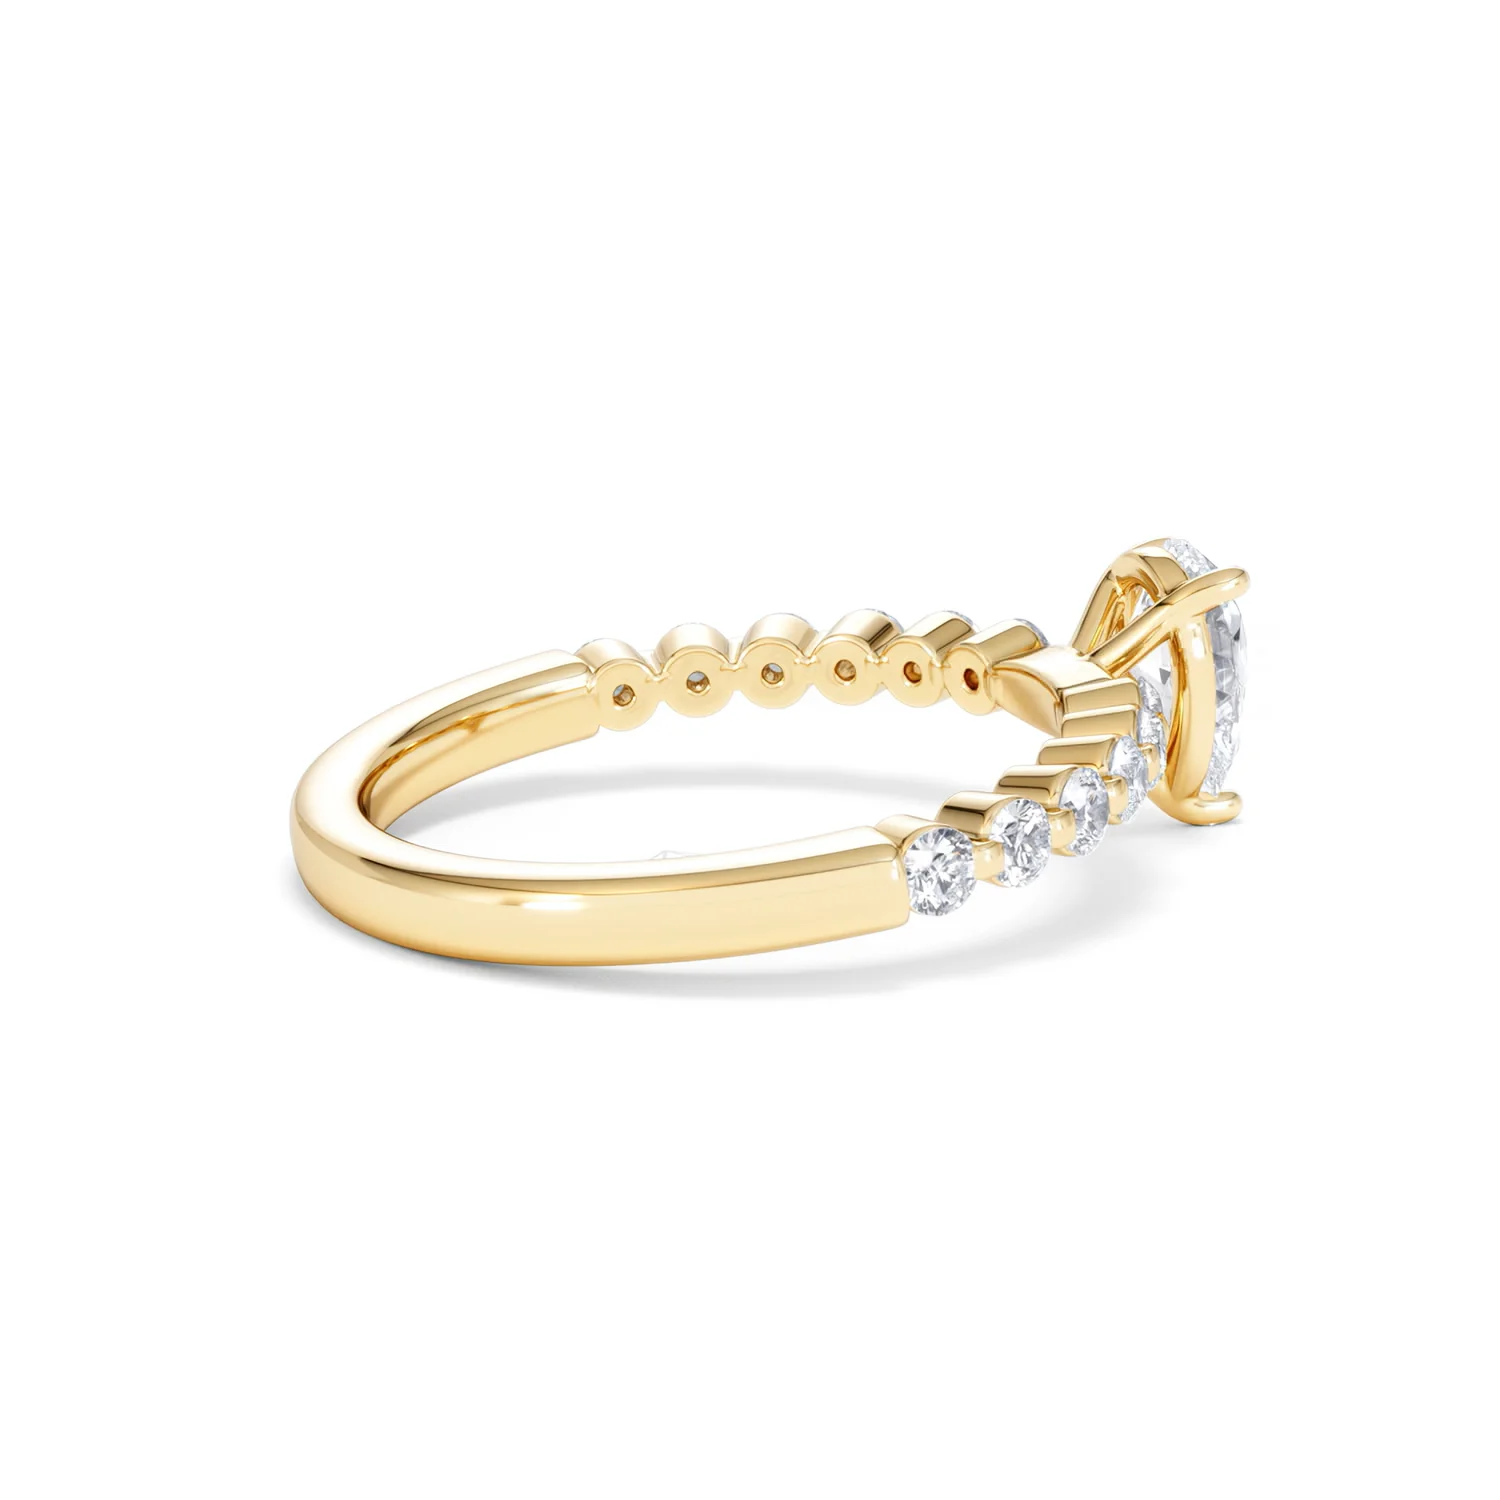
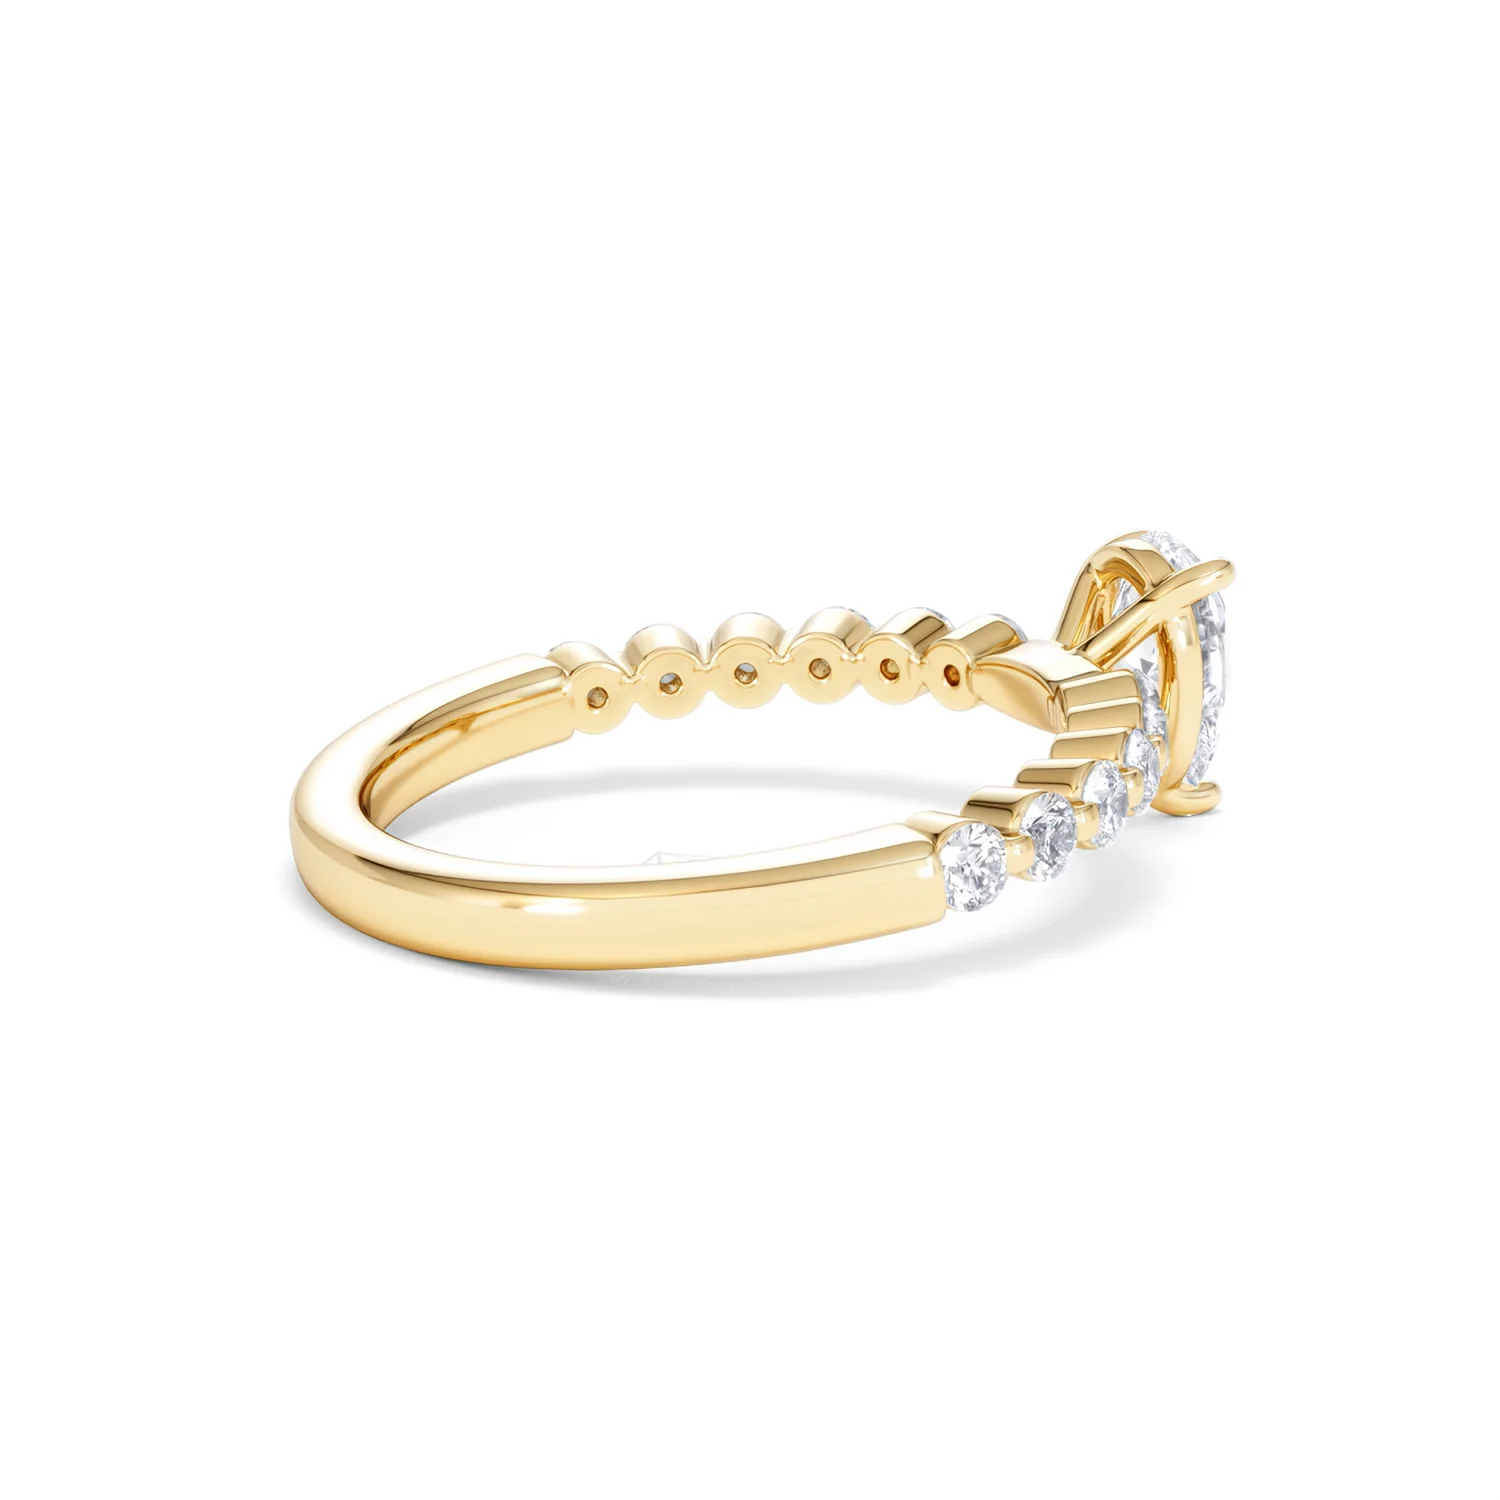
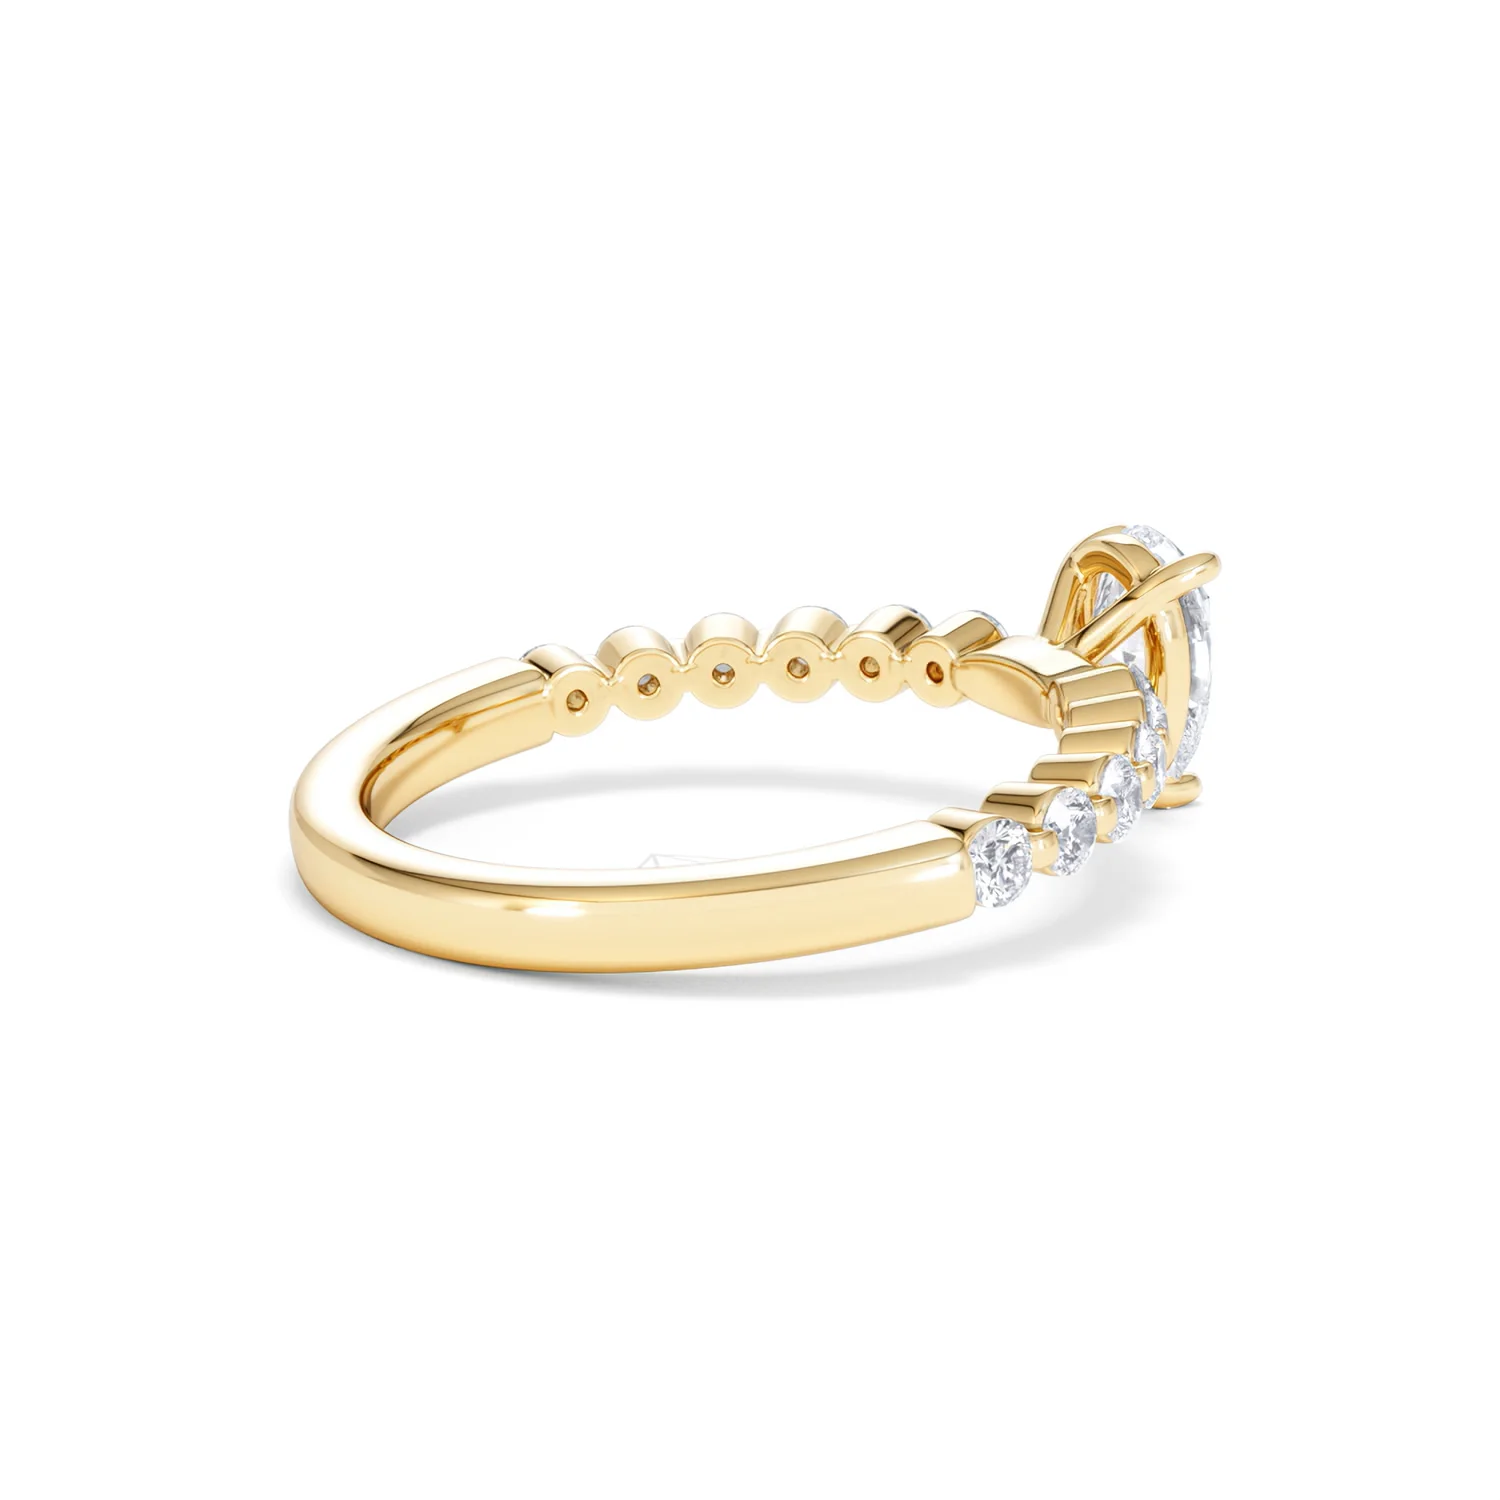
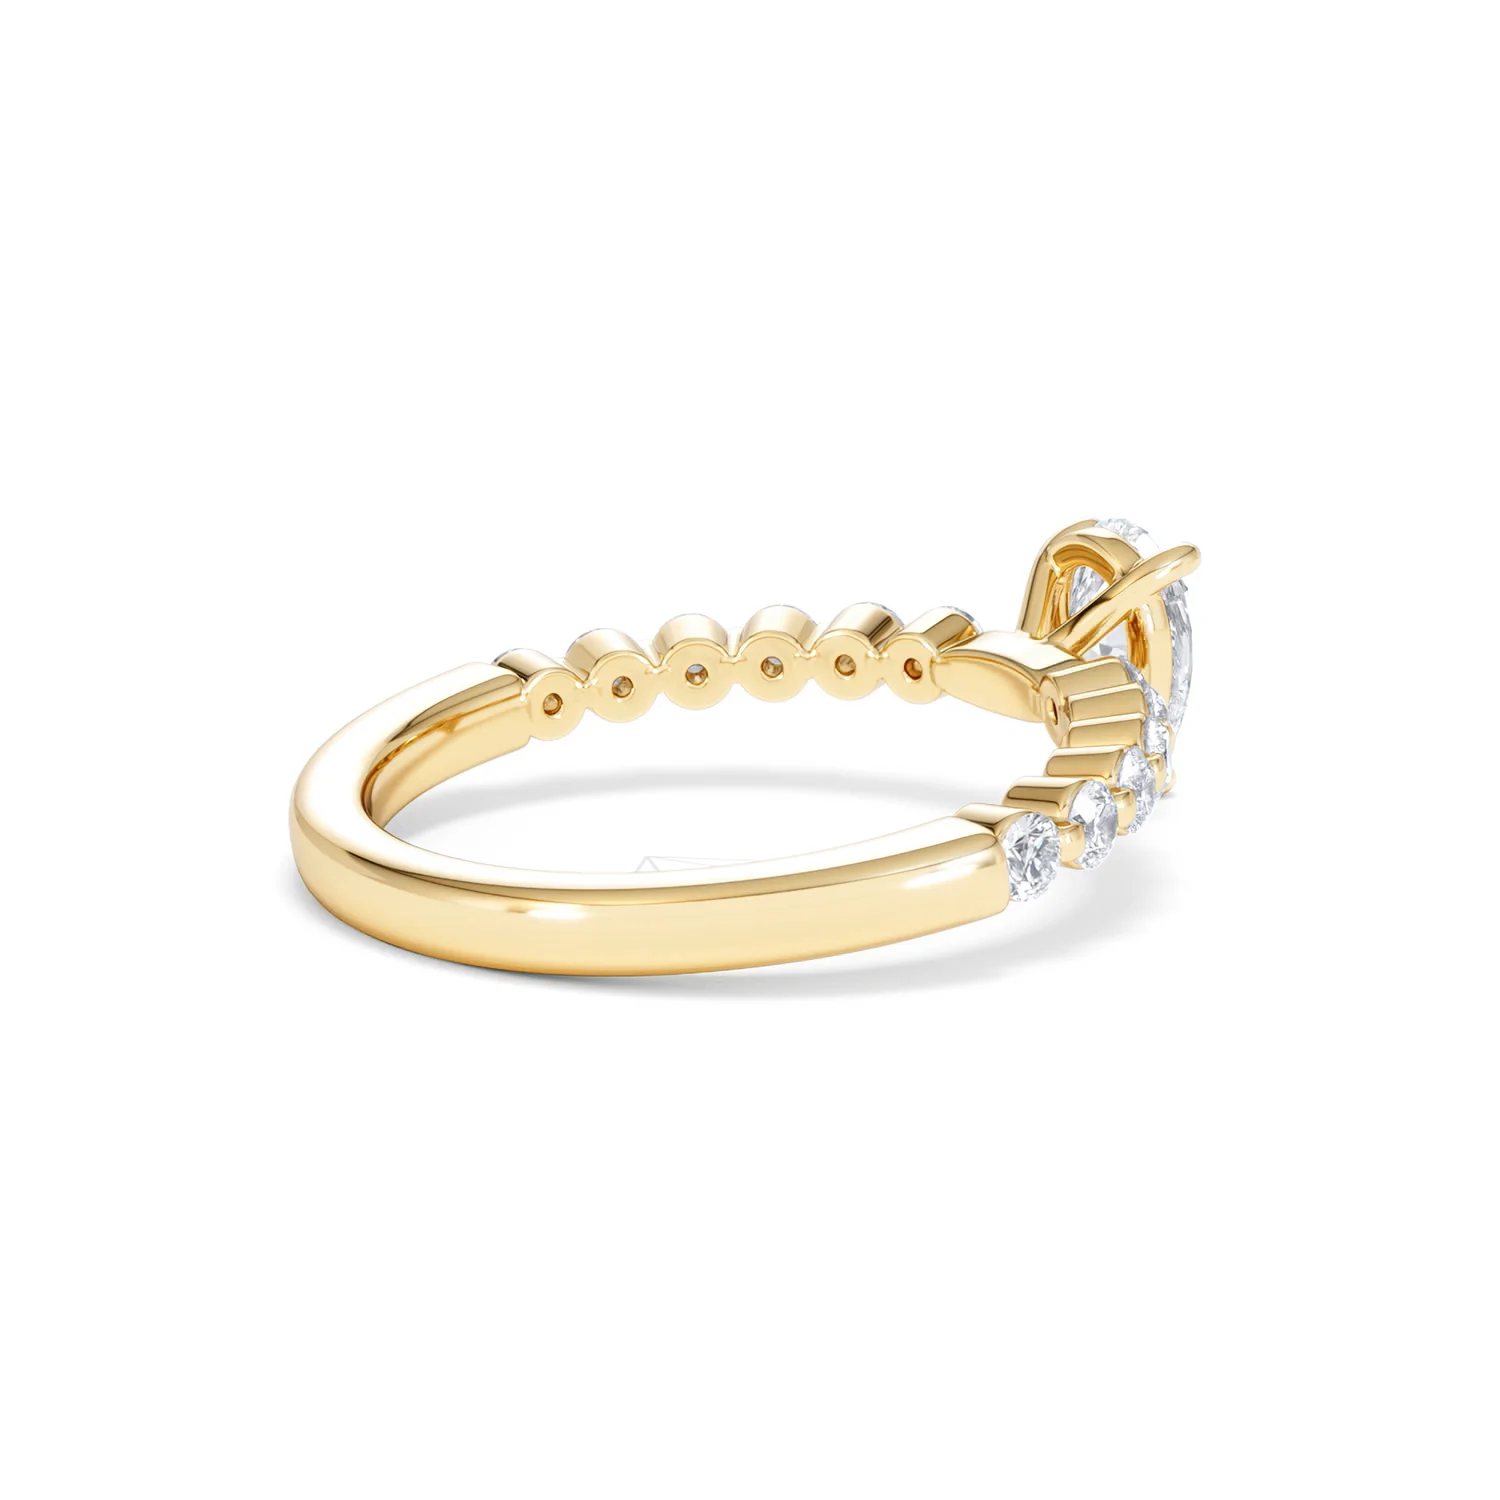
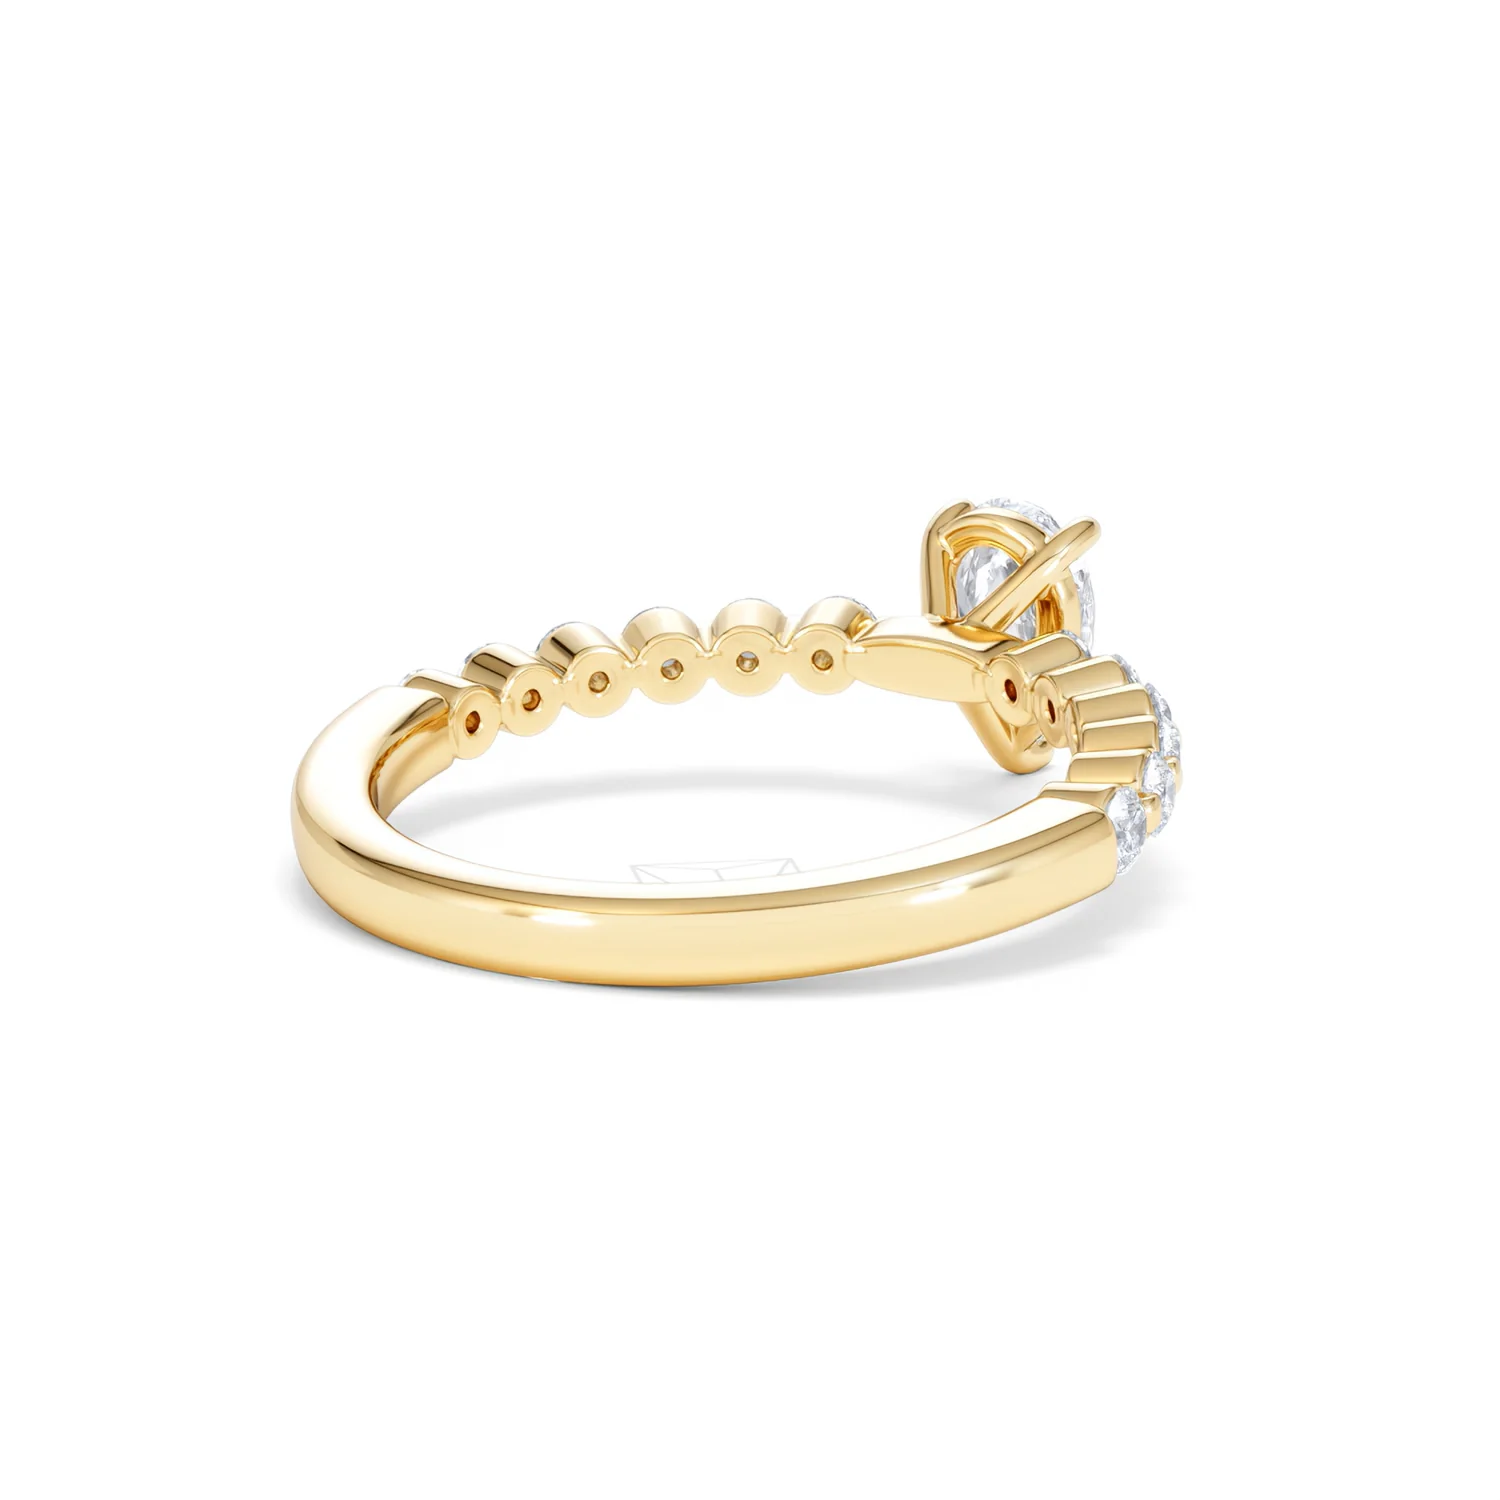
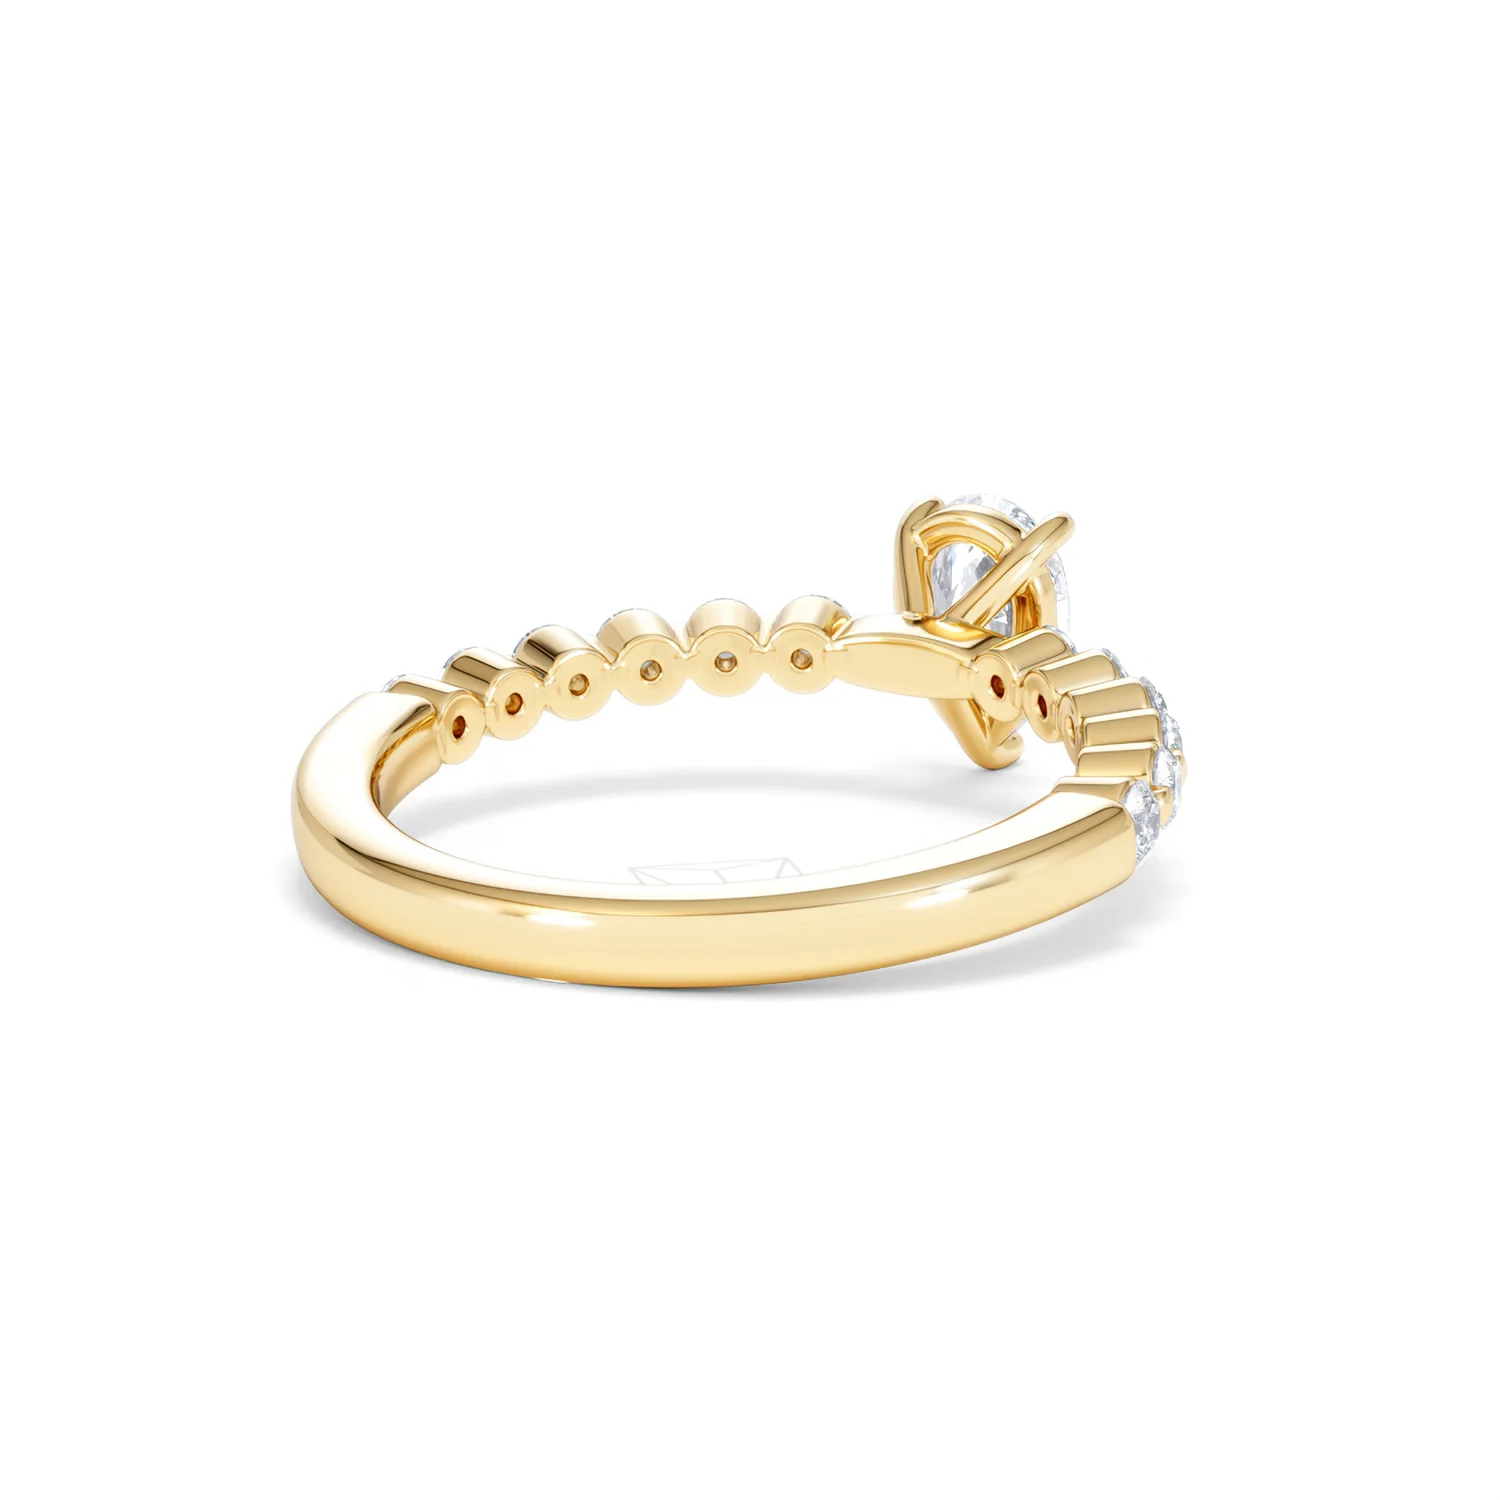
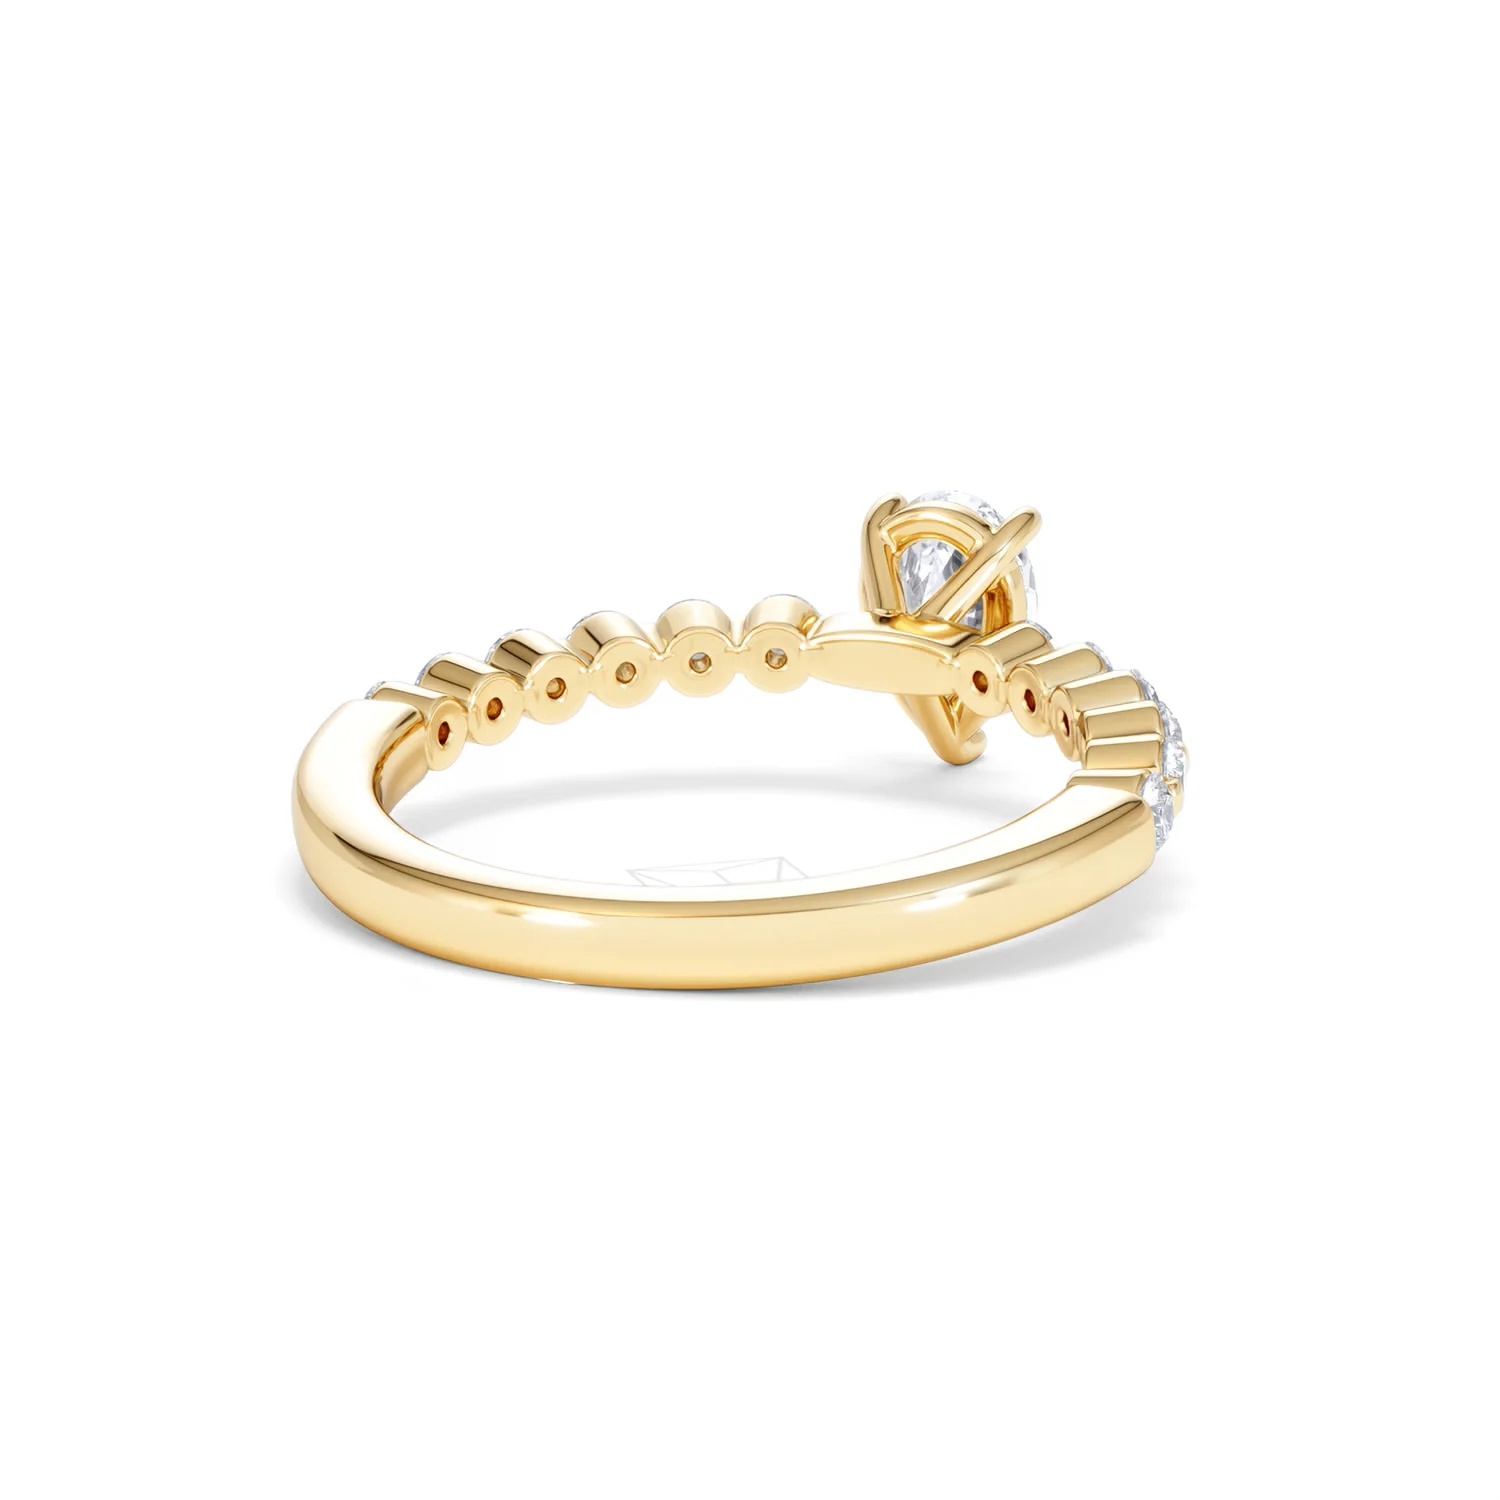
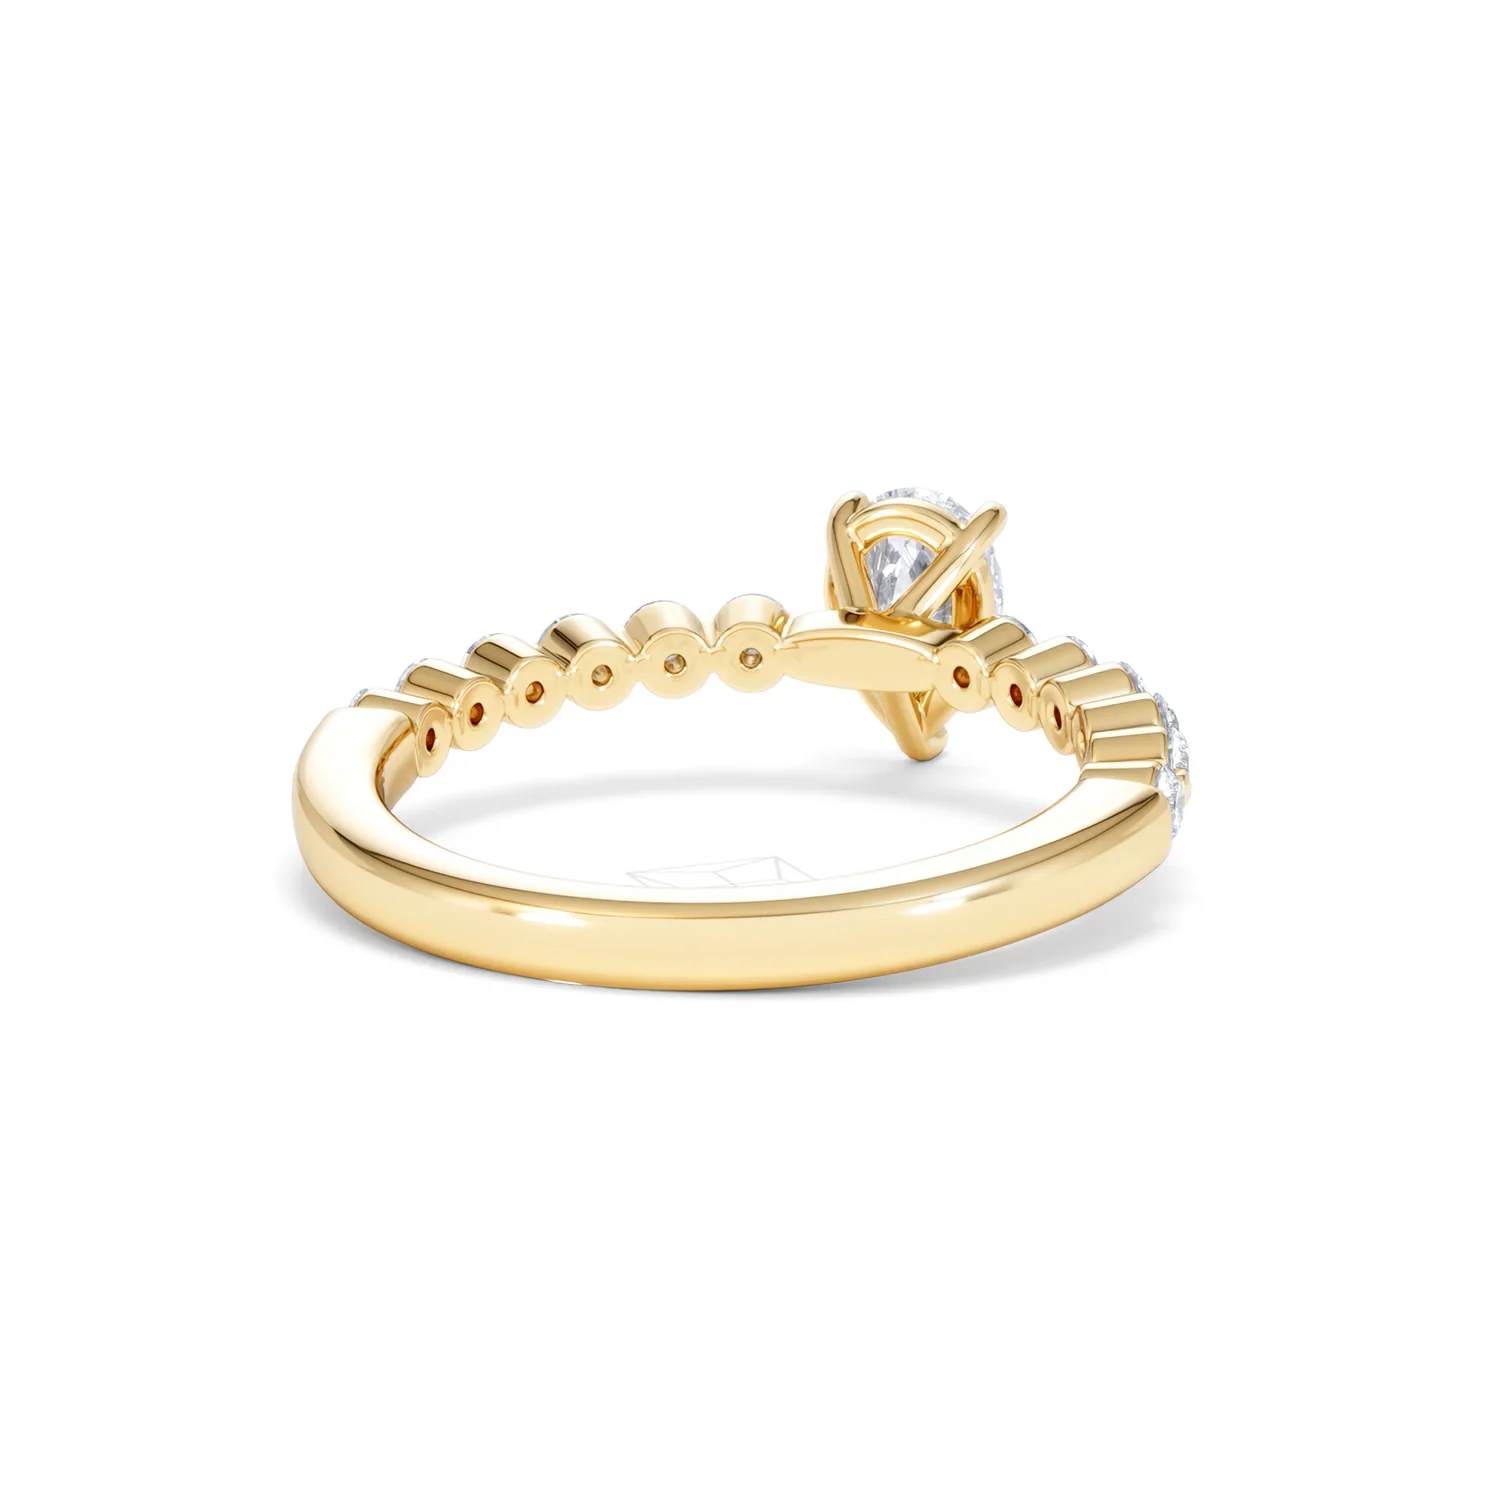
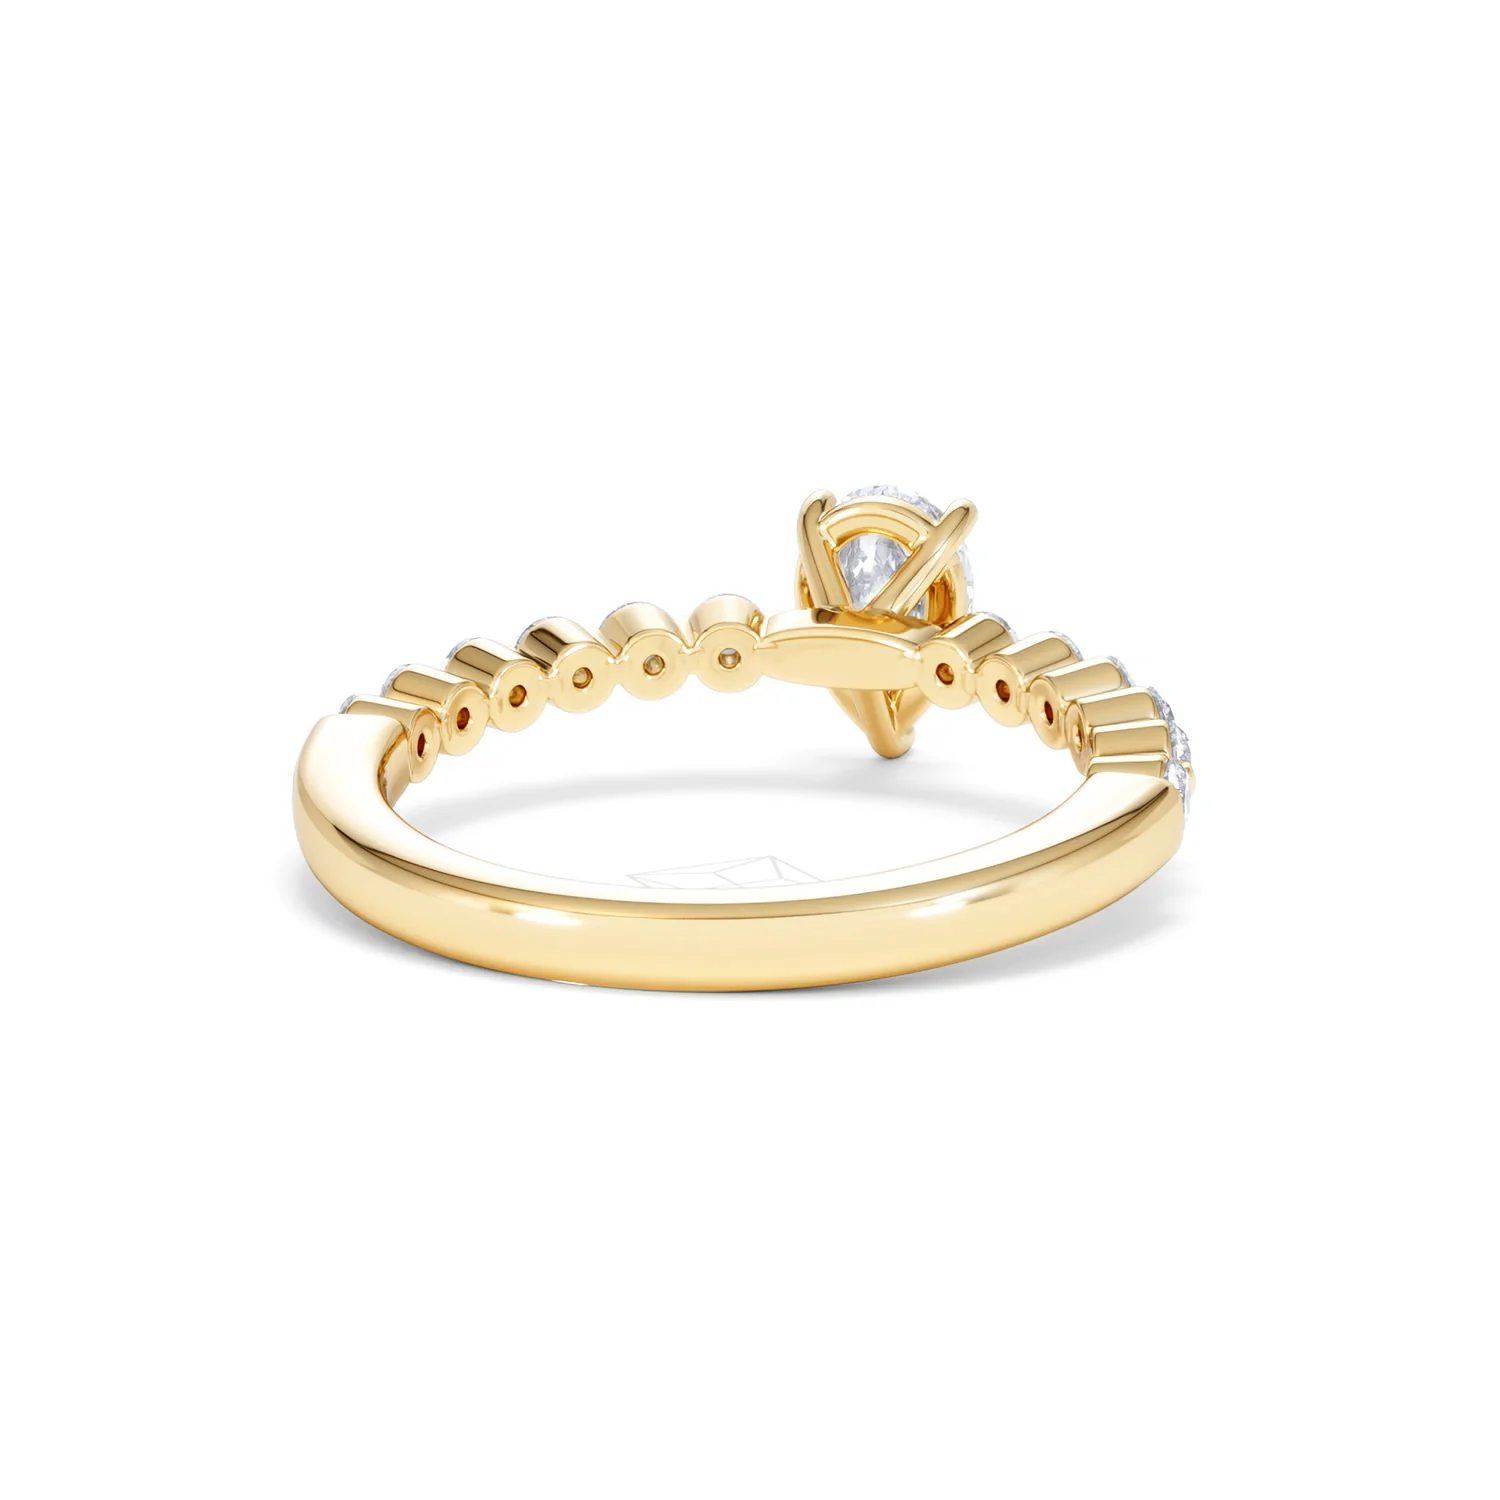
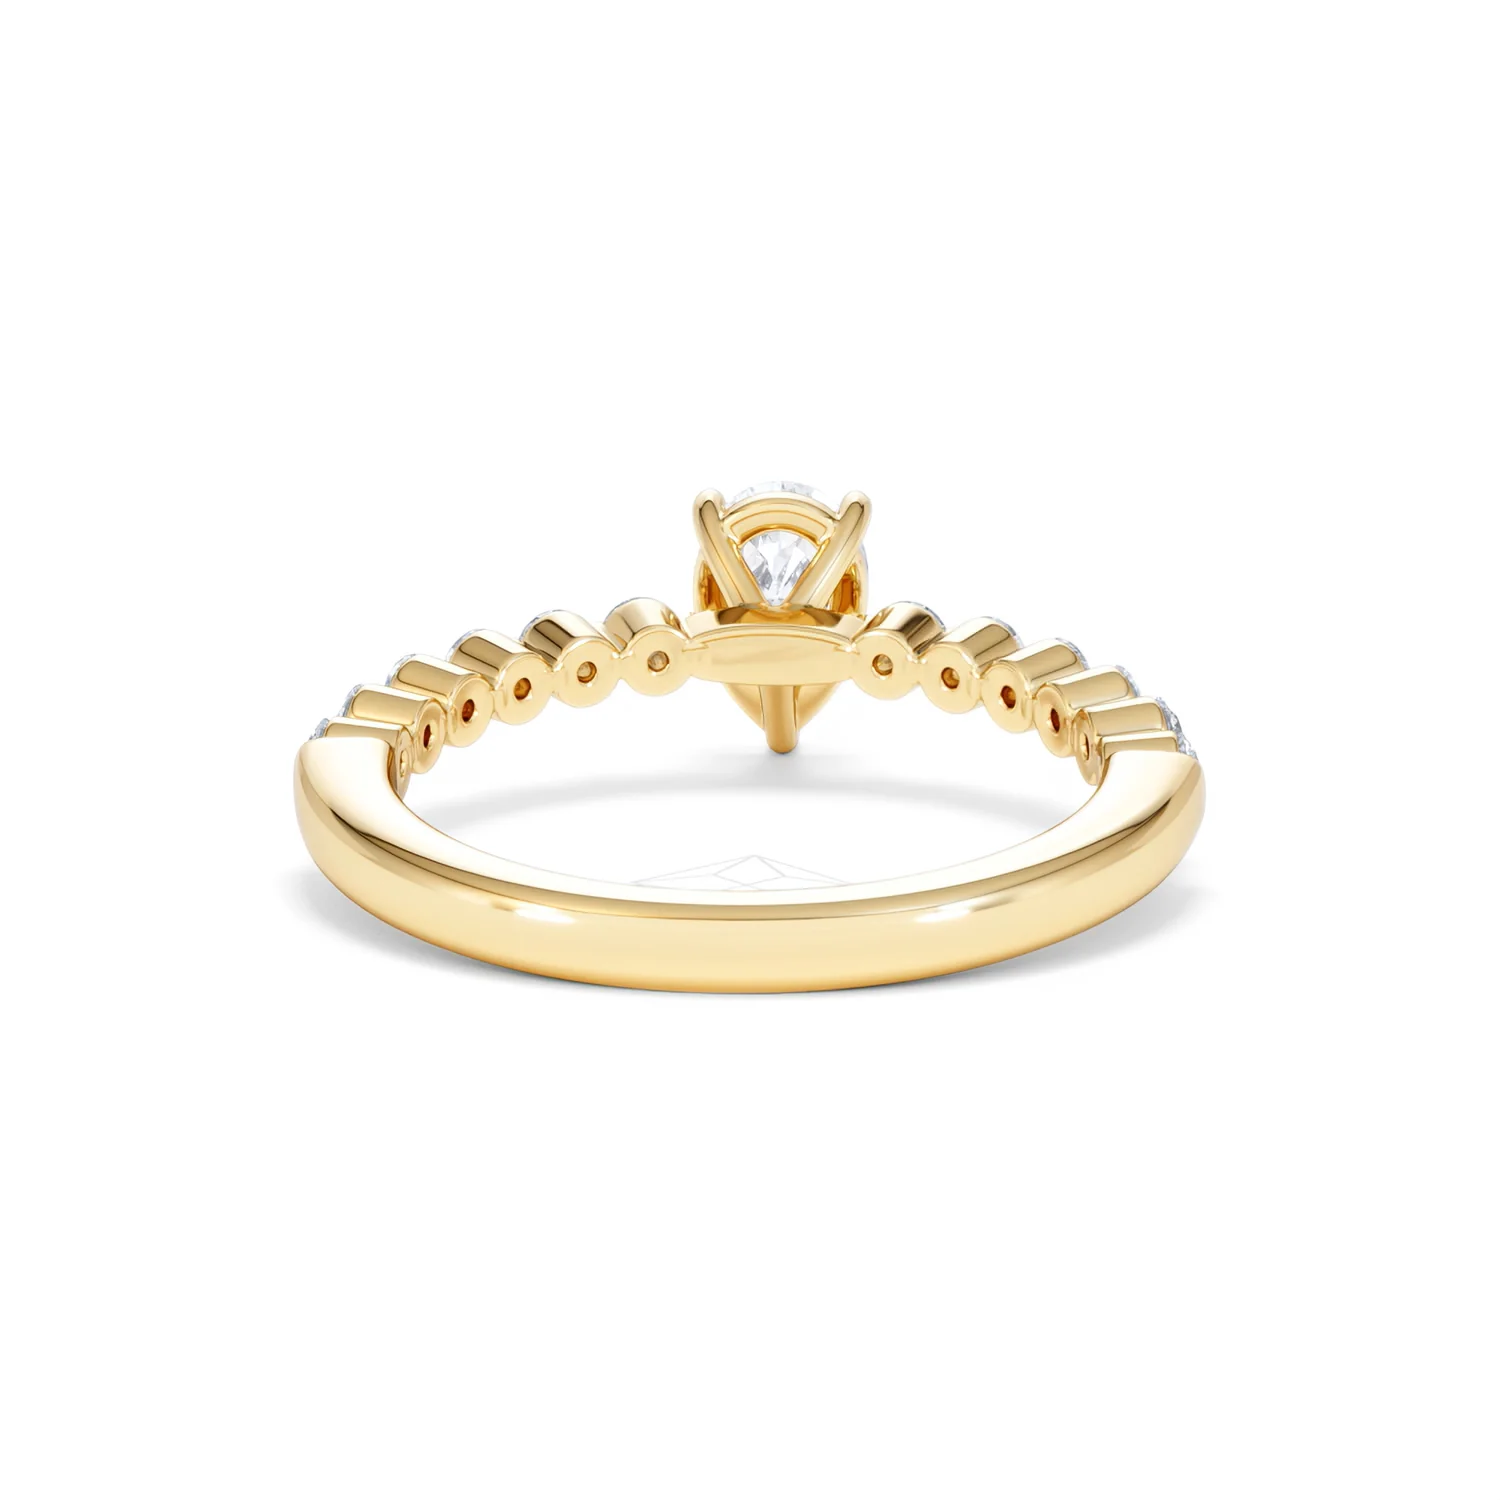
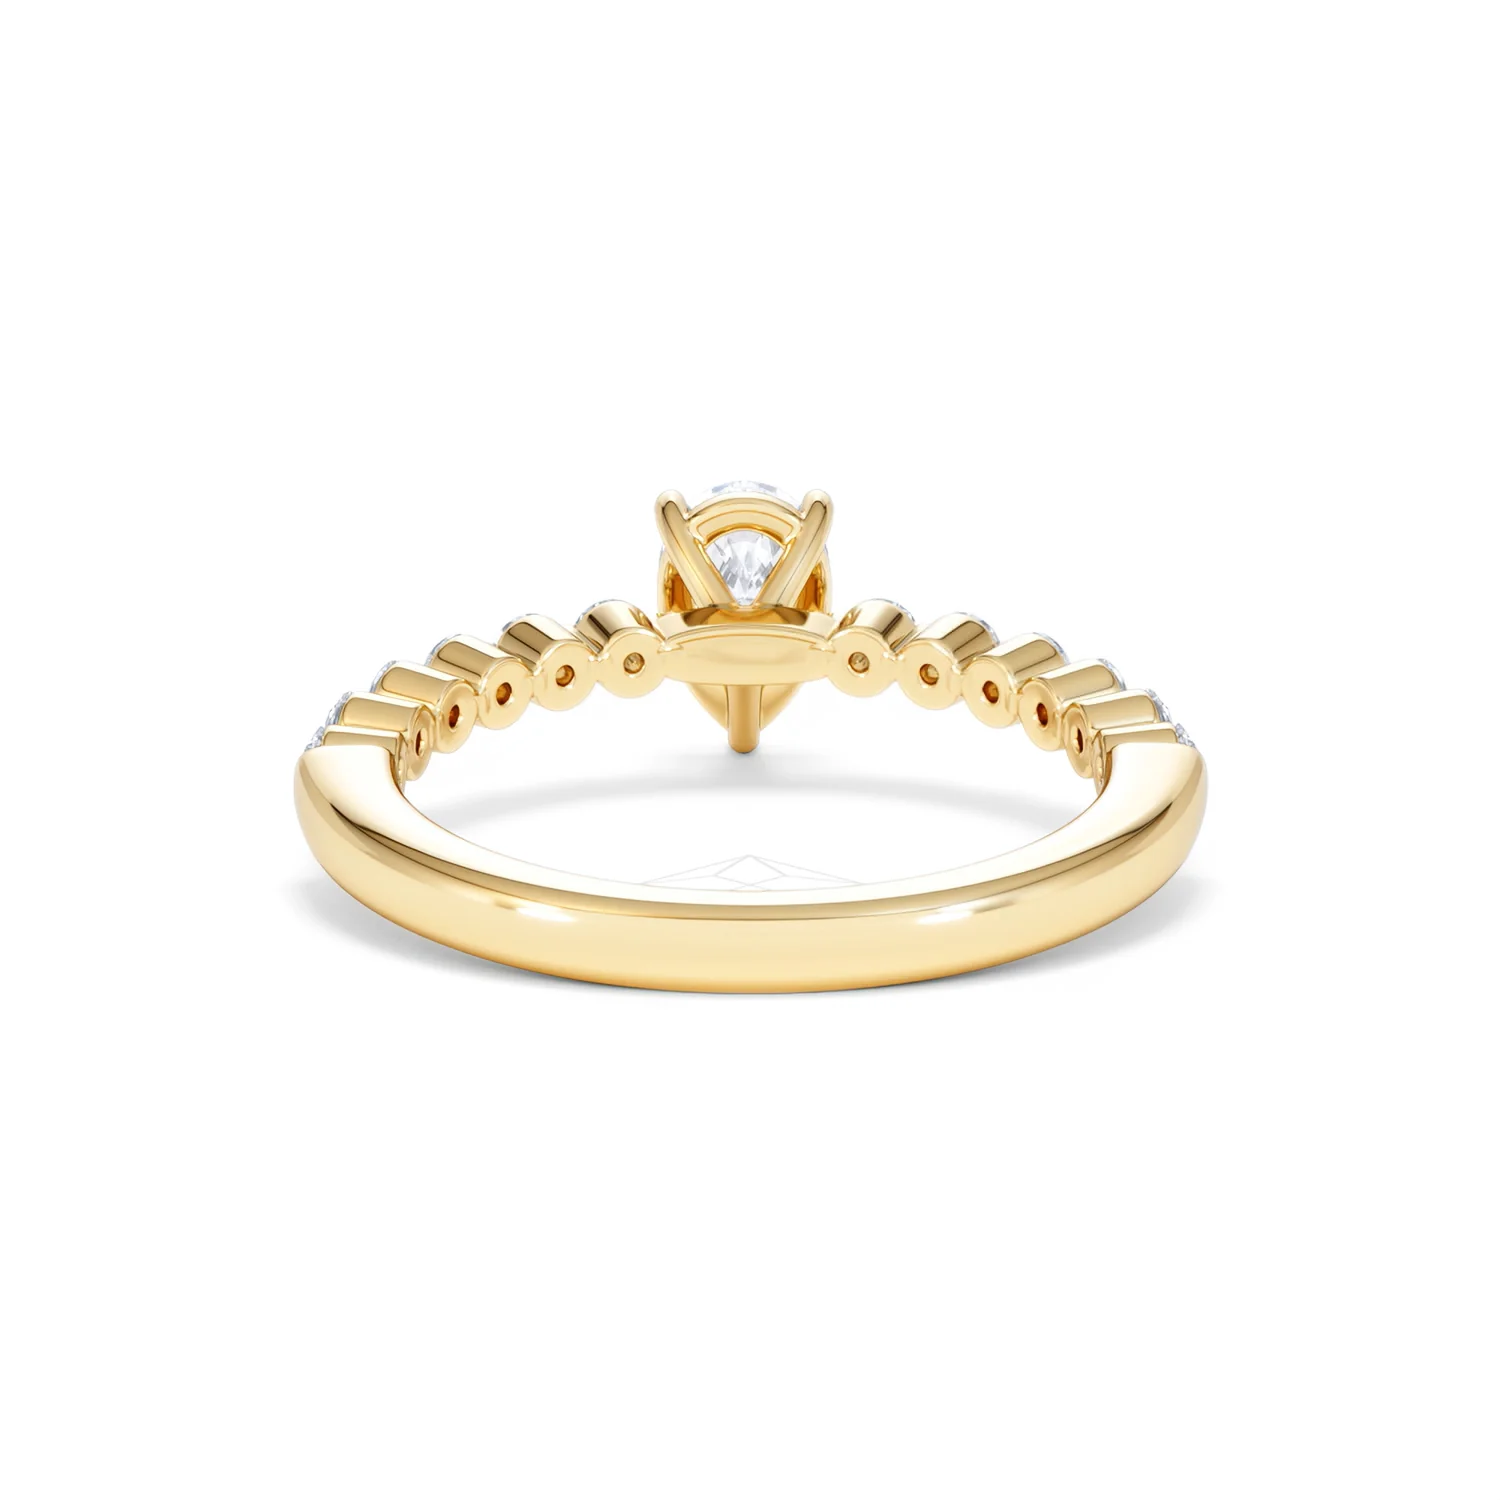
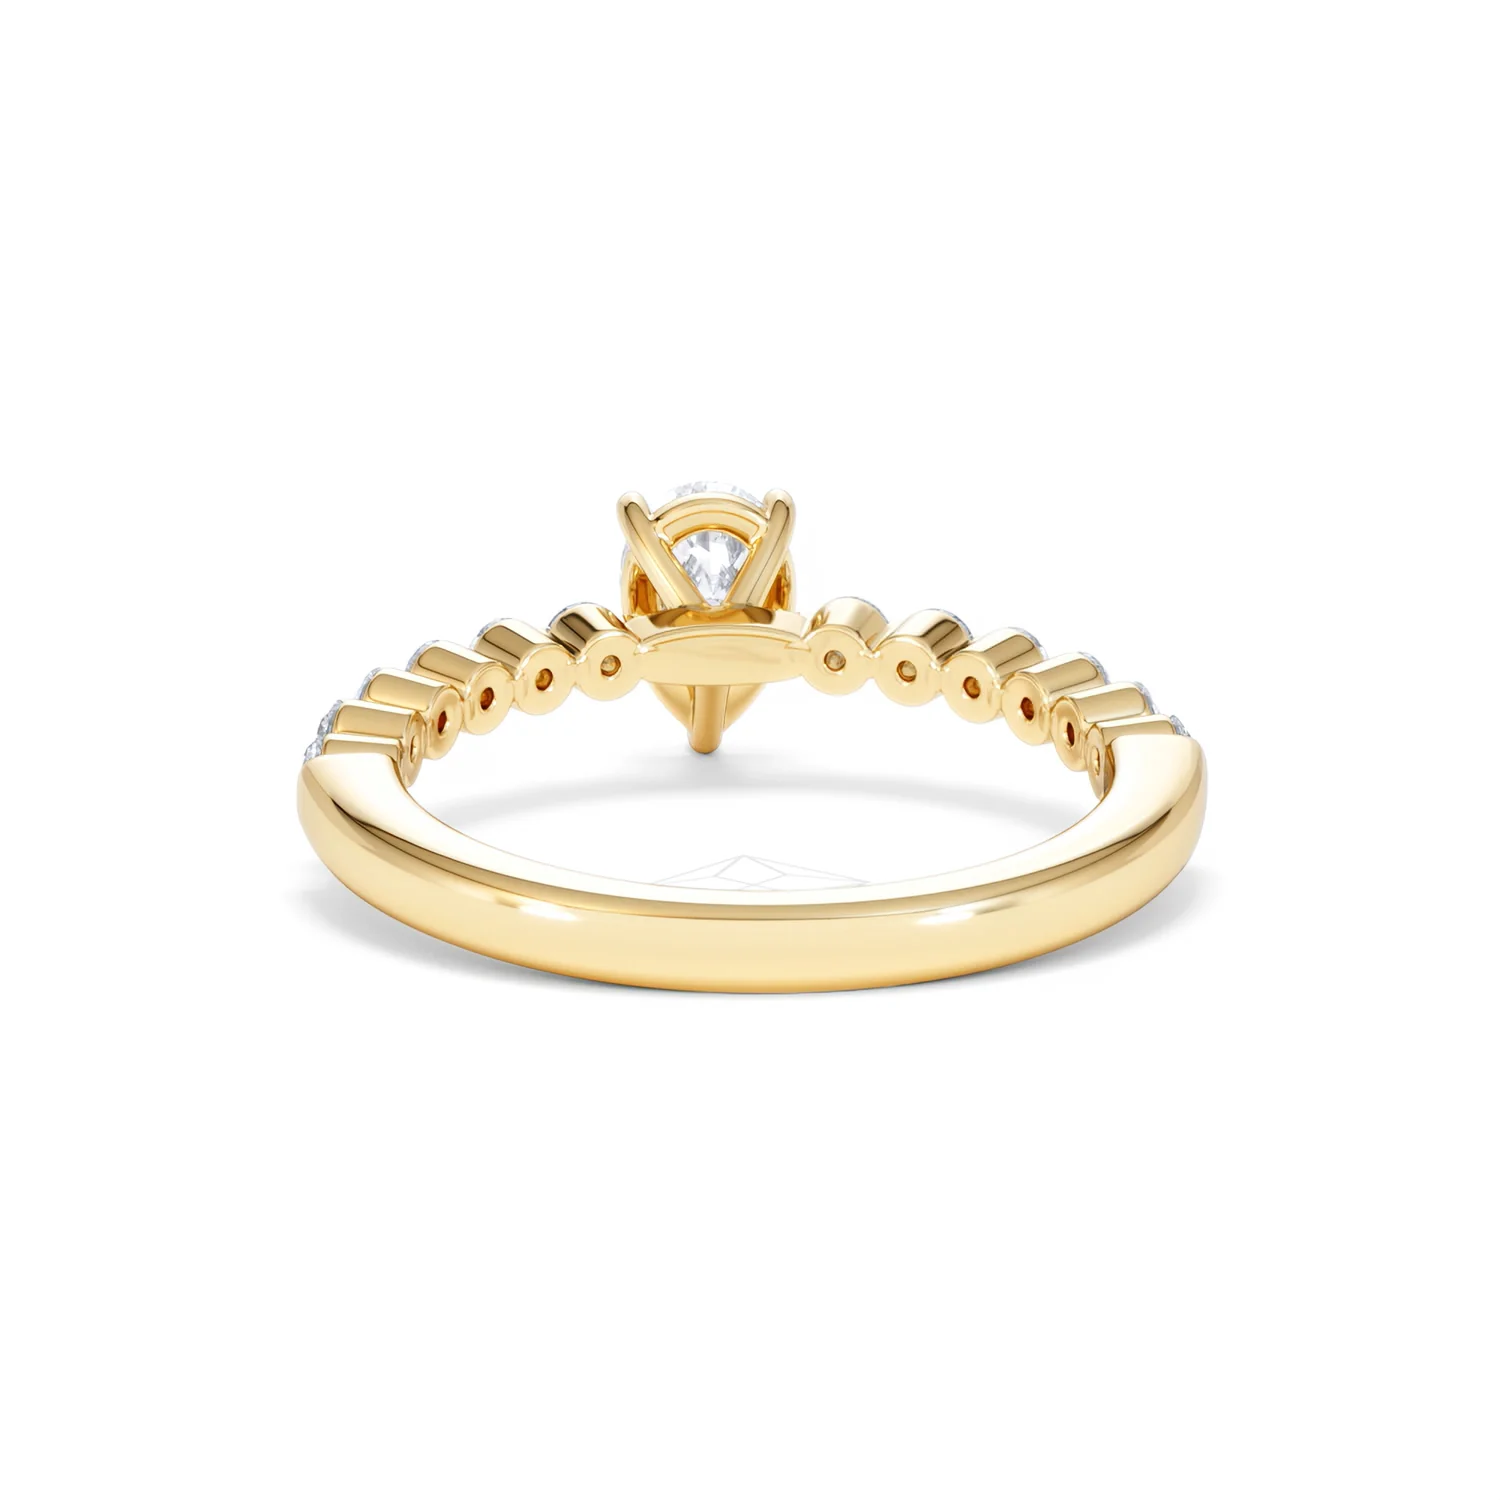
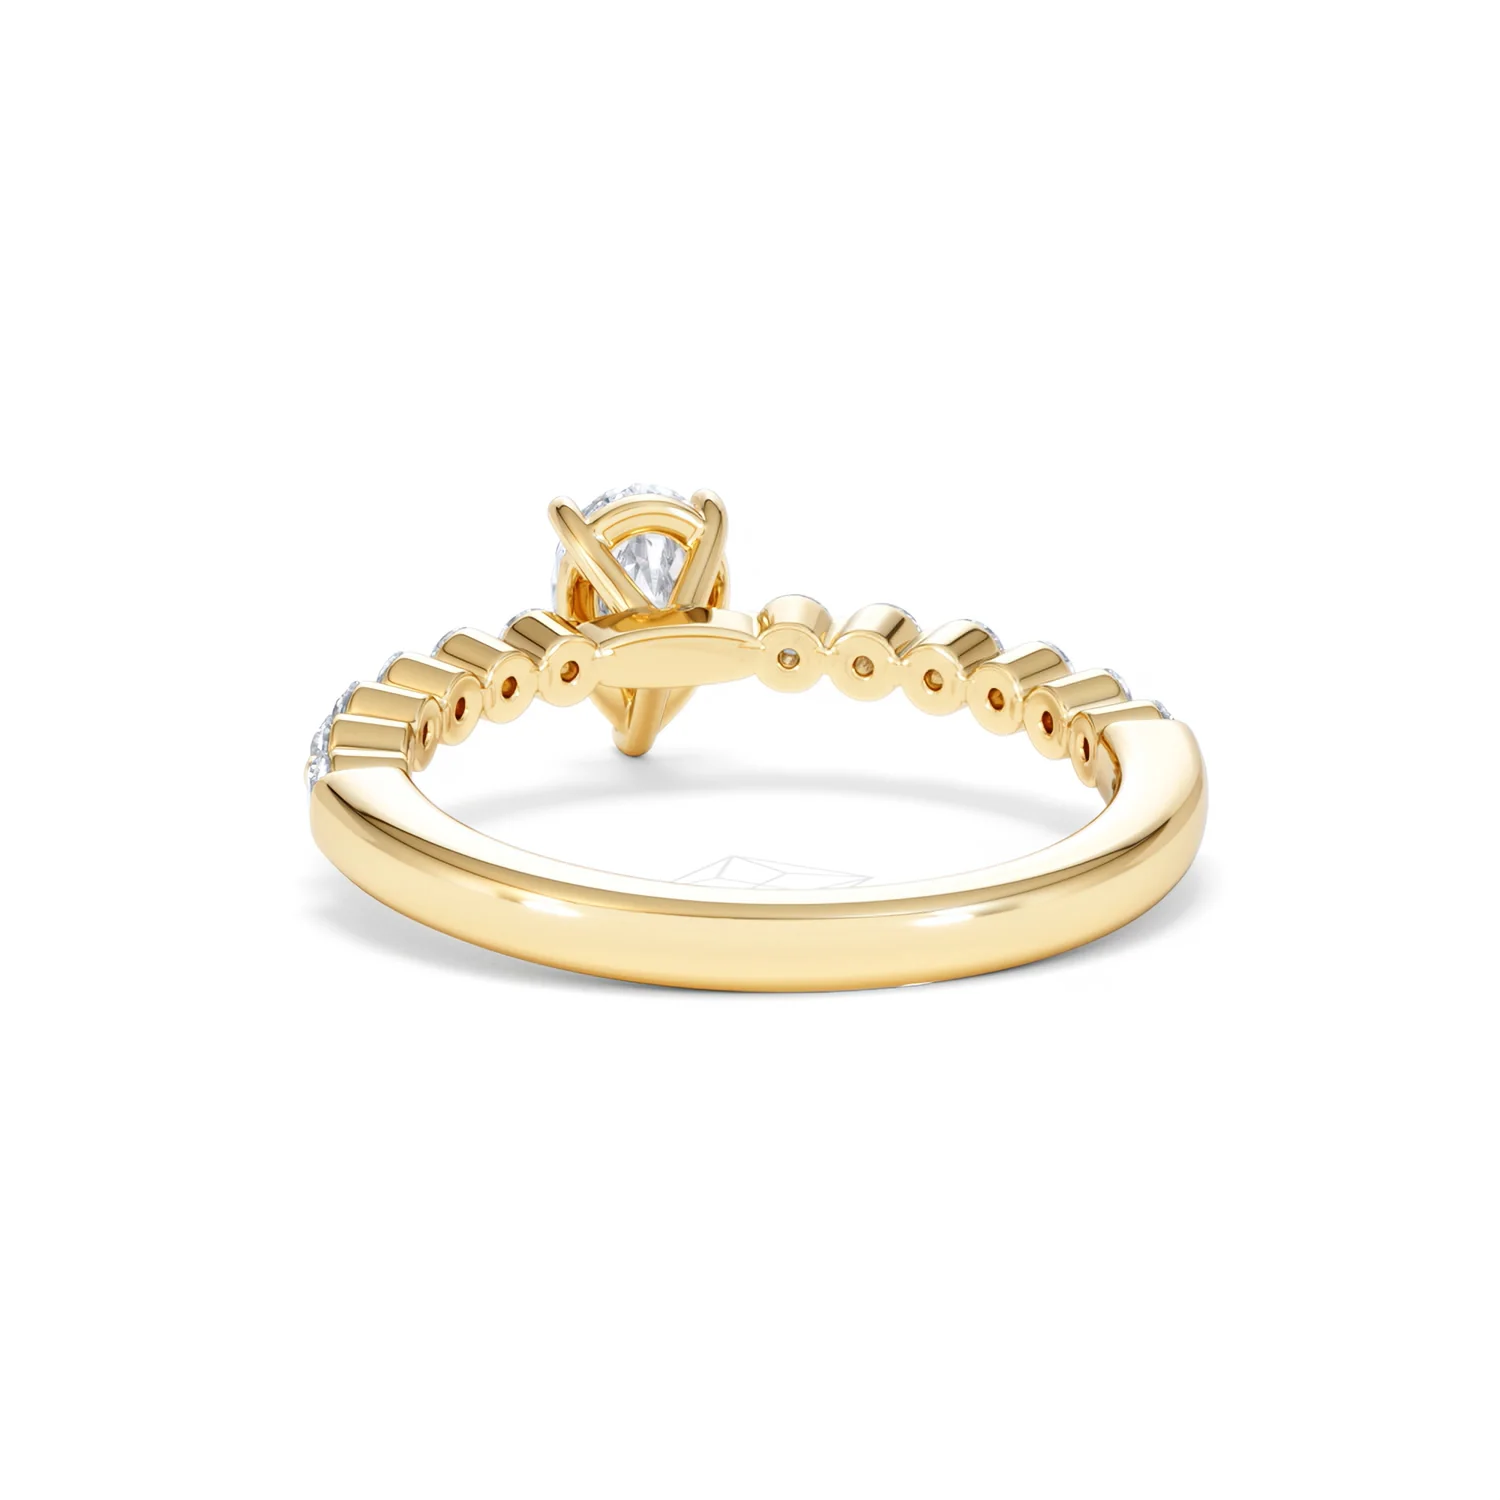
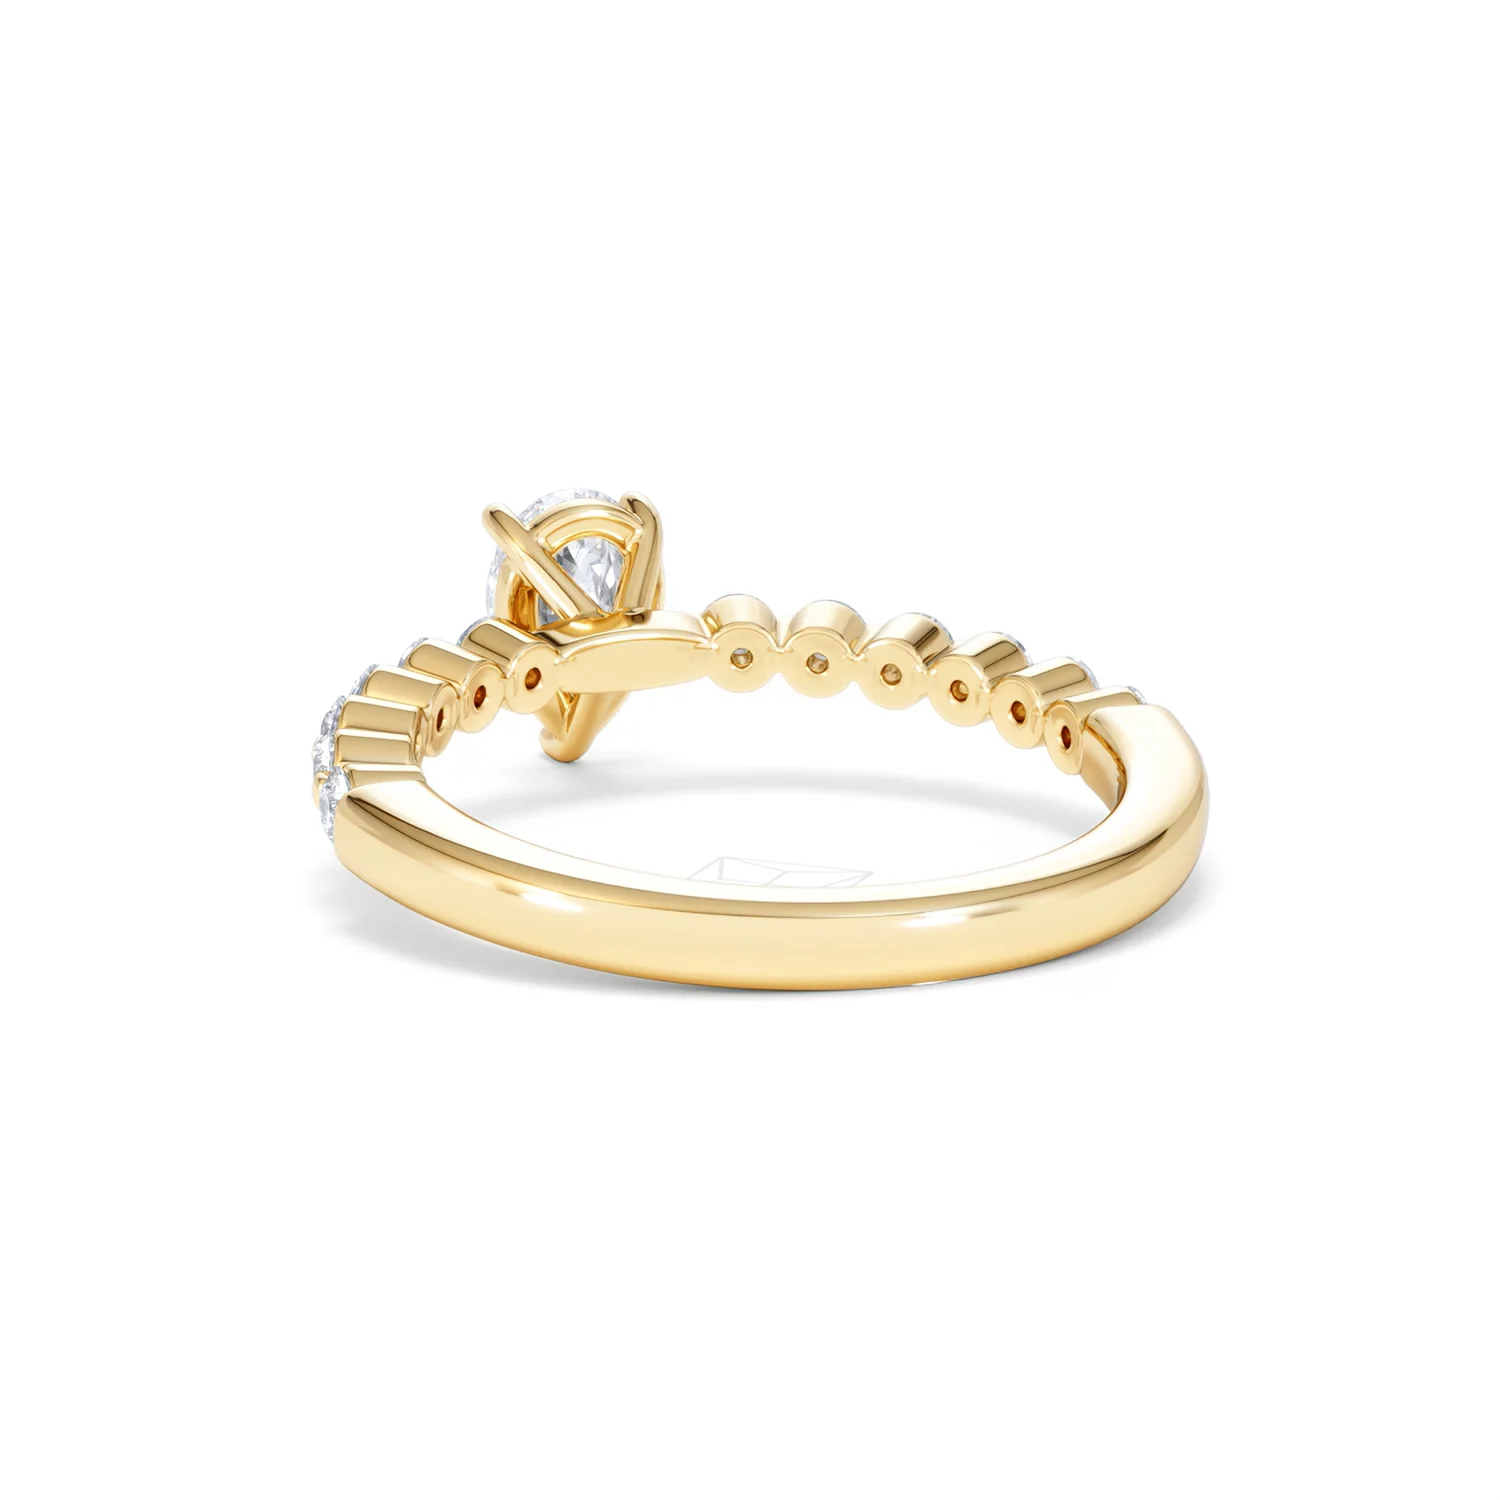
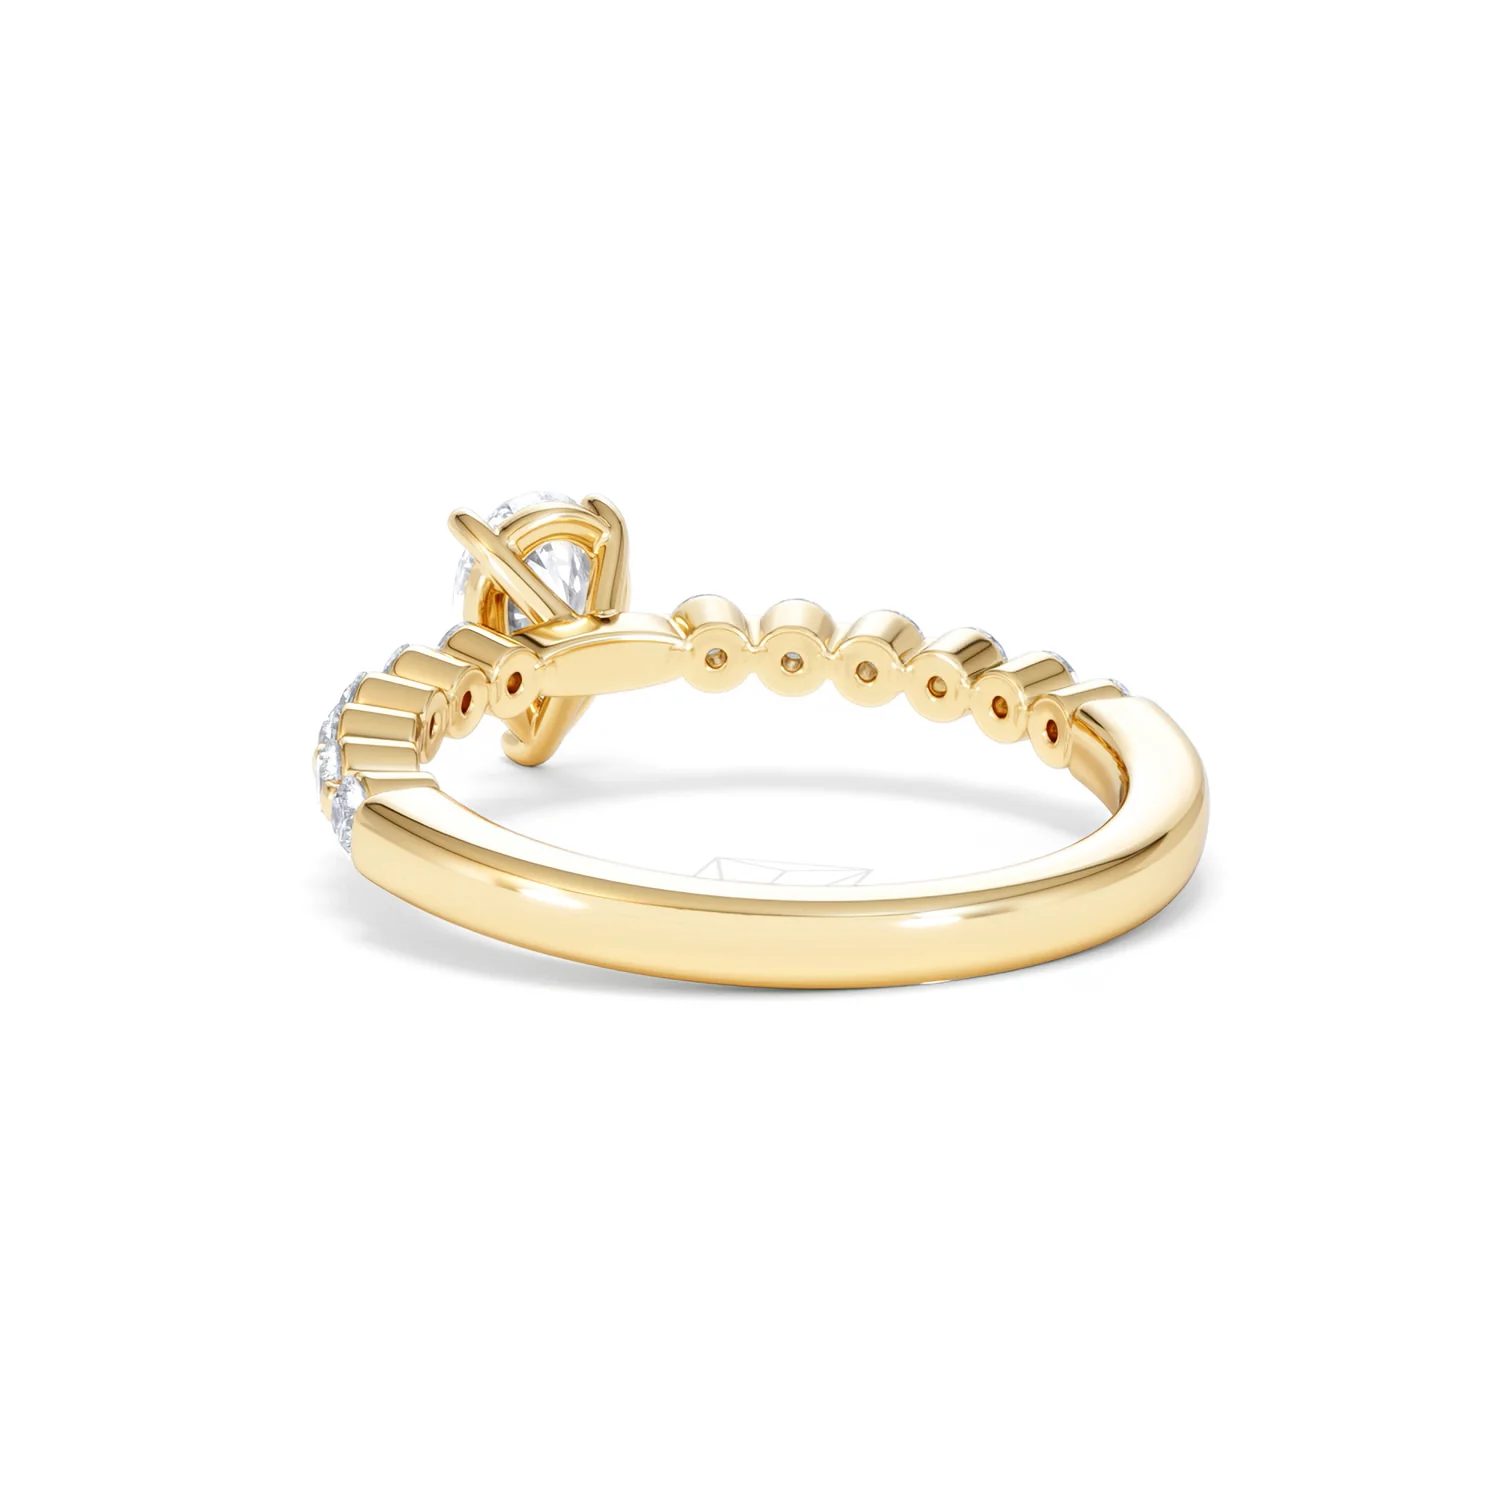
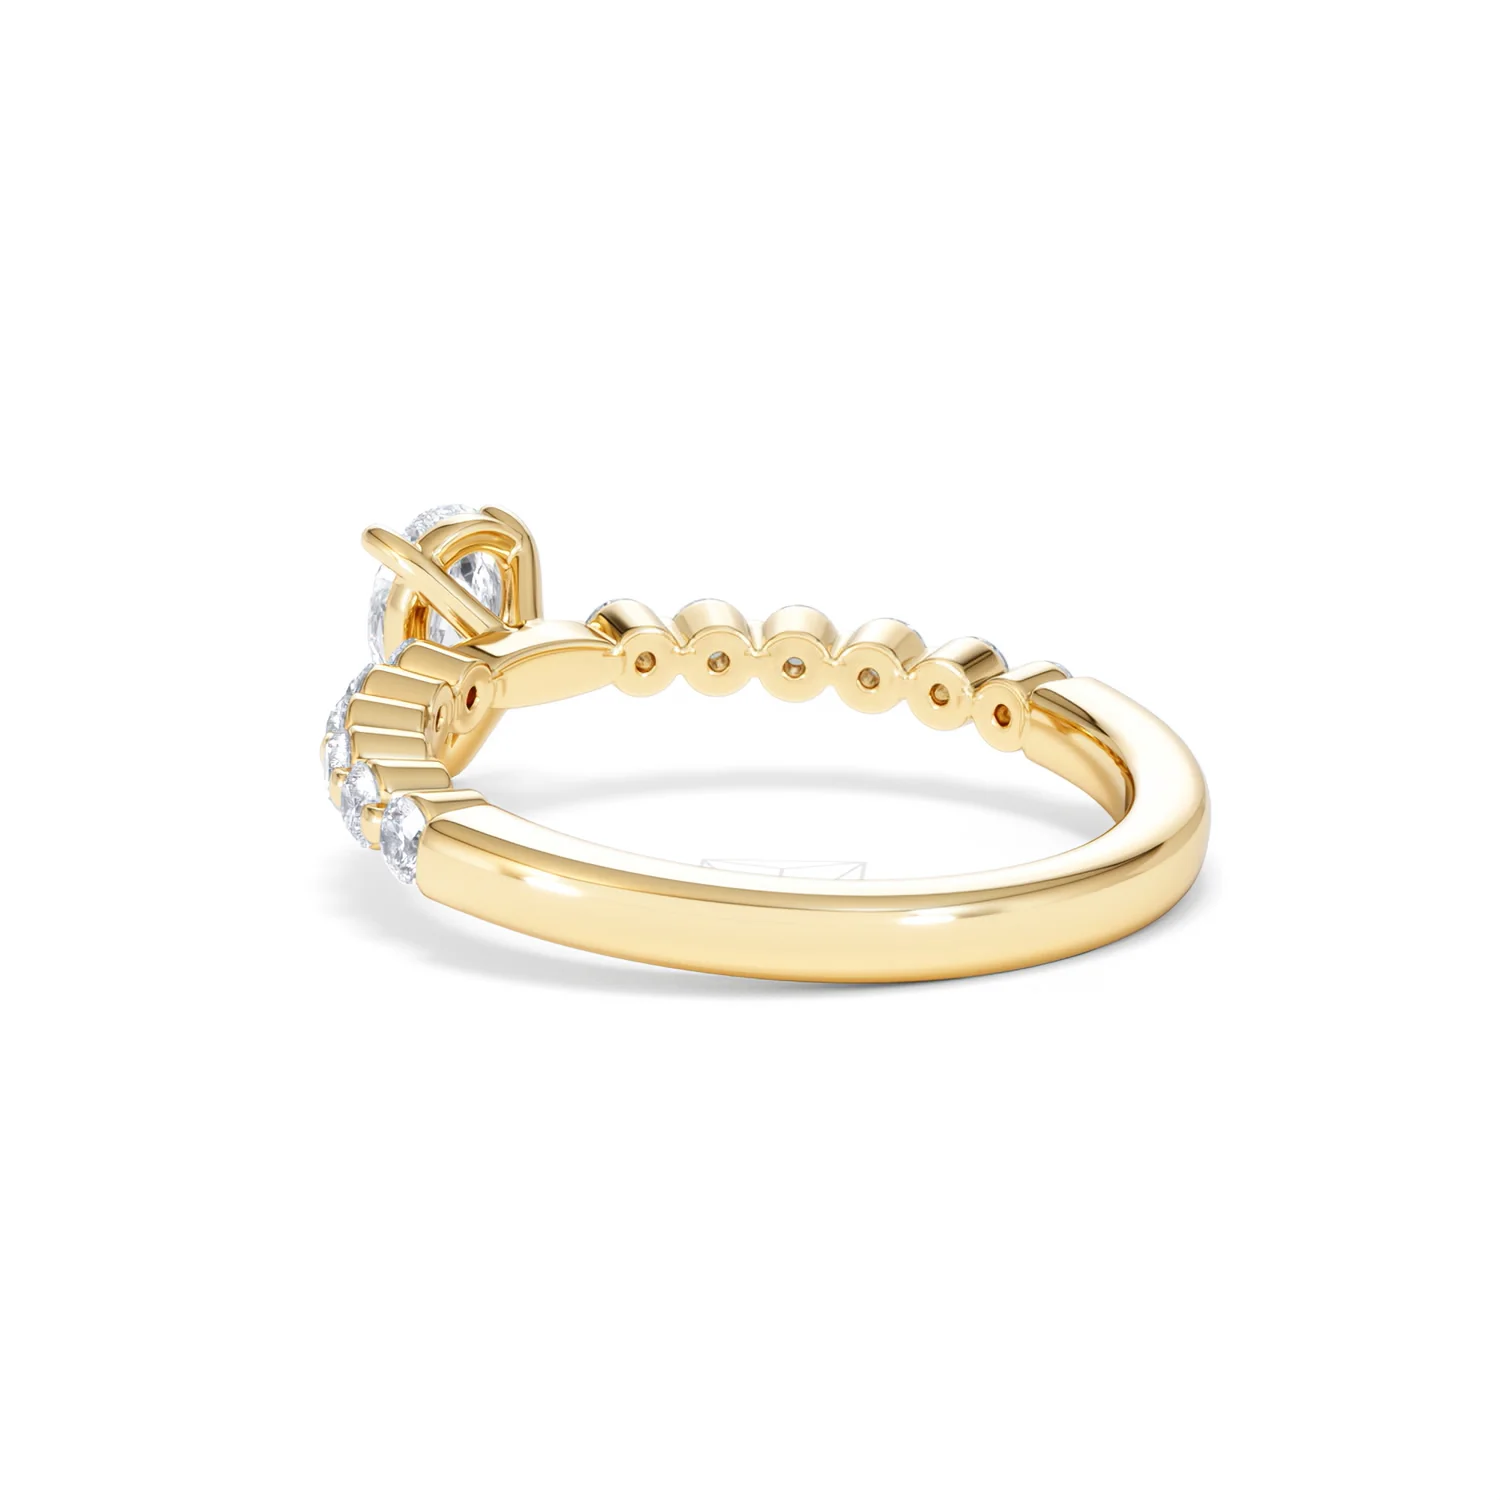
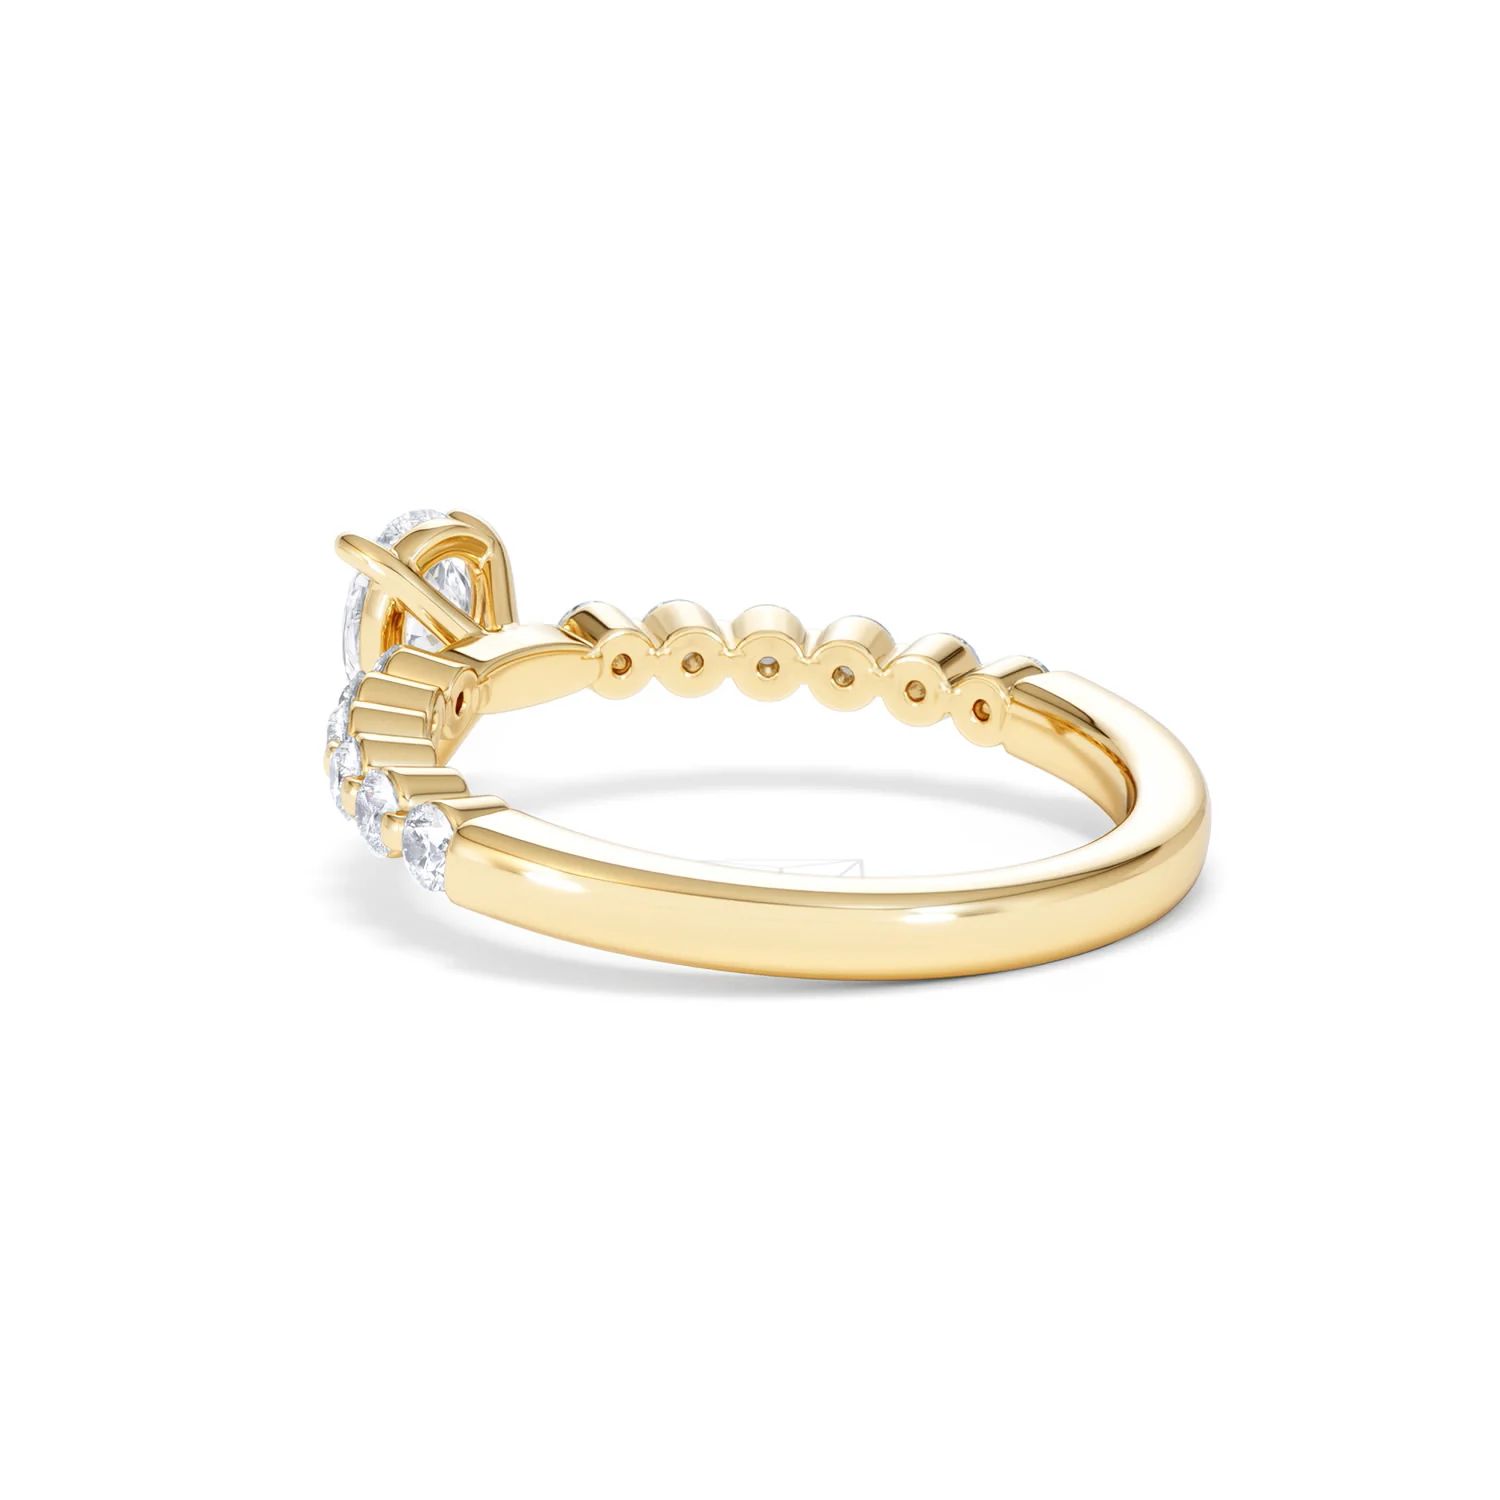
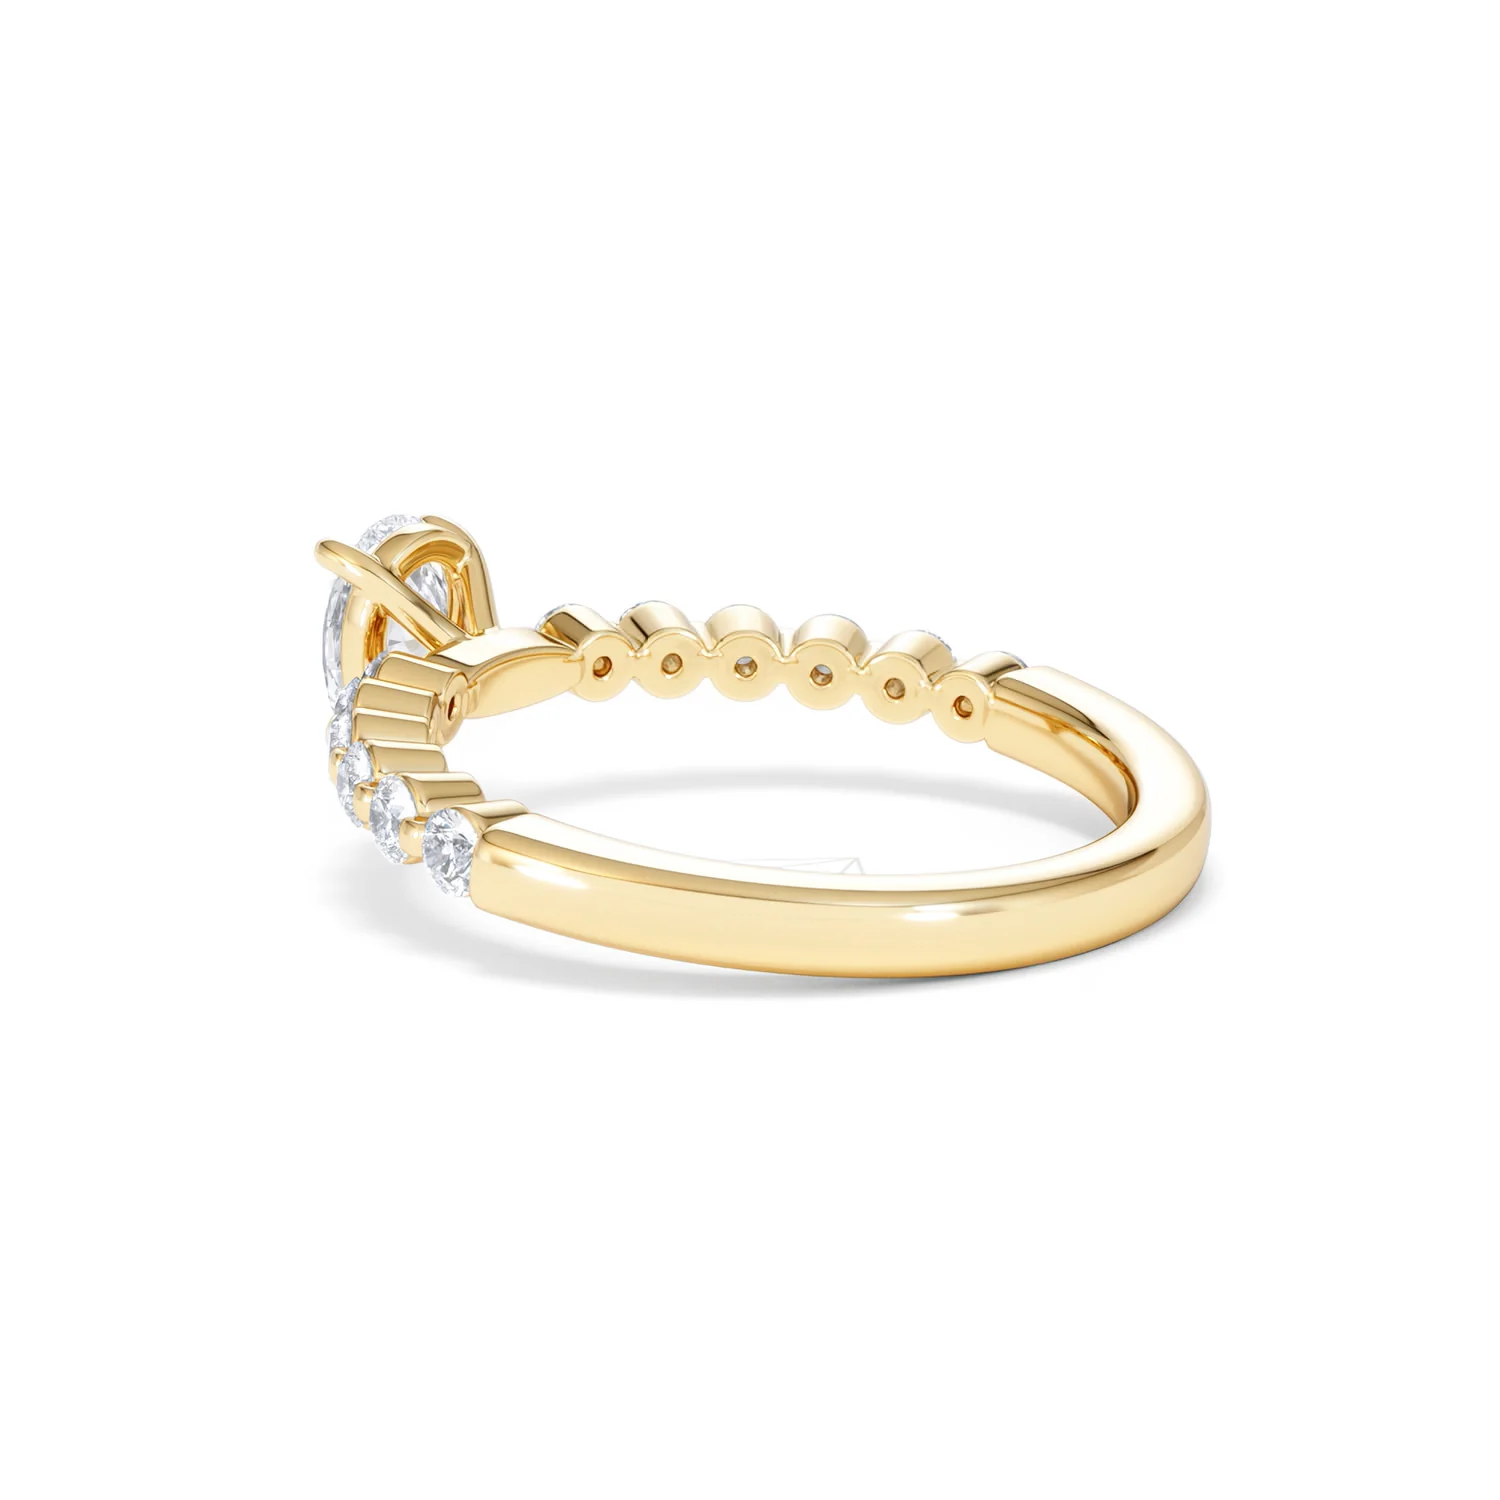
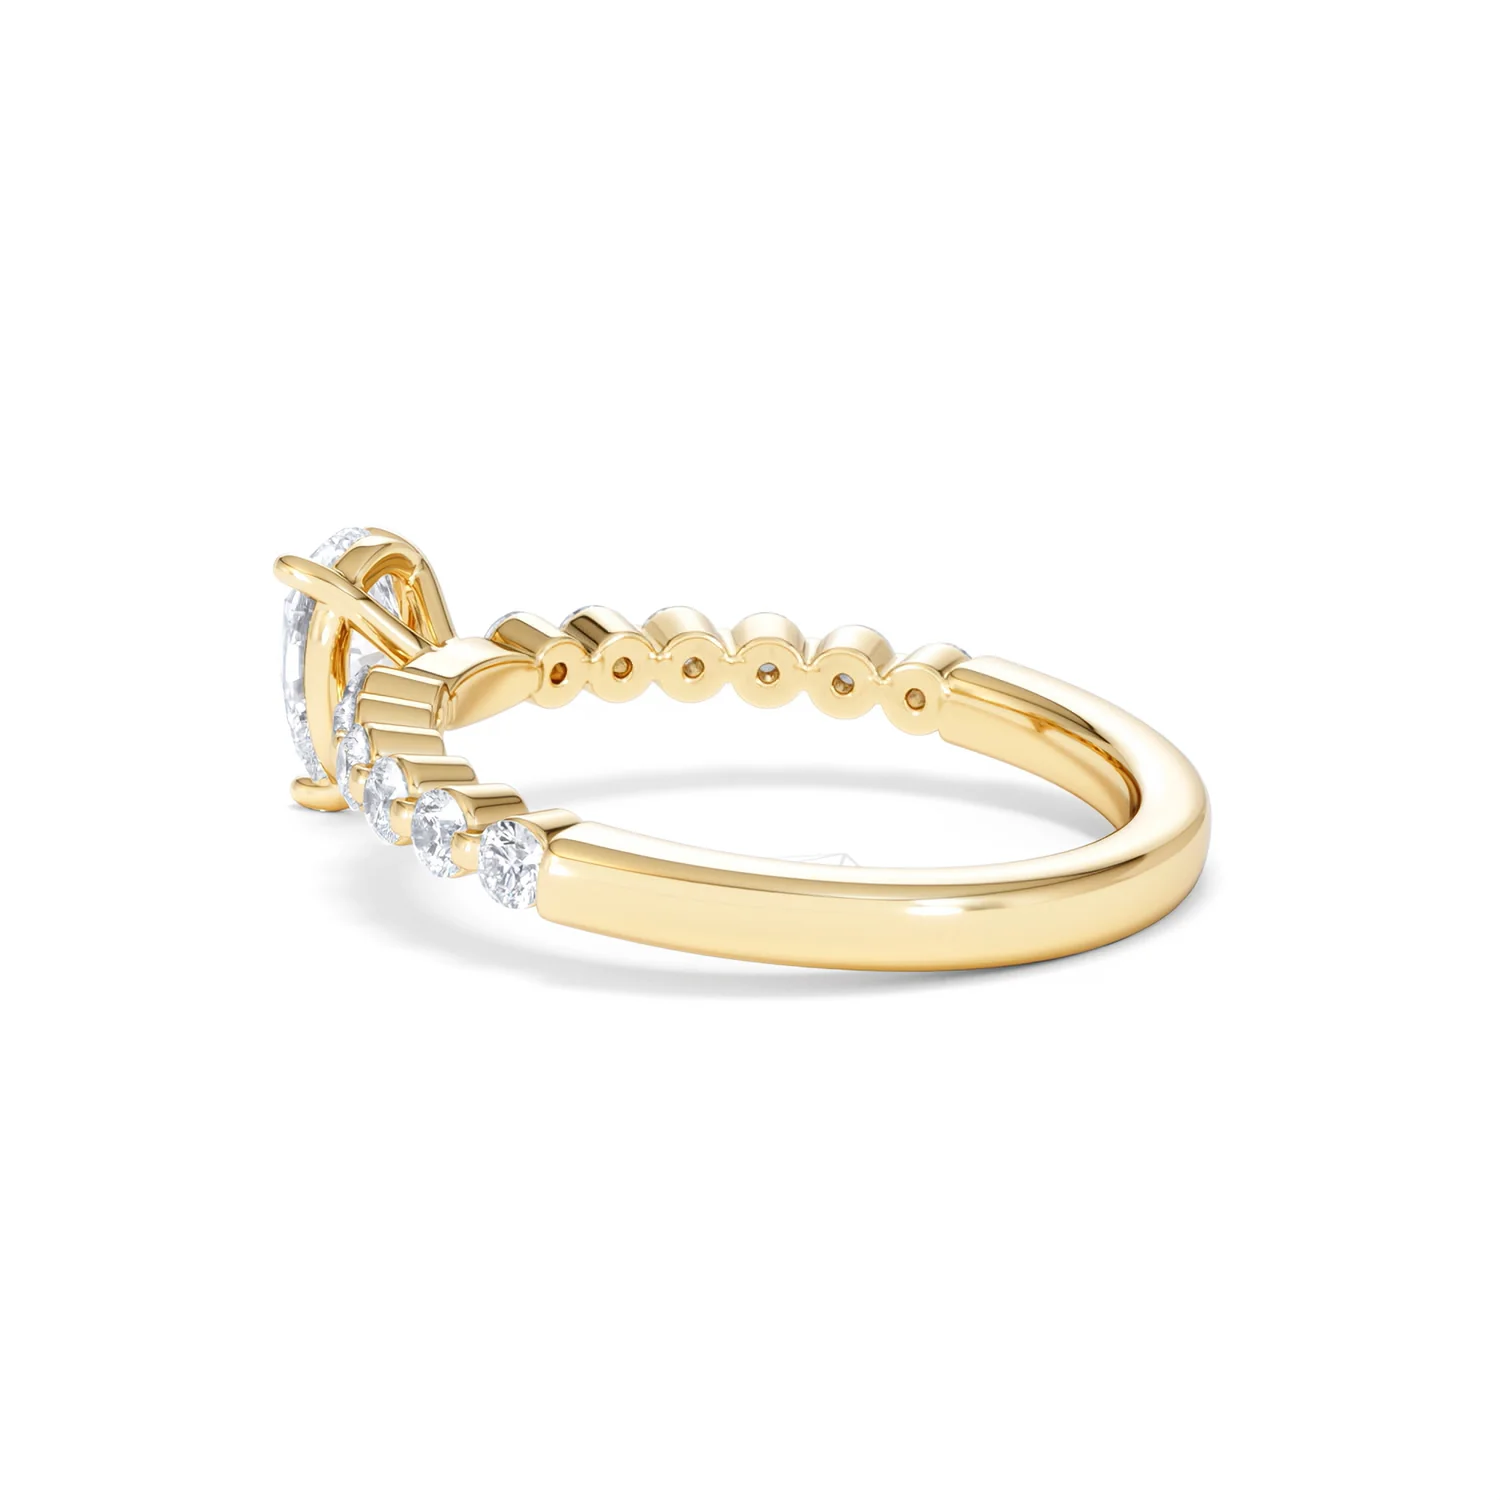
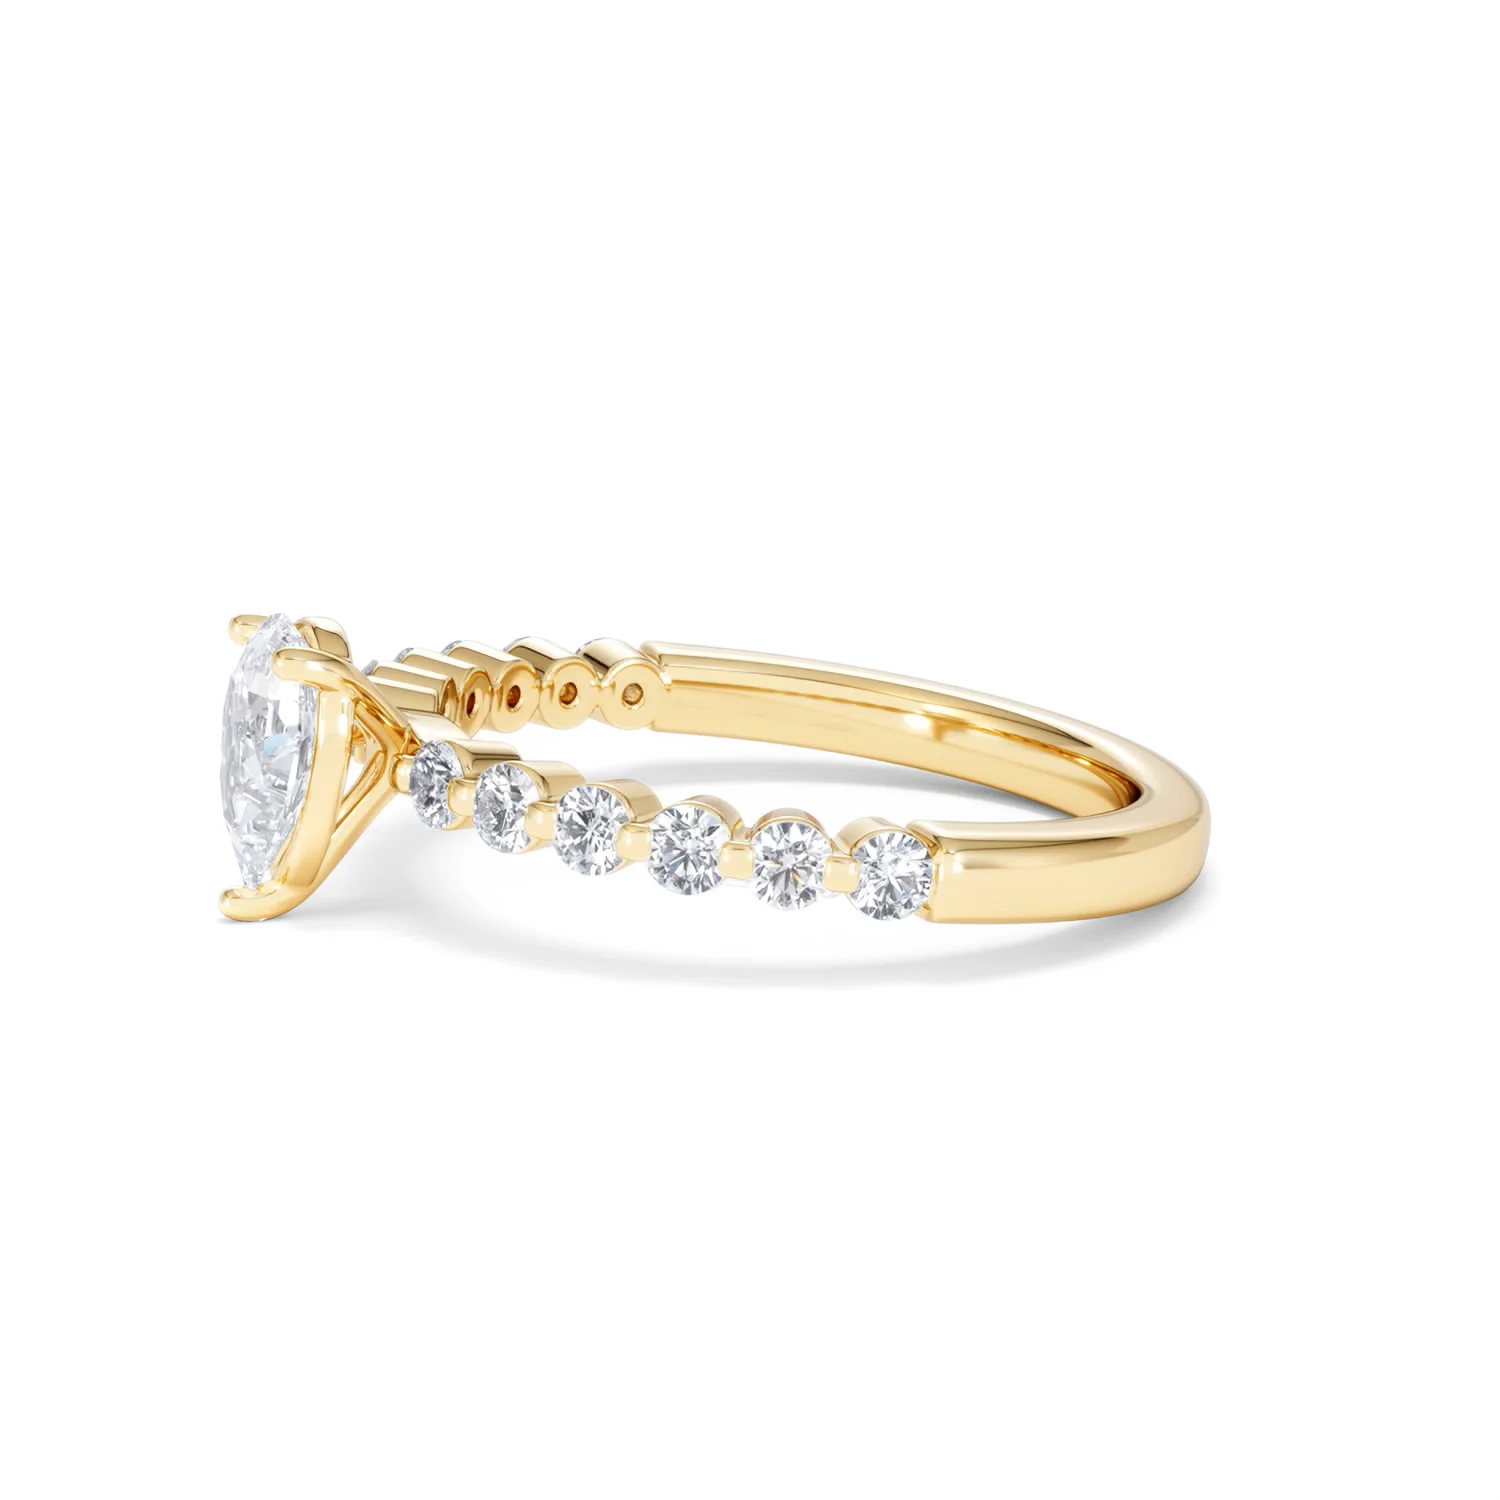
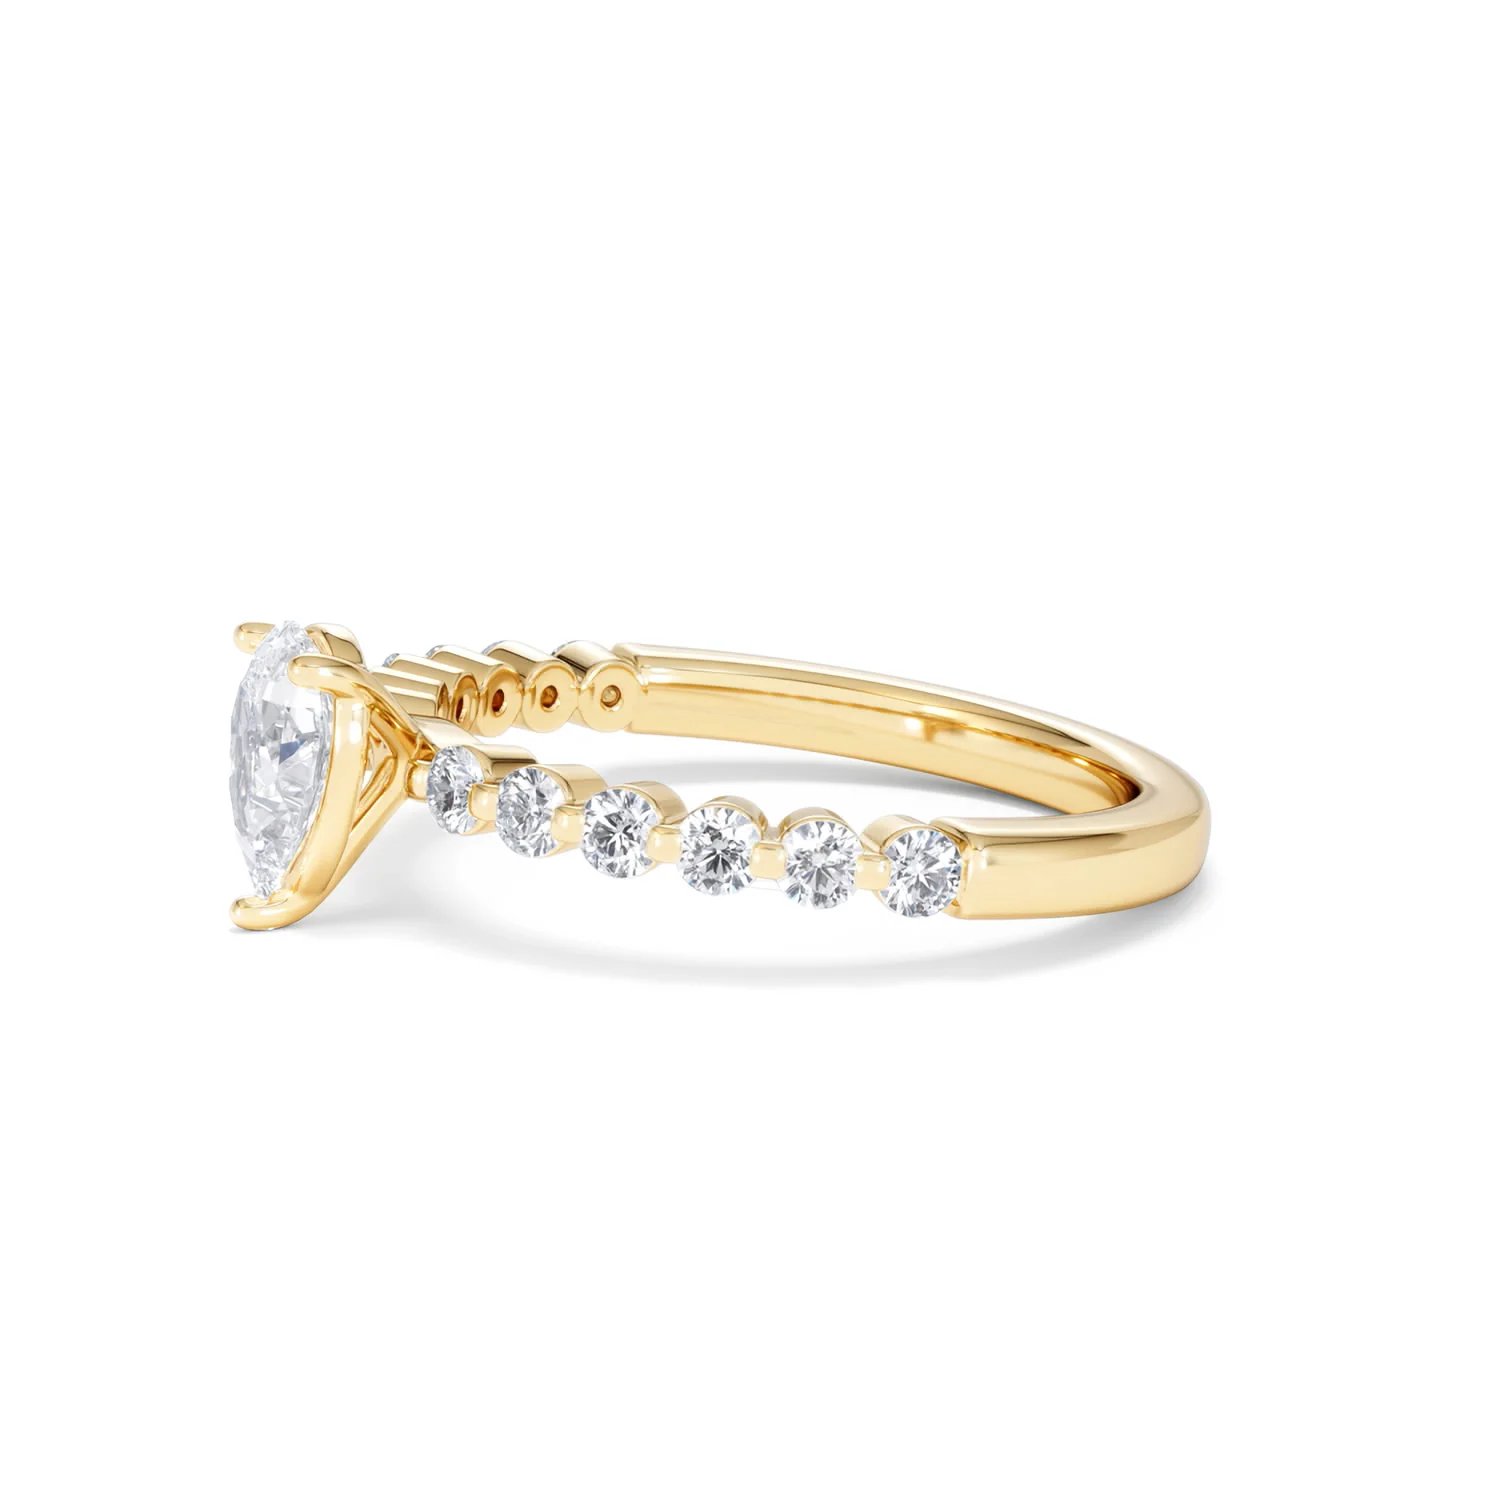
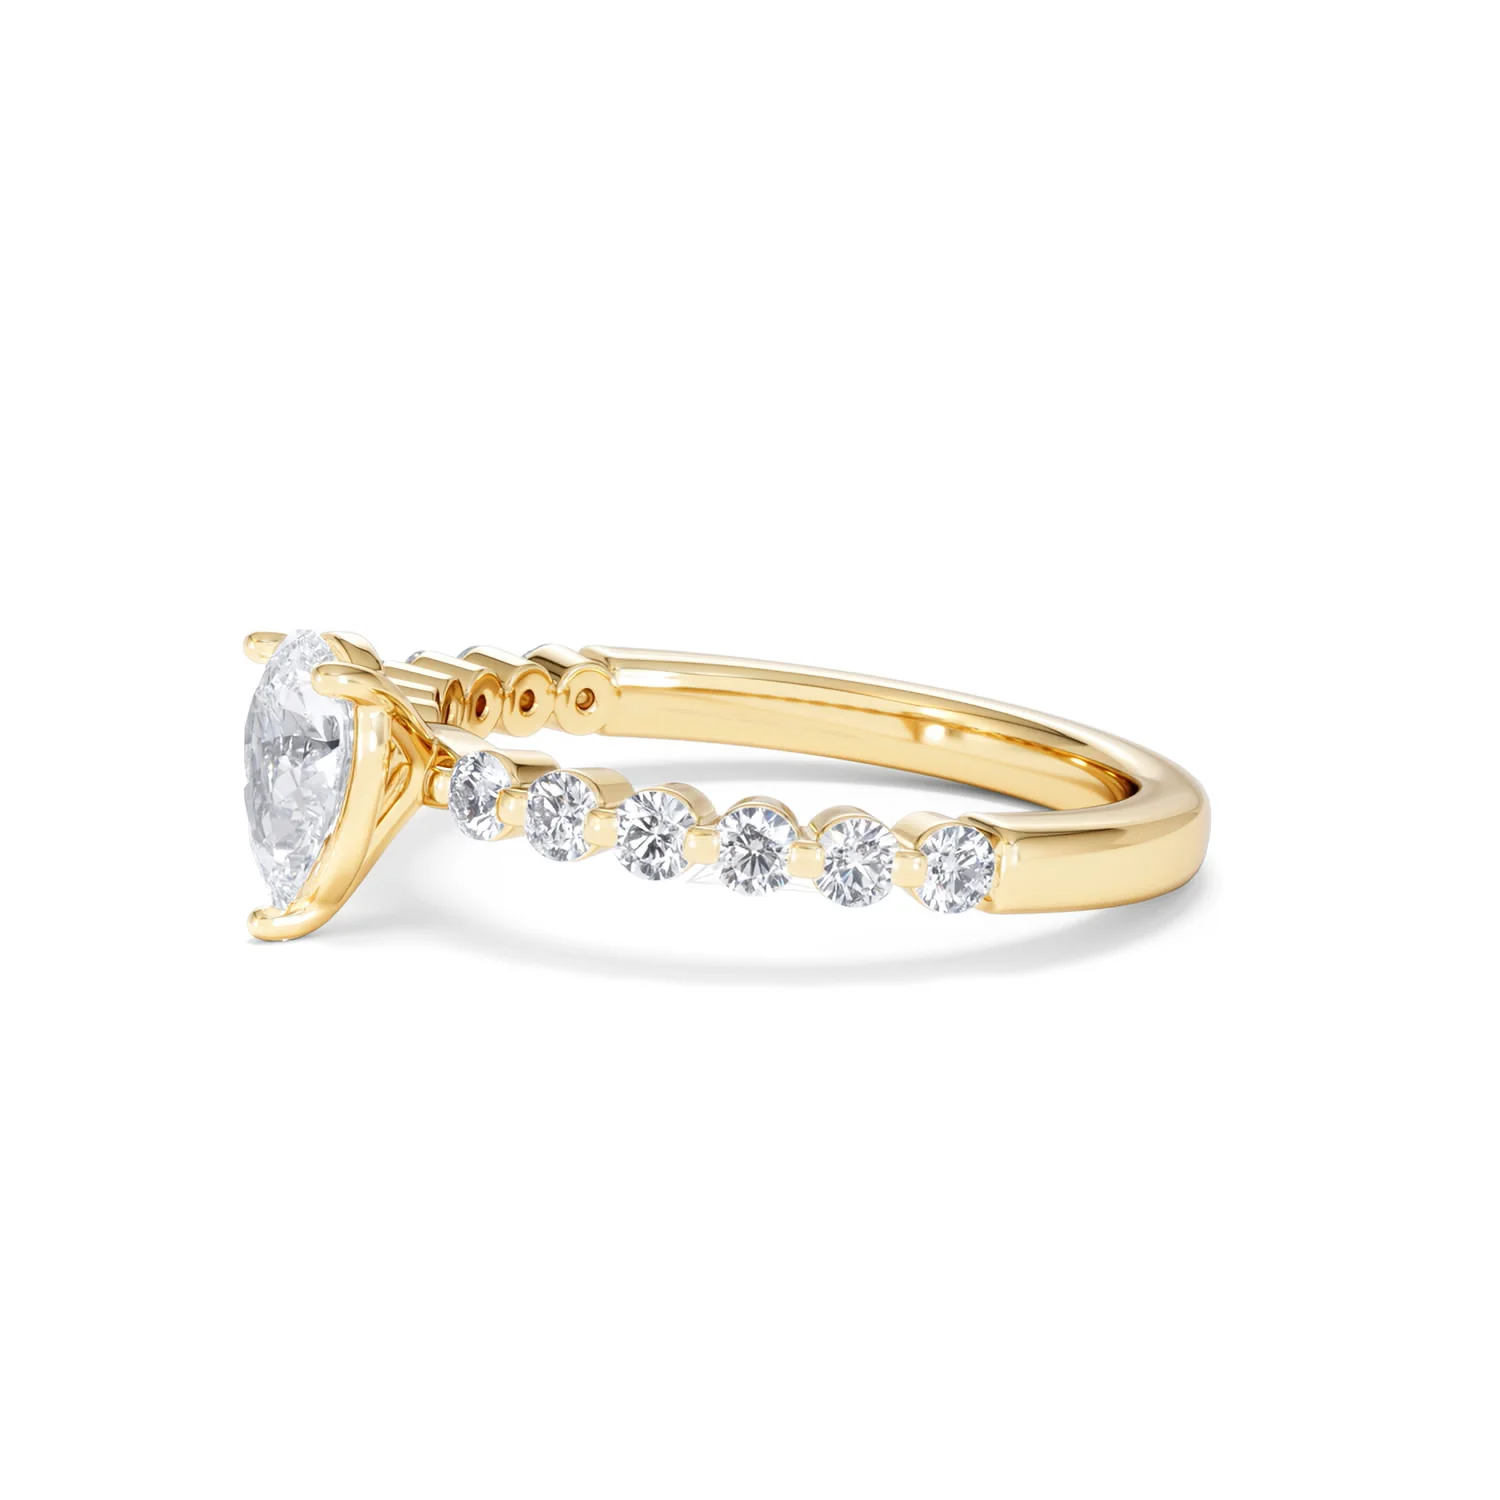
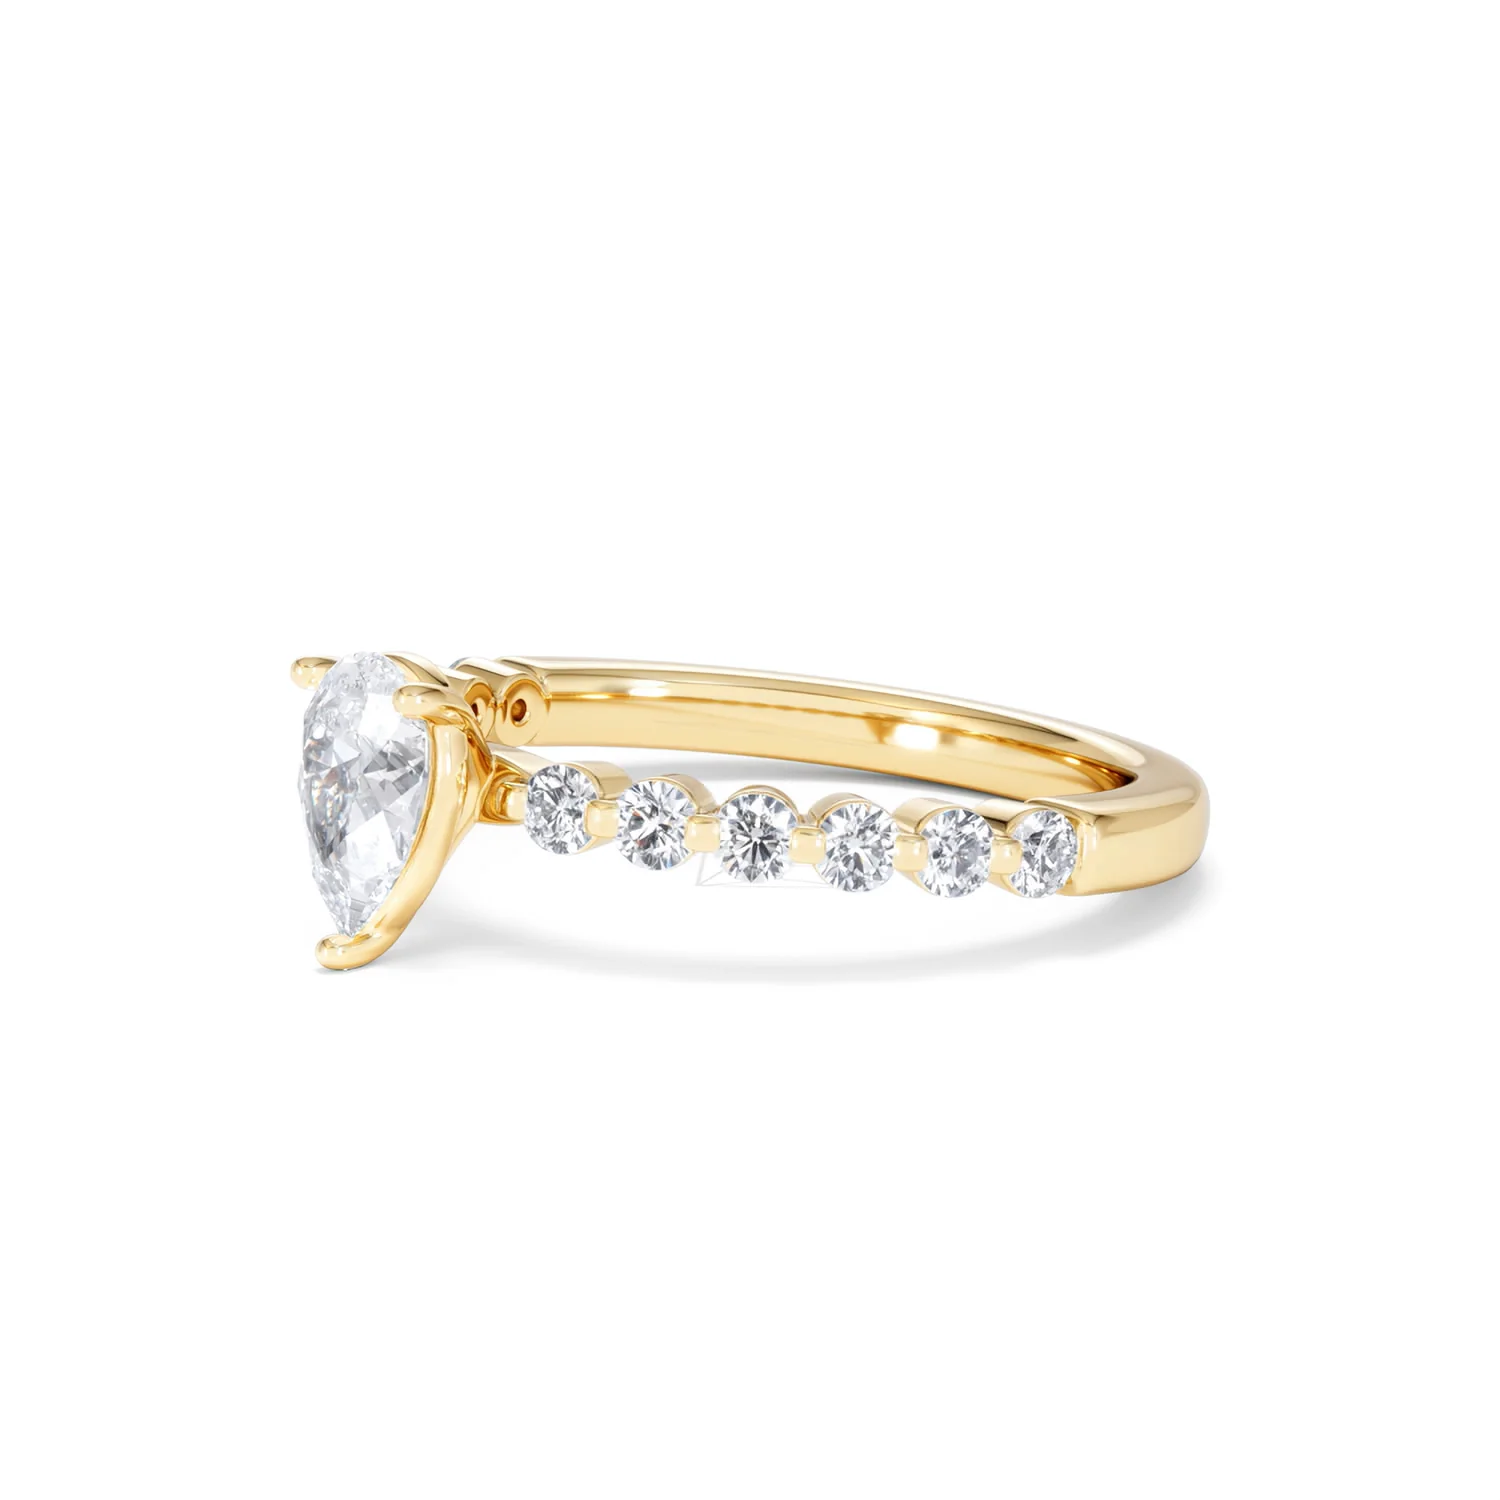
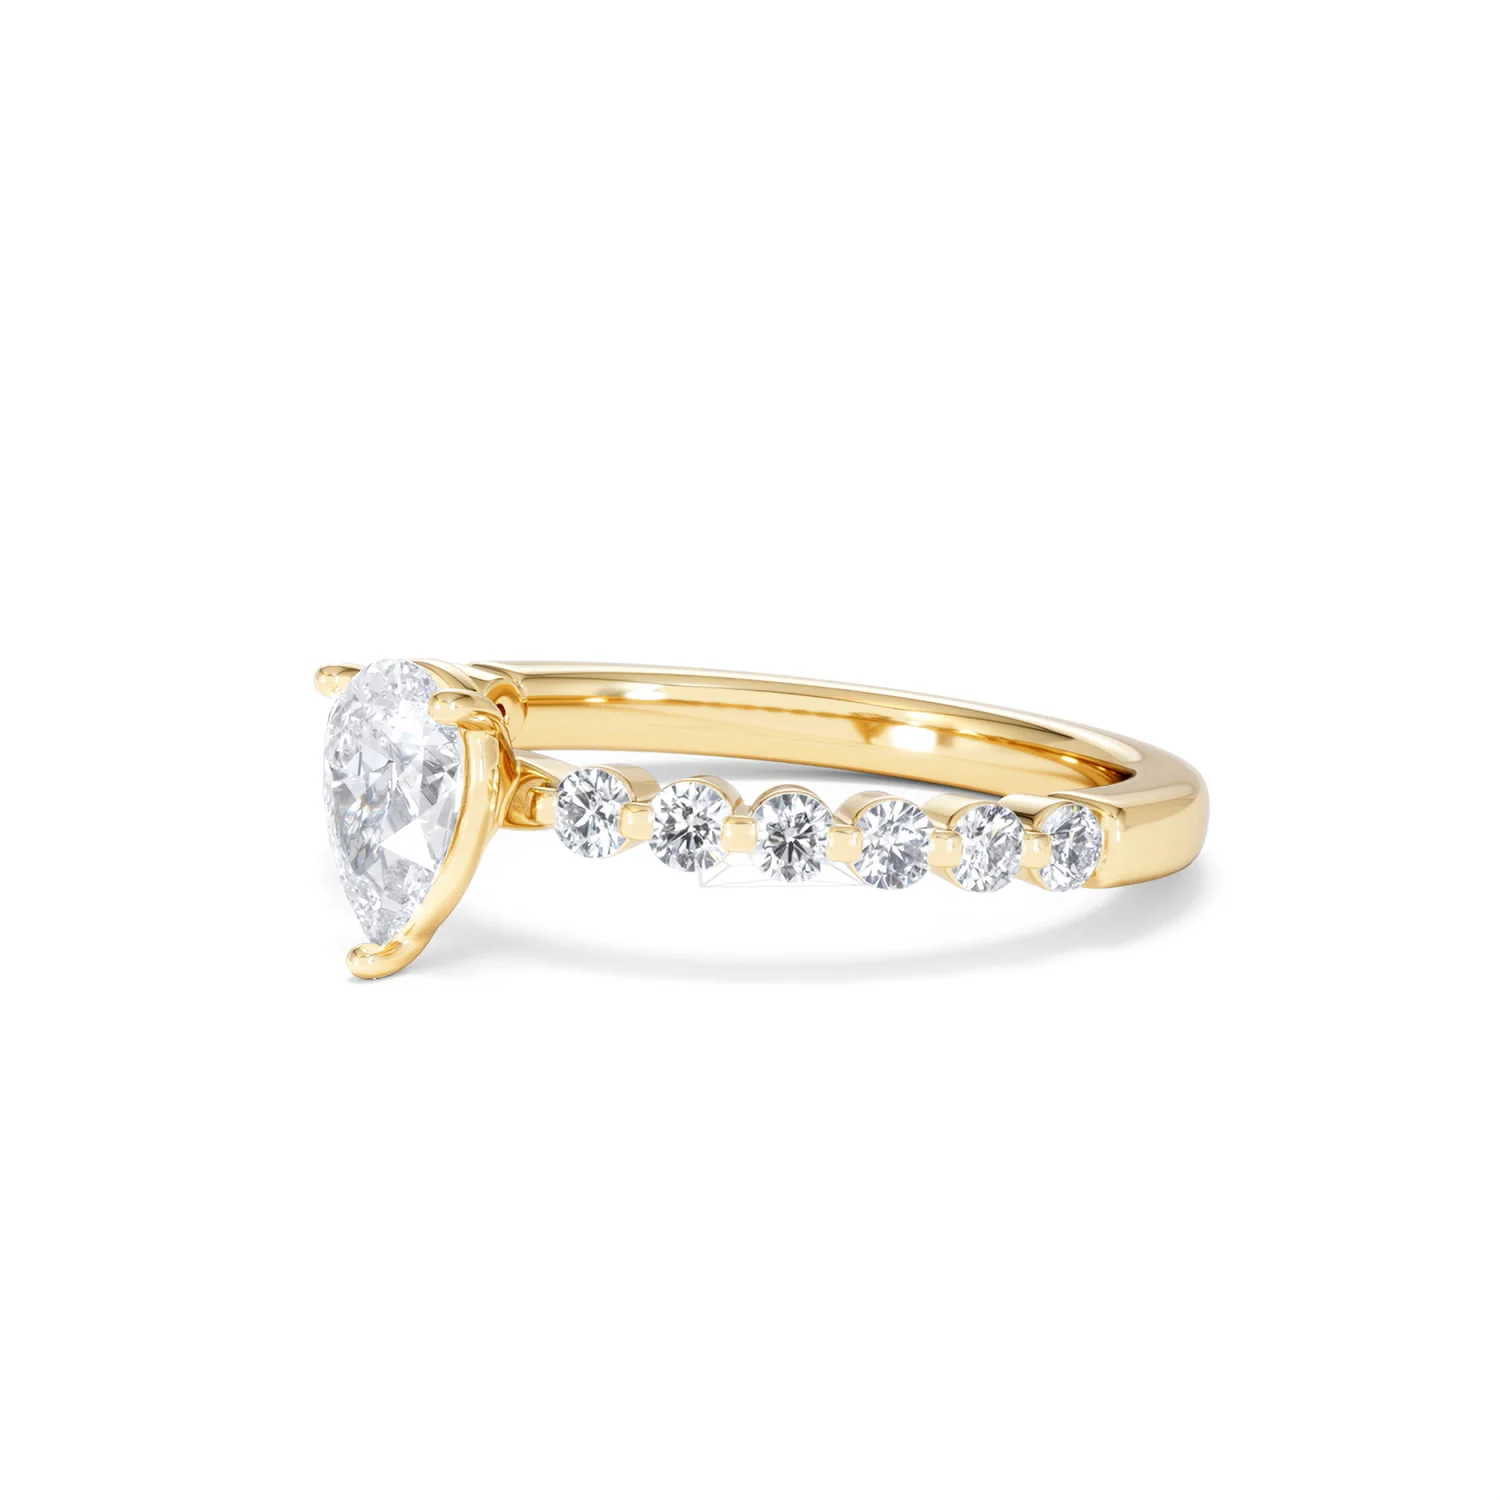
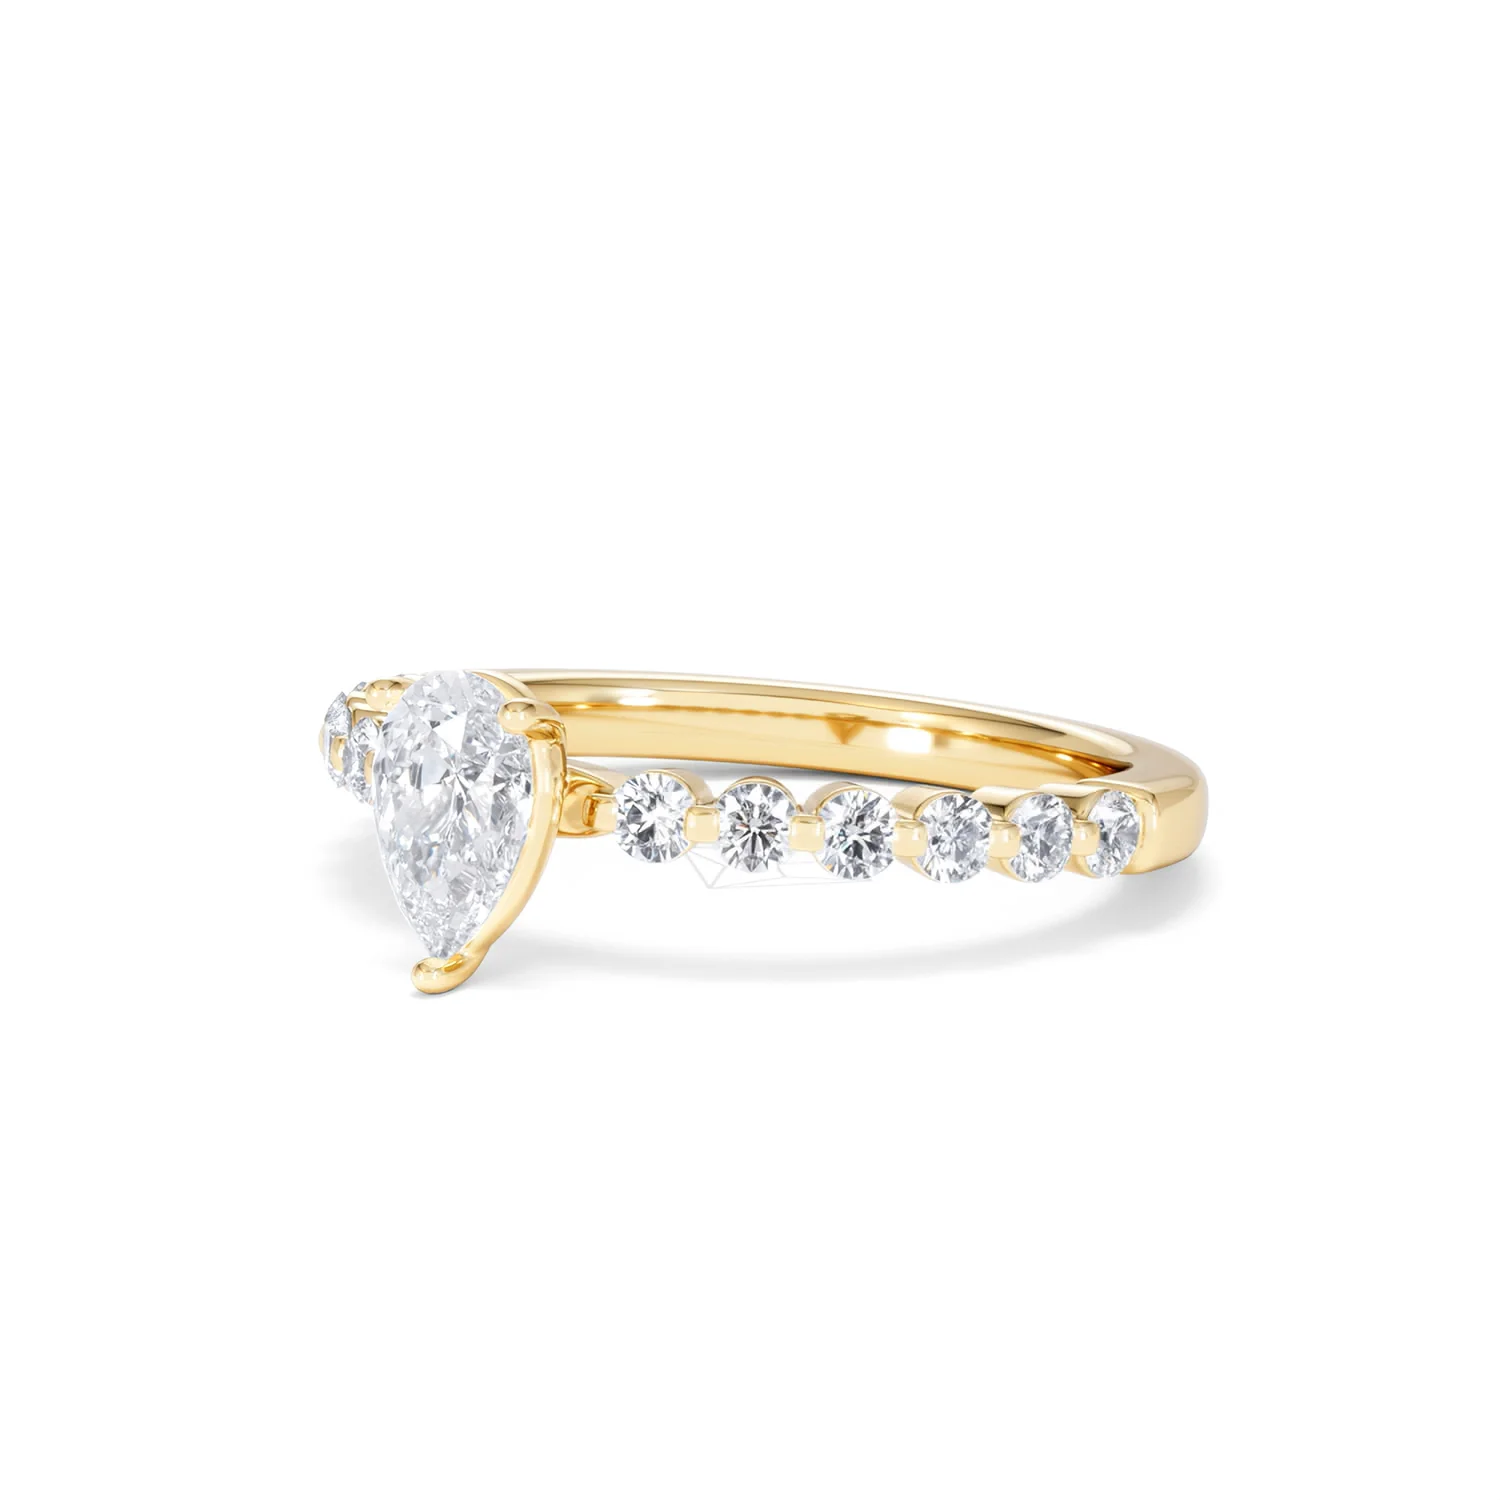
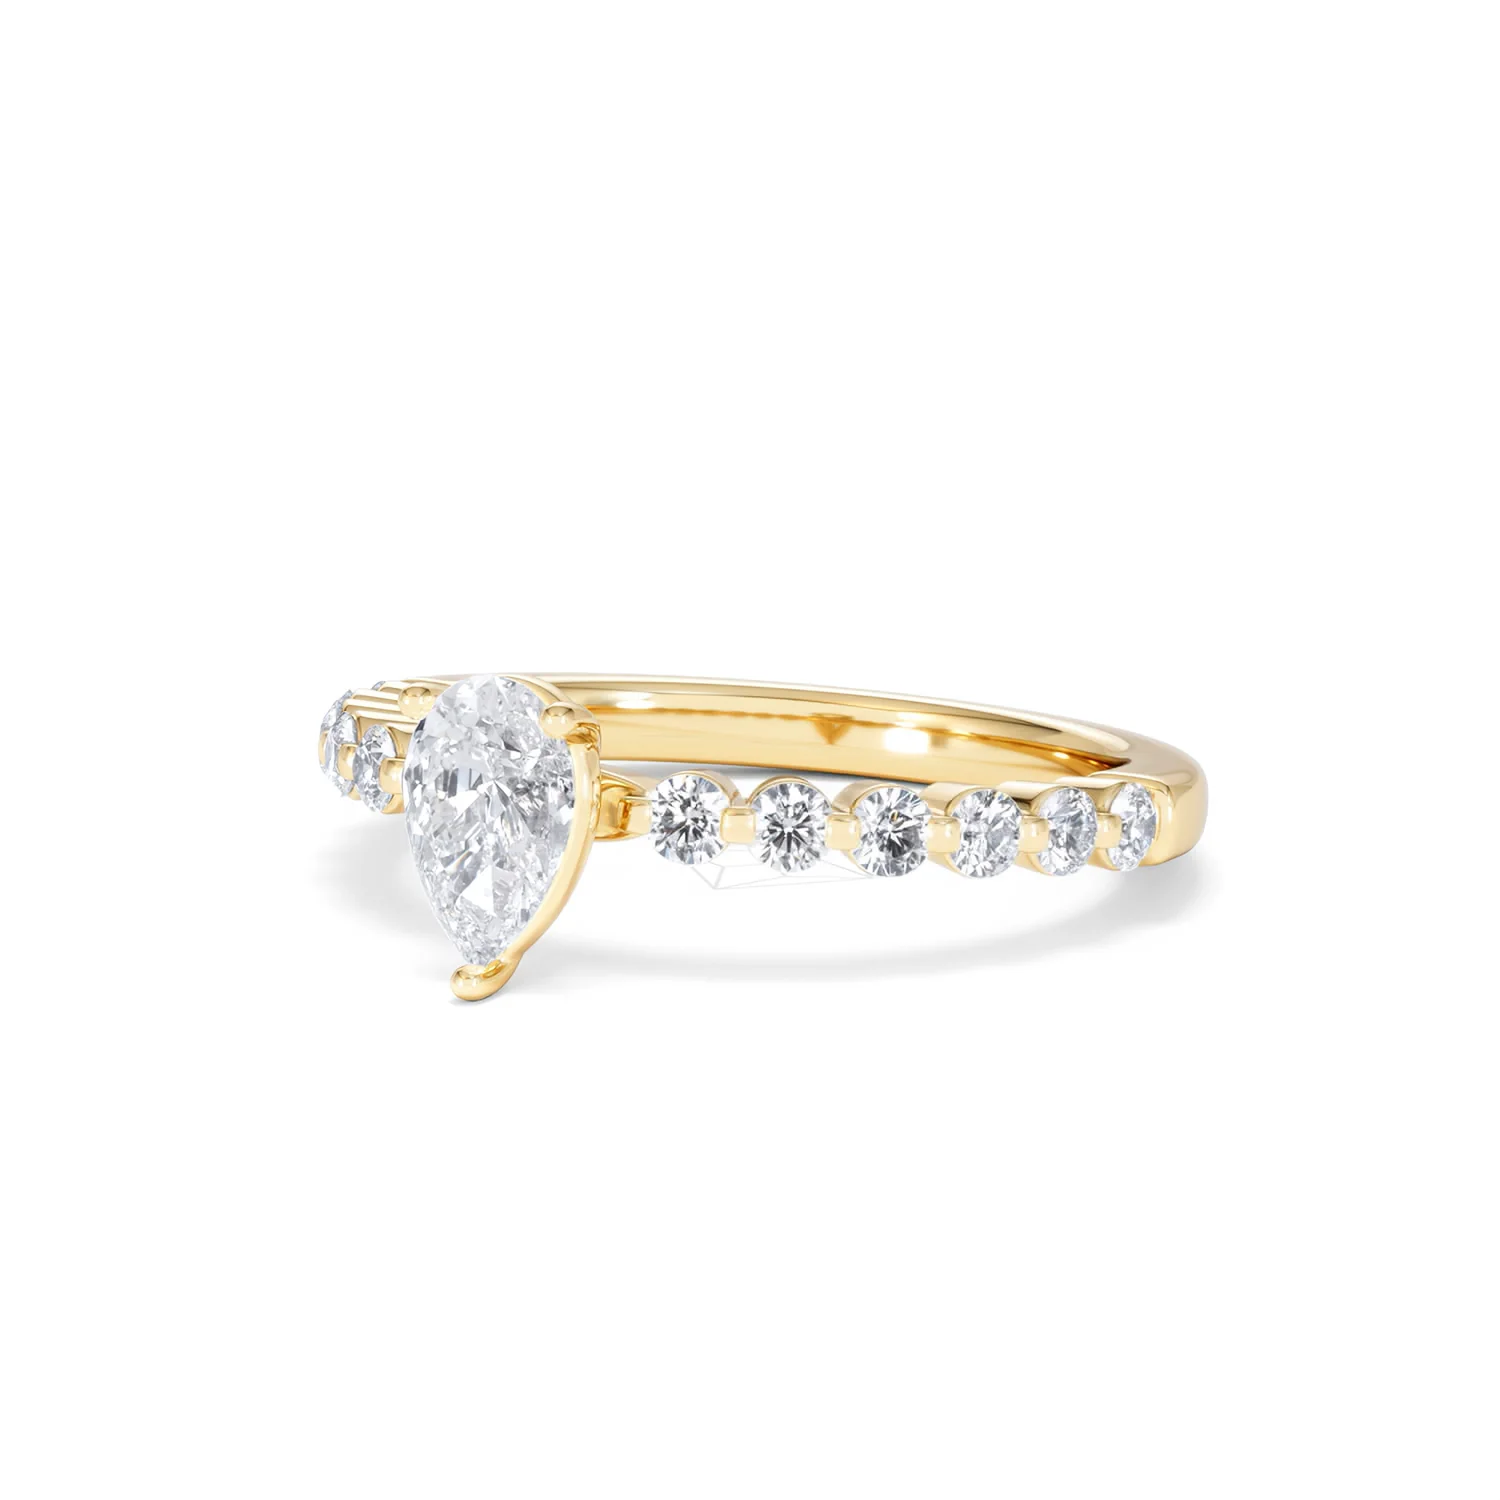
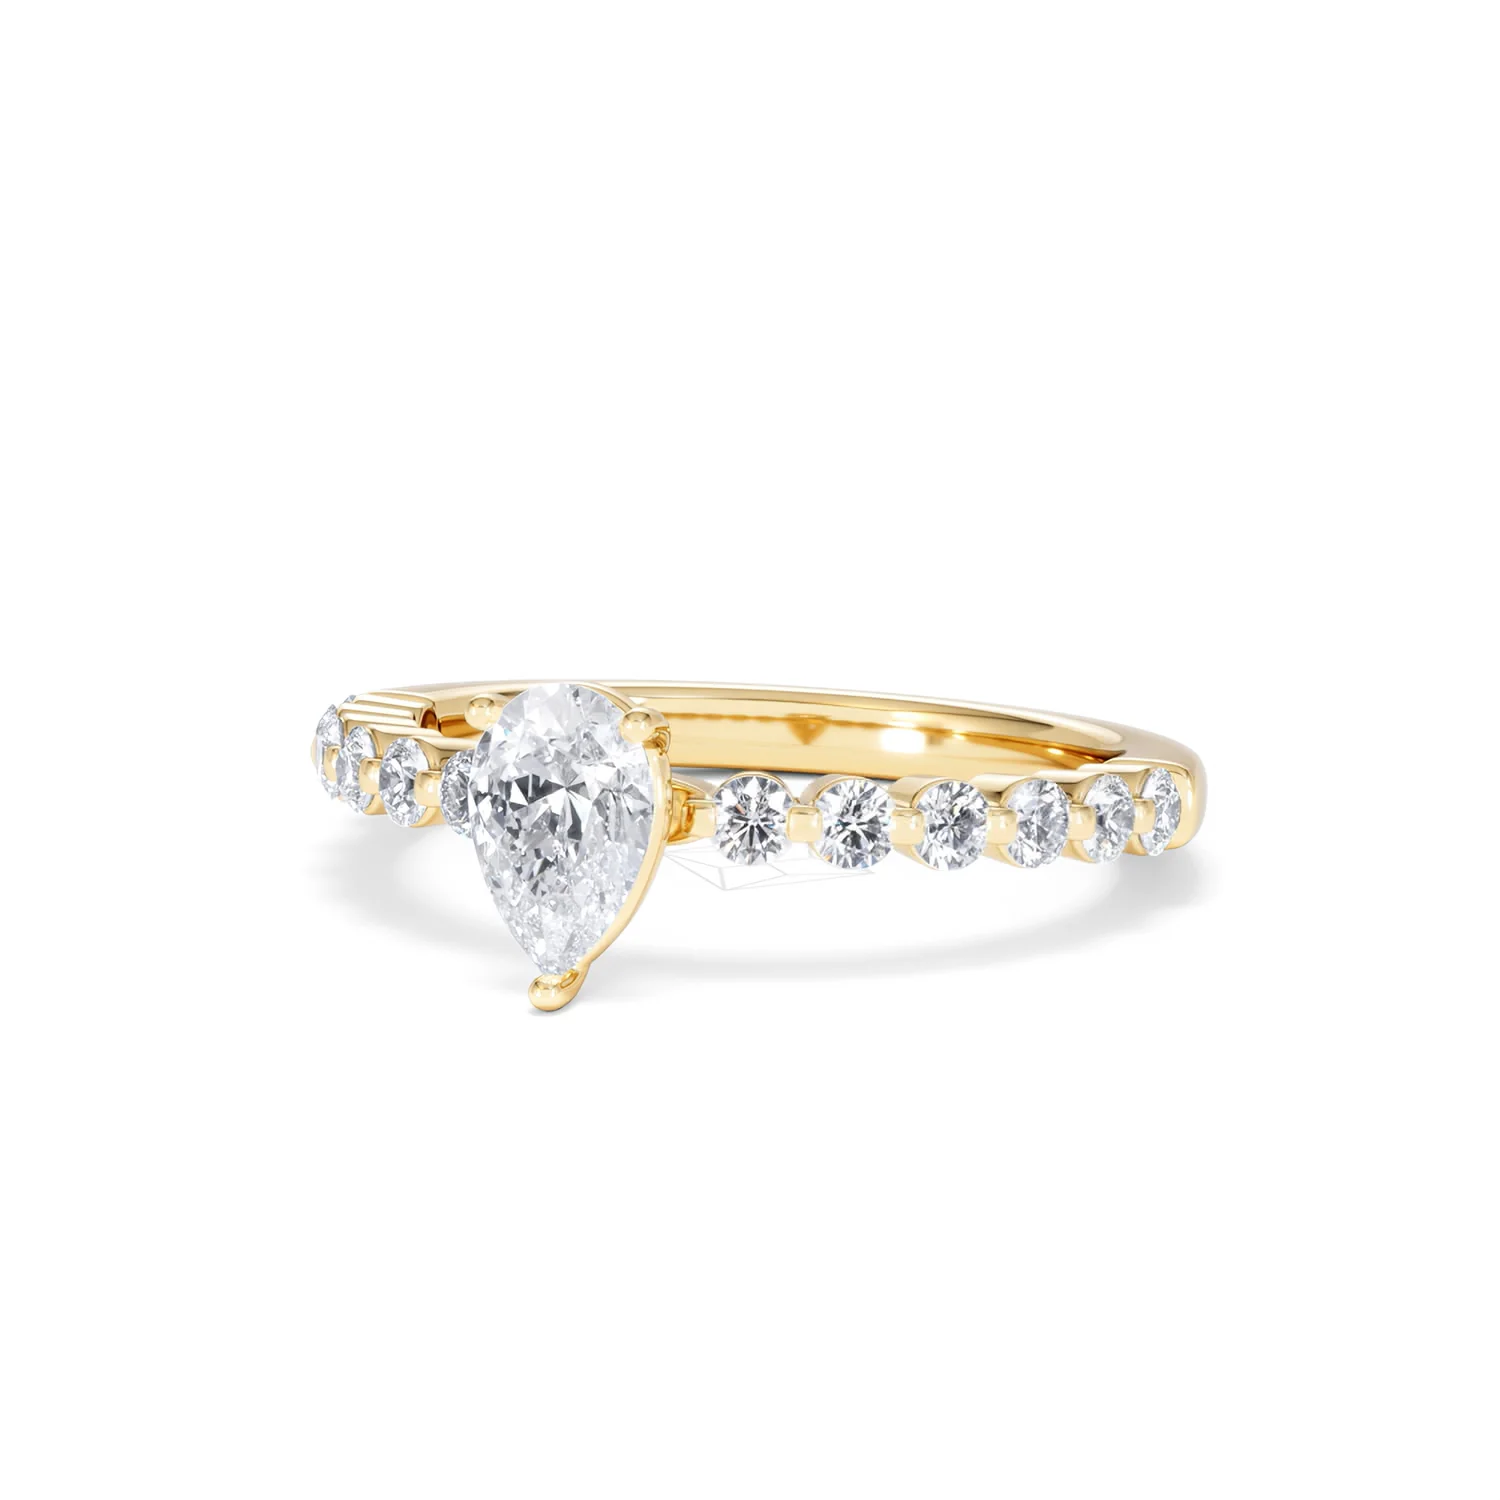
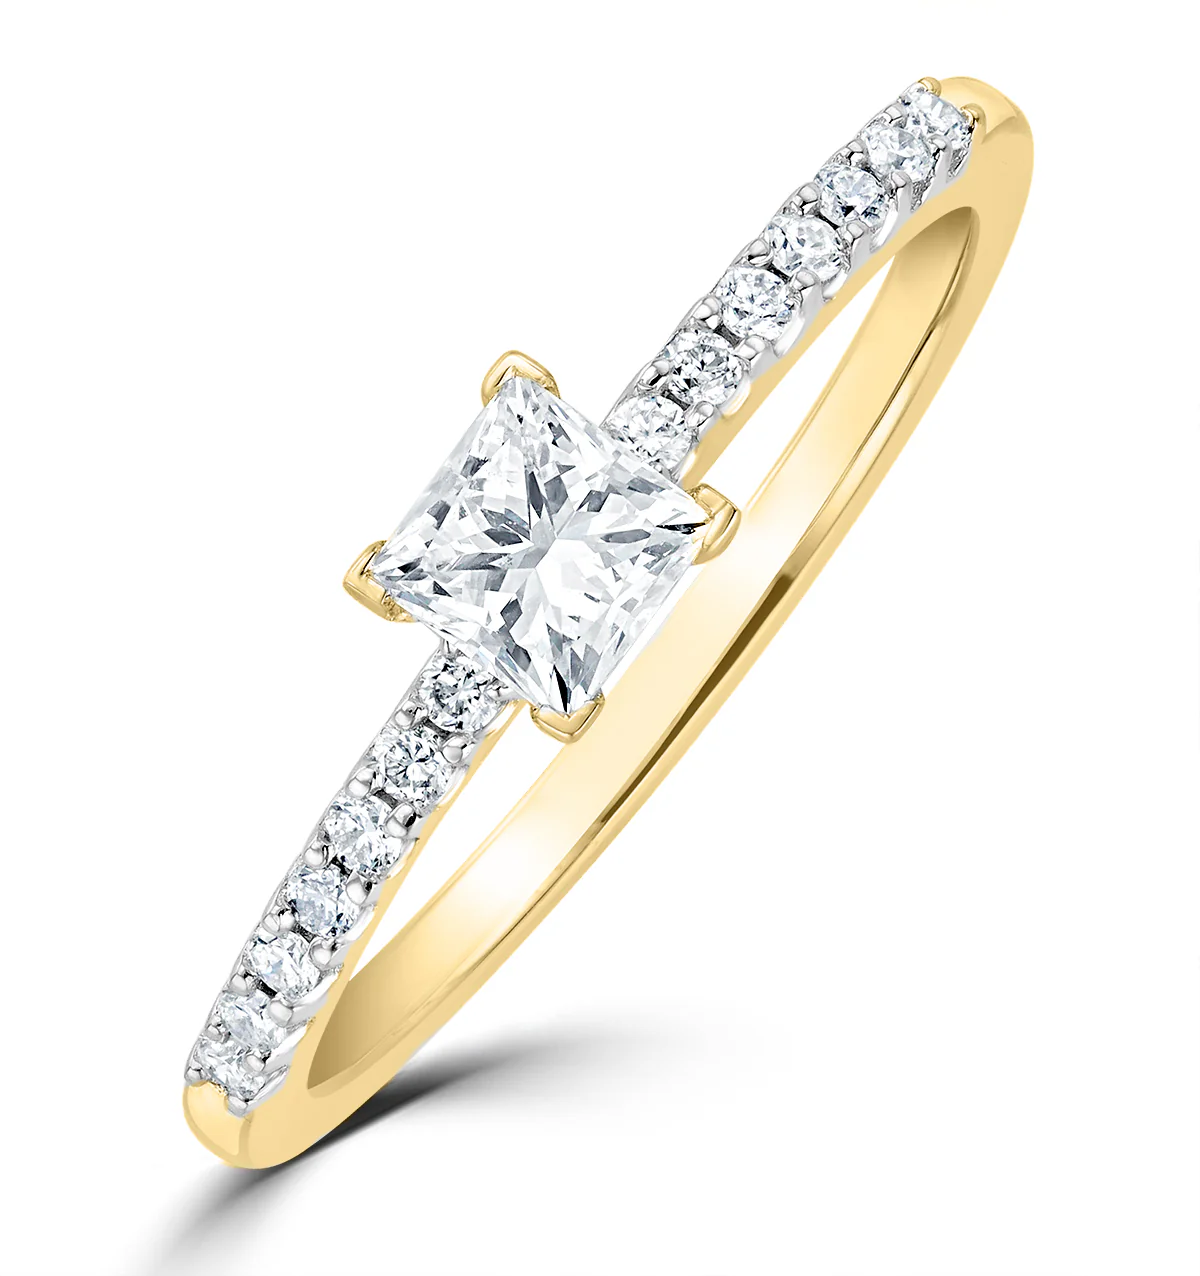
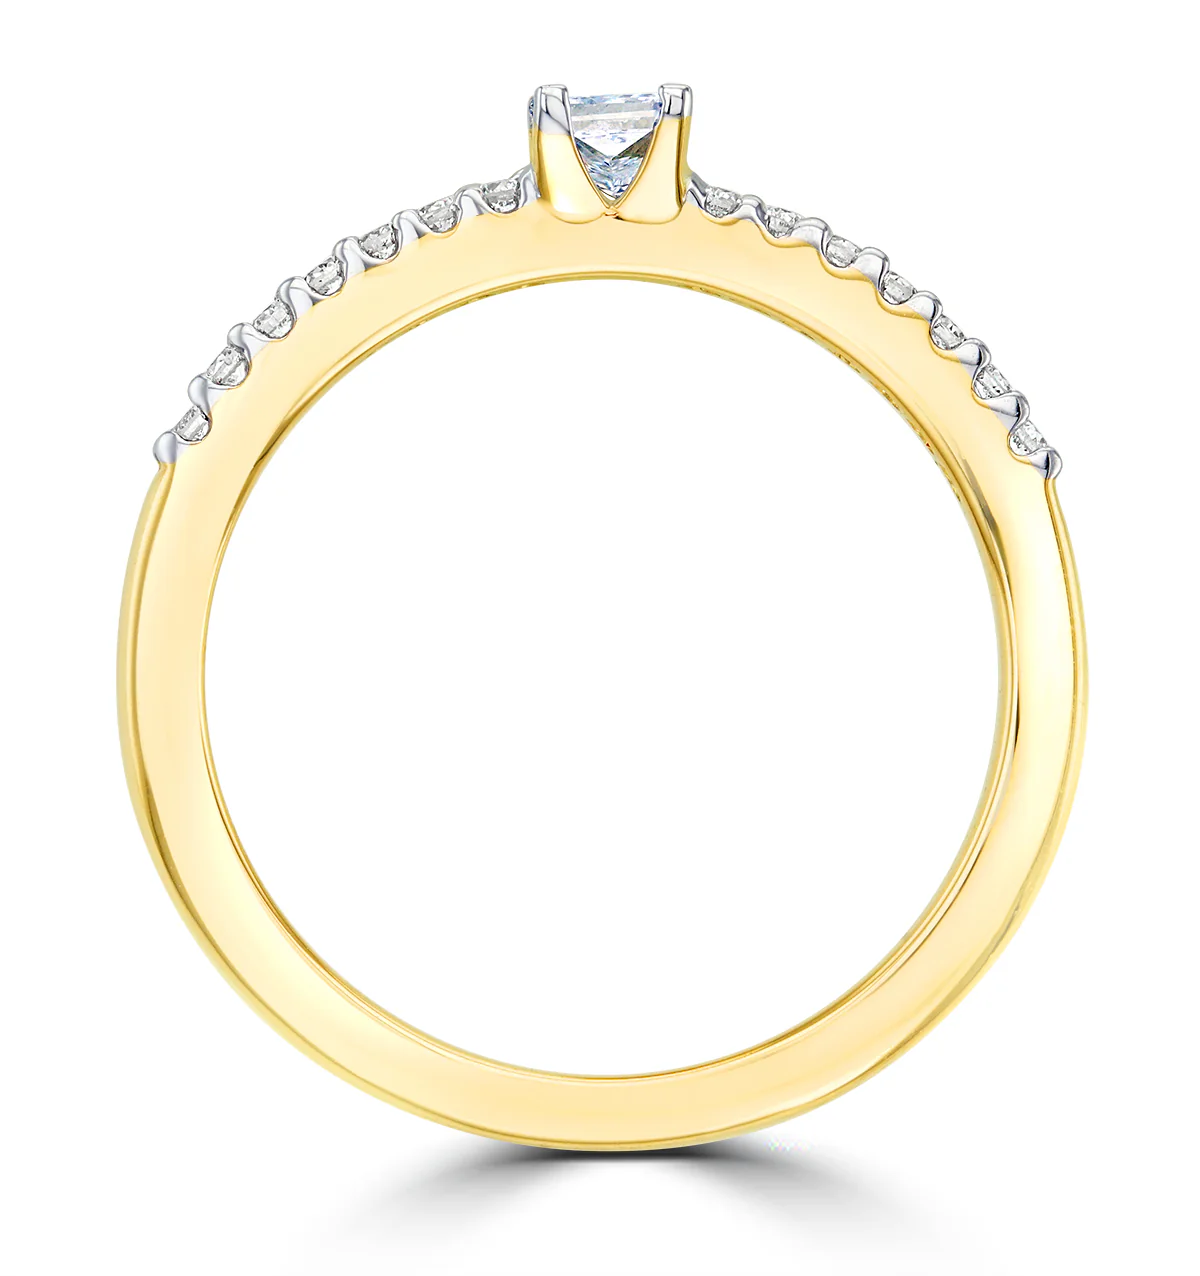
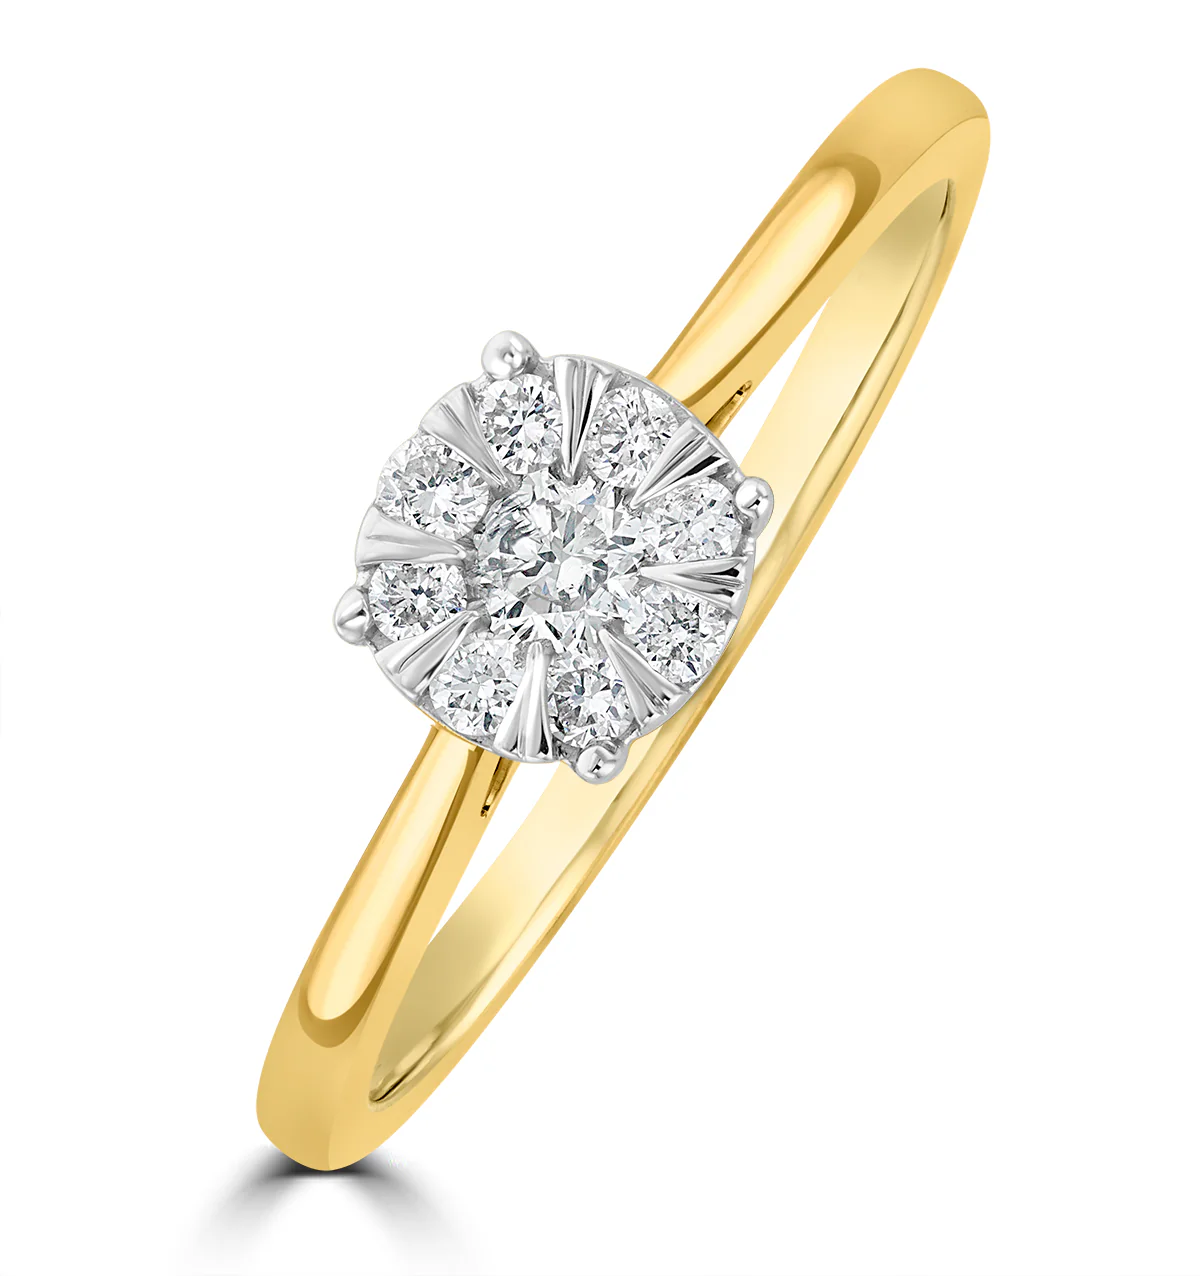
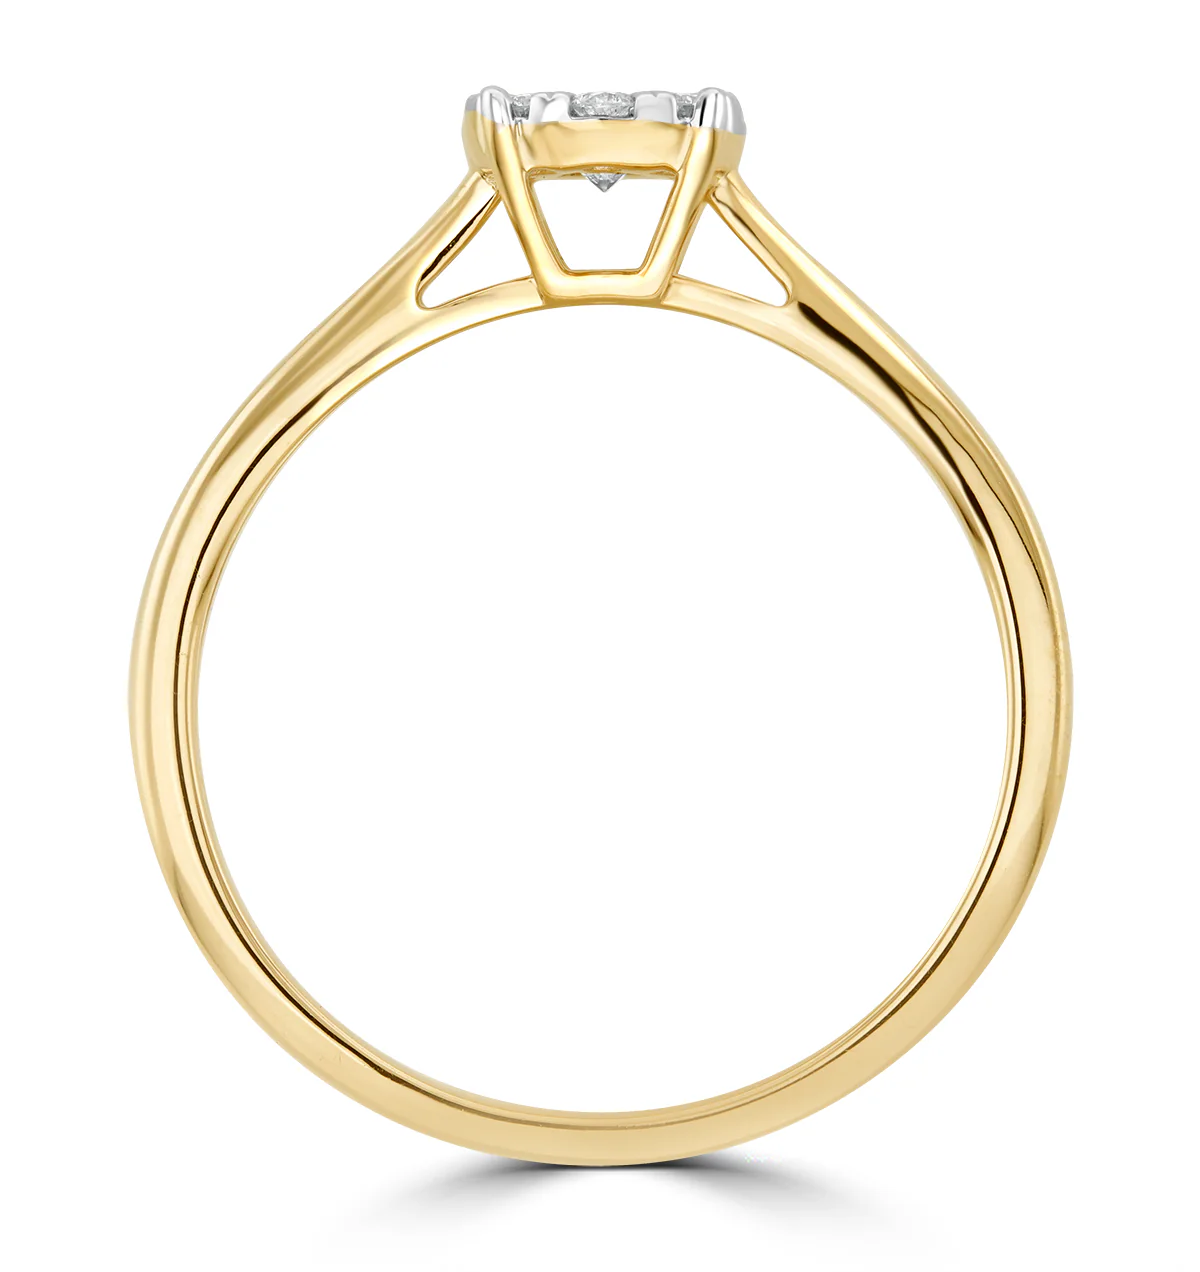
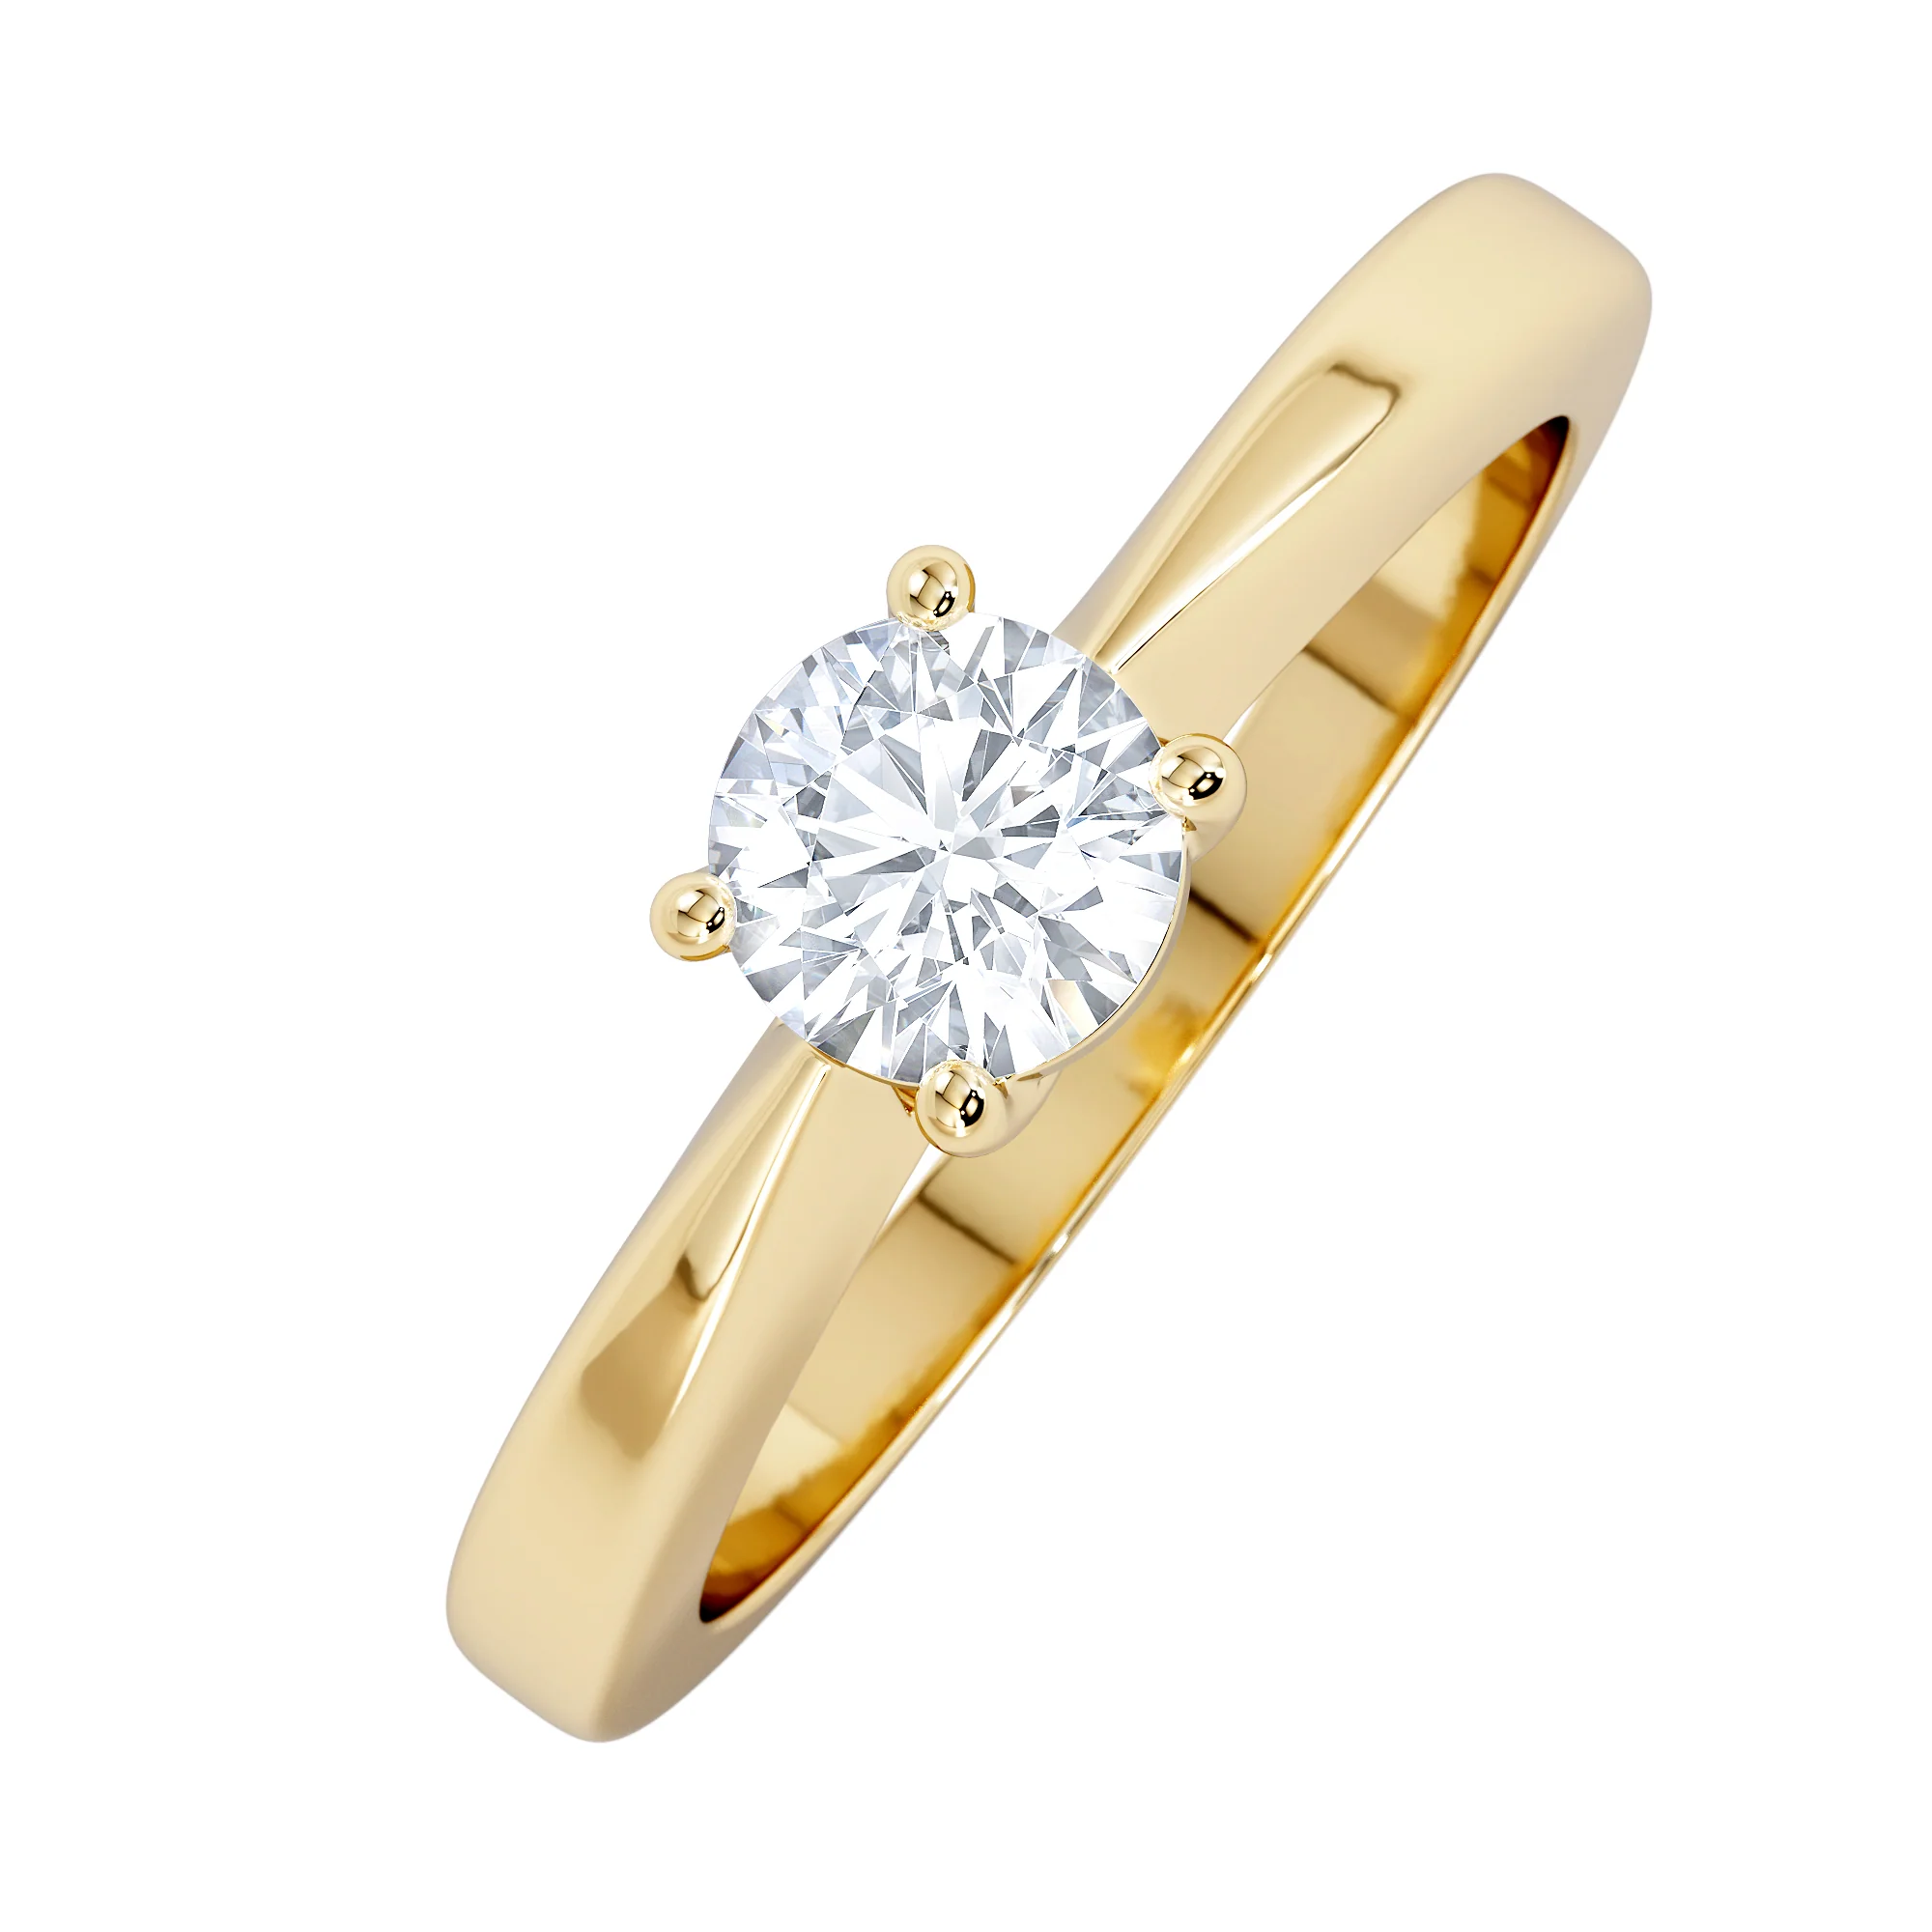
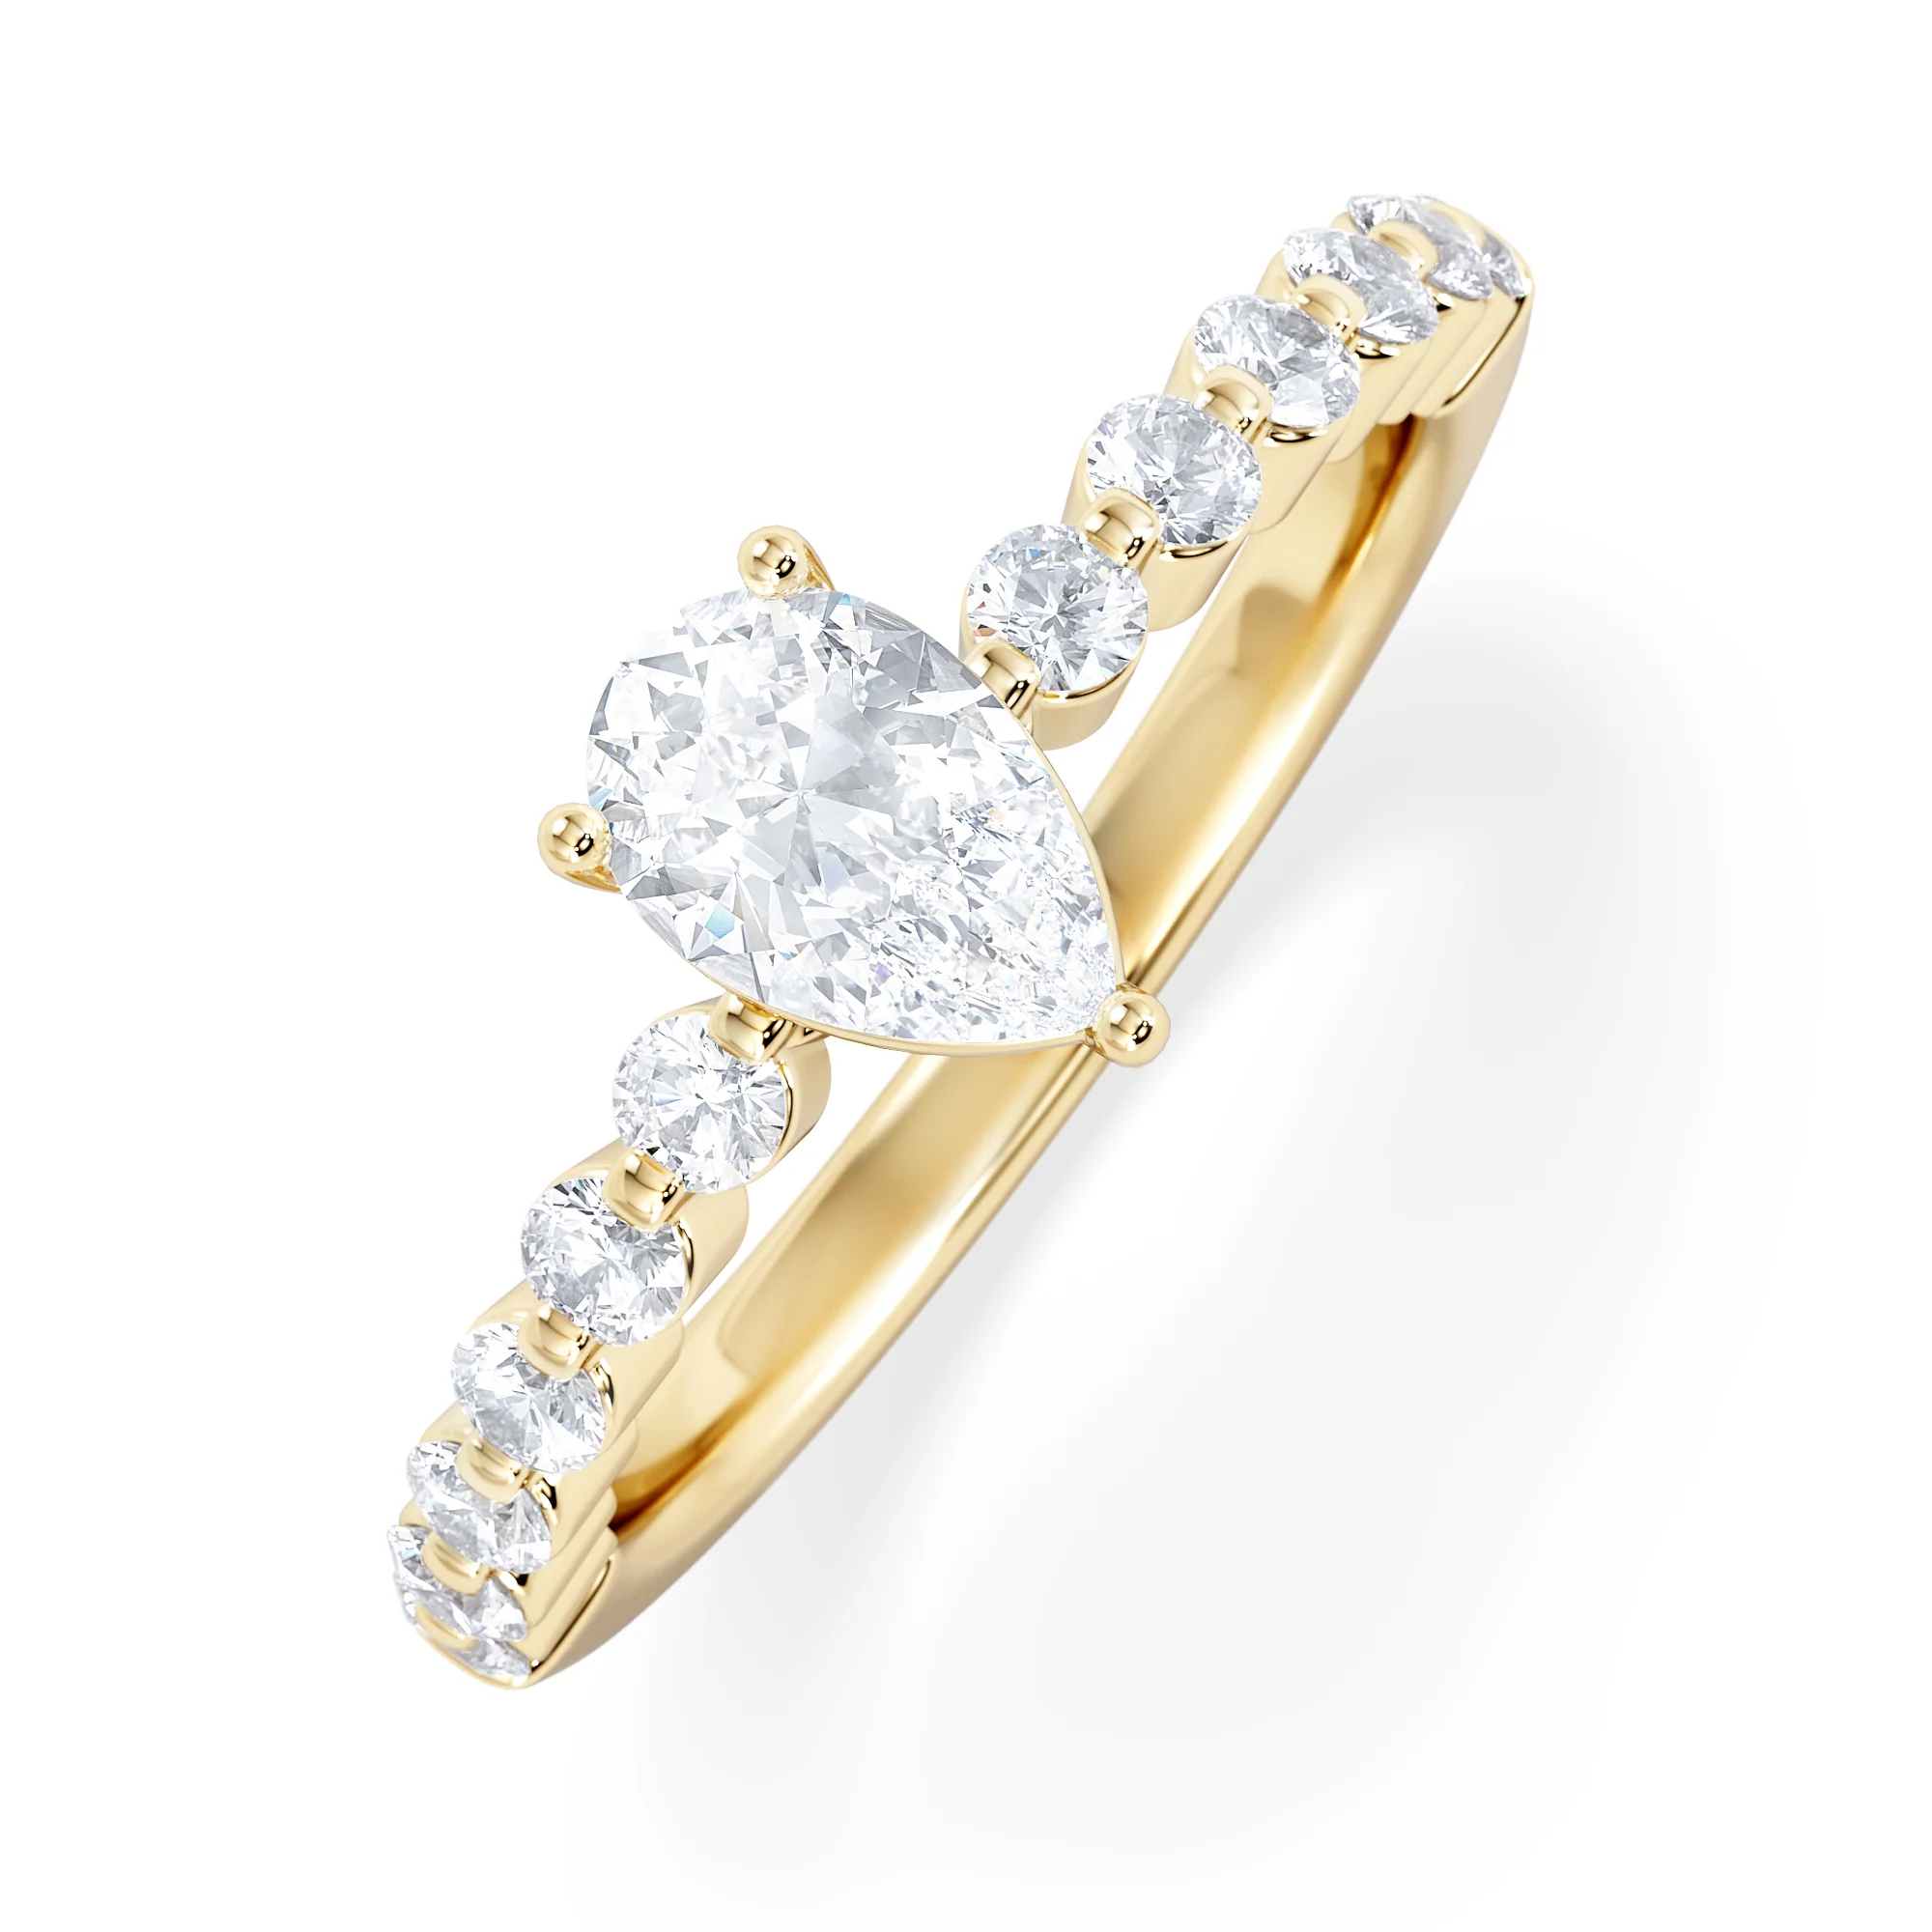
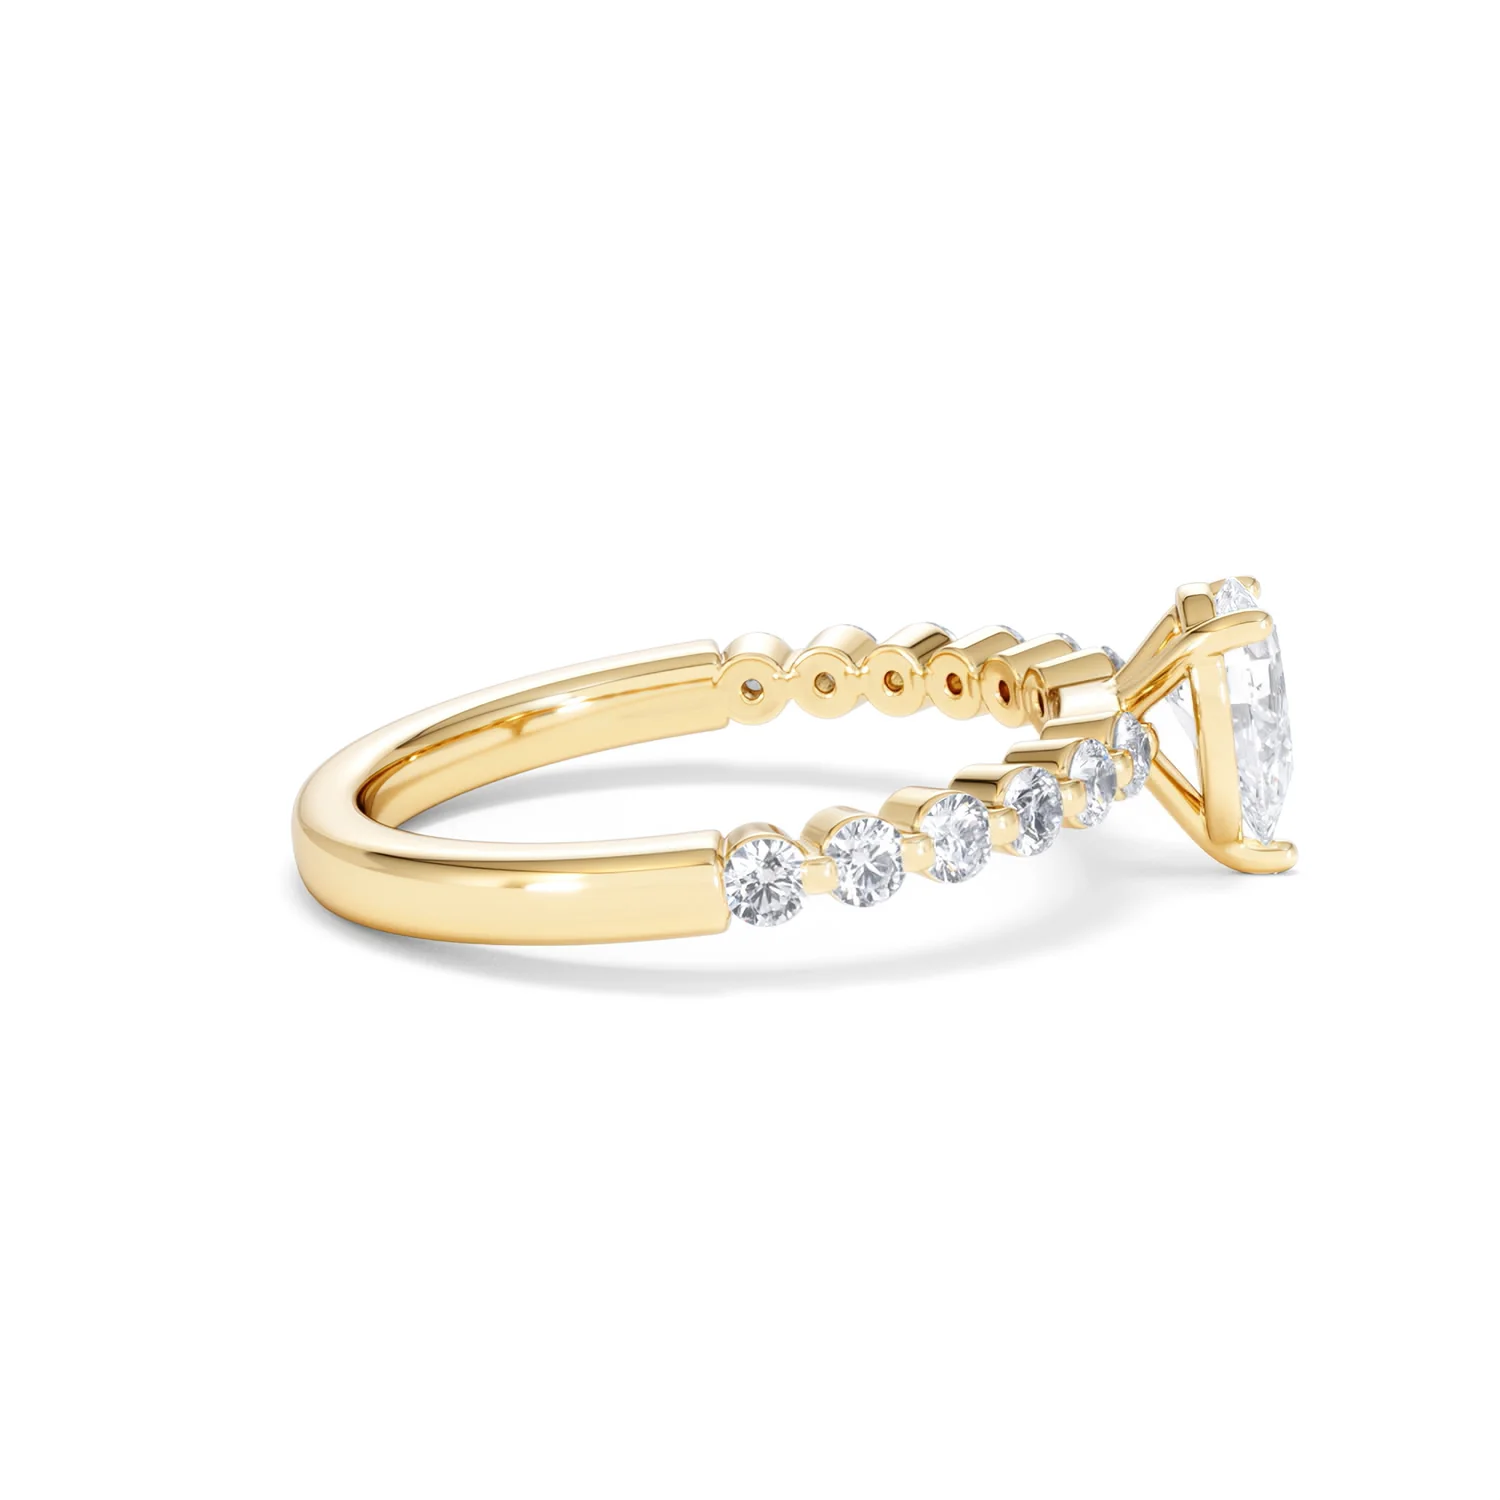
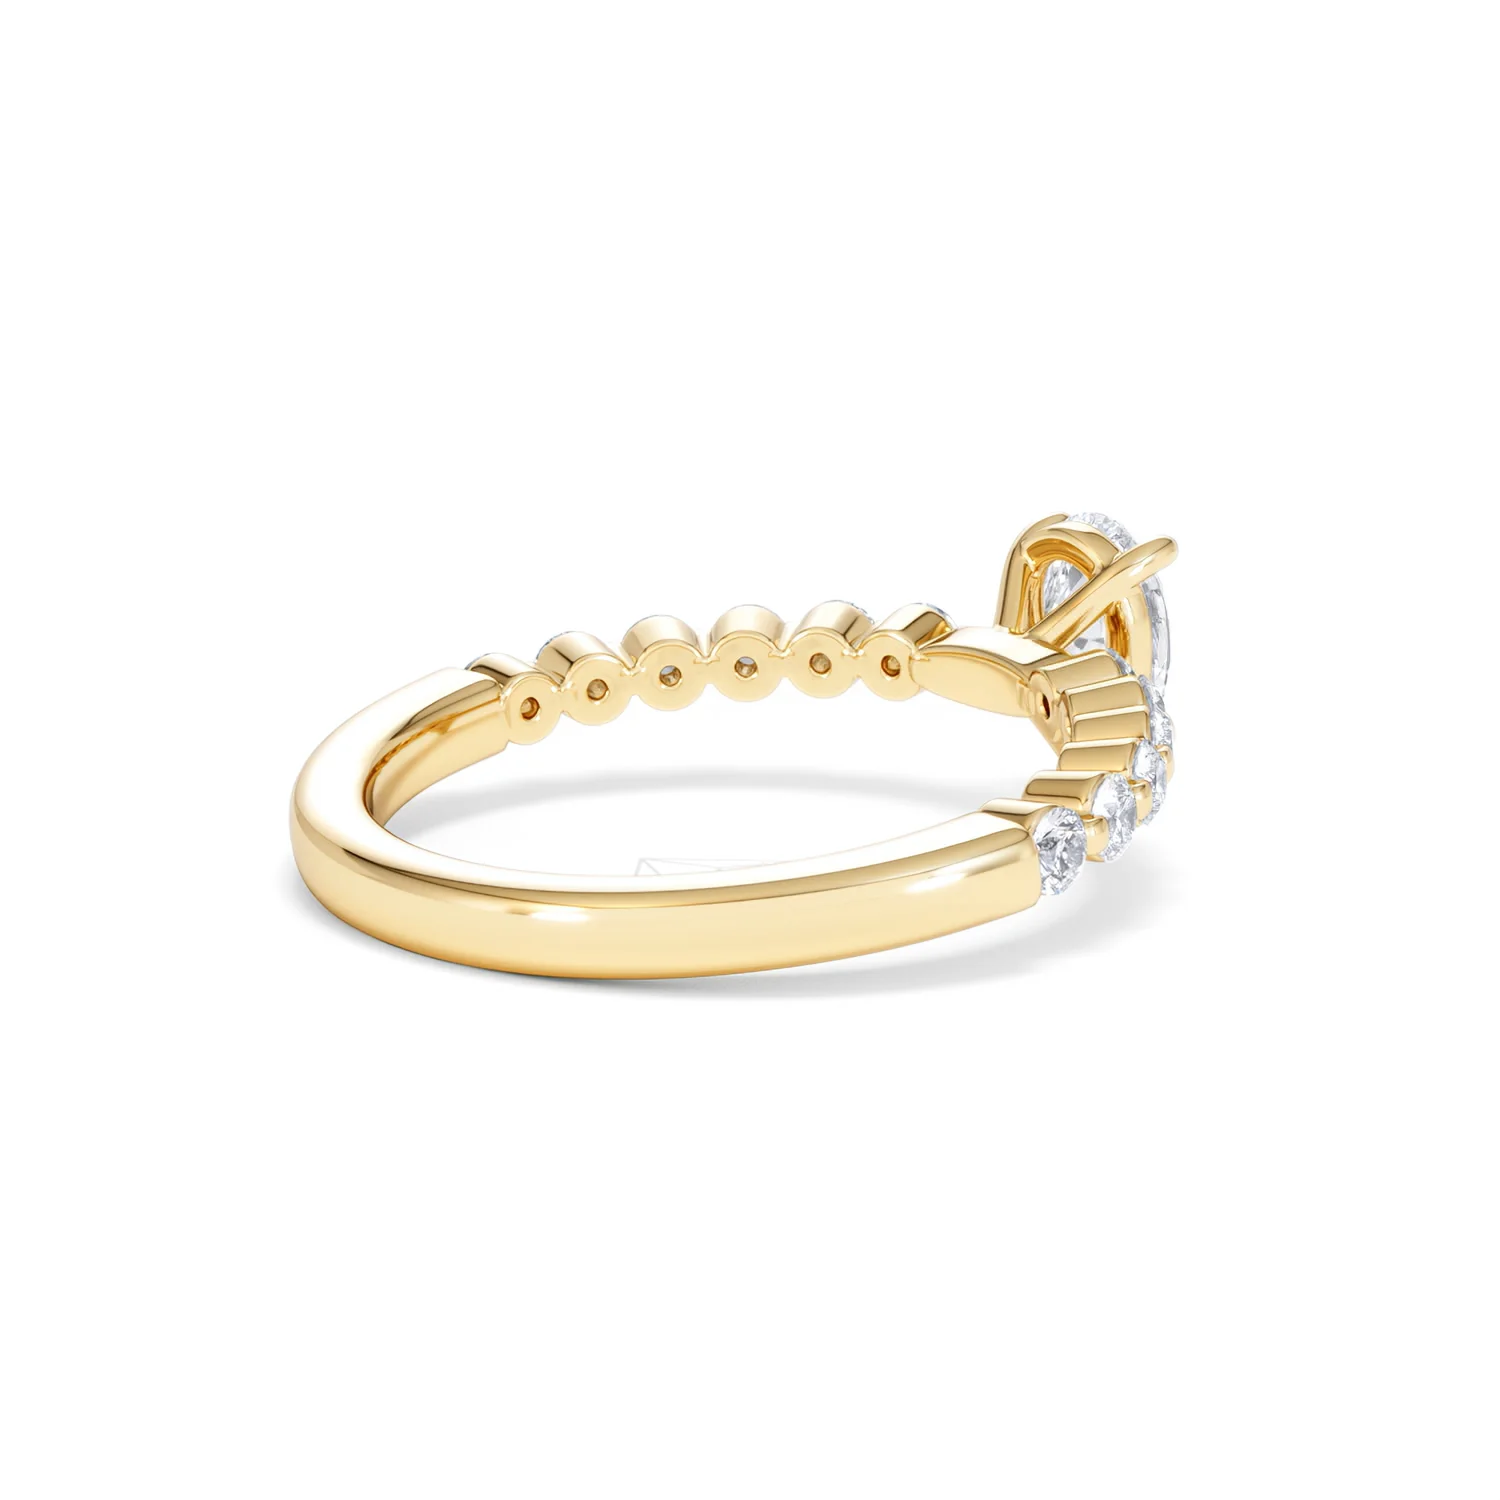
Discover our Solstice Pear Solitaire Engagement Ring, featuring 0.80ct of lab-grown diamonds – formed with a centre stone of 0.50ct, and 0.30ct of sidestones – set in the finest recycled 9k yellow gold. This elegant ring features a solitaire pear shaped diamond, putting a unique twist on a classic design. The diamonds on the shoulders of the ring are set with minimal claws - with the diamonds being securely ‘tucked’ into the collet – meaning a large portion of the stone is on show, for maximum sparkle. Set with sustainable lab-grown diamonds, the Solstice ring isn’t just a beautiful choice, but an ethical and eco-conscious one, too. Pair your pear solitaire with the matching Solstice wed-fit band, designed to perfectly - and comfortably - coordinate.

Select Size
From $390.00

Original: $1,300.00

-70%
Solstice Pear Cut 0.80ct Lab Diamond Pear Shape Engagement Ring F/VS in 9k Gold

$1,300.00

$390.00

More Images
Solstice Pear Cut 0.80ct Lab Diamond Pear Shape Engagement Ring F/VS in 9k Gold - Image 2
Solstice Pear Cut 0.80ct Lab Diamond Pear Shape Engagement Ring F/VS in 9k Gold - Image 3
Solstice Pear Cut 0.80ct Lab Diamond Pear Shape Engagement Ring F/VS in 9k Gold - Image 4
Solstice Pear Cut 0.80ct Lab Diamond Pear Shape Engagement Ring F/VS in 9k Gold - Image 5
Solstice Pear Cut 0.80ct Lab Diamond Pear Shape Engagement Ring F/VS in 9k Gold - Image 6
Solstice Pear Cut 0.80ct Lab Diamond Pear Shape Engagement Ring F/VS in 9k Gold - Image 7
Solstice Pear Cut 0.80ct Lab Diamond Pear Shape Engagement Ring F/VS in 9k Gold - Image 8
Solstice Pear Cut 0.80ct Lab Diamond Pear Shape Engagement Ring F/VS in 9k Gold - Image 9
Solstice Pear Cut 0.80ct Lab Diamond Pear Shape Engagement Ring F/VS in 9k Gold - Image 10
Solstice Pear Cut 0.80ct Lab Diamond Pear Shape Engagement Ring F/VS in 9k Gold - Image 11
Solstice Pear Cut 0.80ct Lab Diamond Pear Shape Engagement Ring F/VS in 9k Gold - Image 12
Solstice Pear Cut 0.80ct Lab Diamond Pear Shape Engagement Ring F/VS in 9k Gold - Image 13
Solstice Pear Cut 0.80ct Lab Diamond Pear Shape Engagement Ring F/VS in 9k Gold - Image 14
Solstice Pear Cut 0.80ct Lab Diamond Pear Shape Engagement Ring F/VS in 9k Gold - Image 15
Solstice Pear Cut 0.80ct Lab Diamond Pear Shape Engagement Ring F/VS in 9k Gold - Image 16
Solstice Pear Cut 0.80ct Lab Diamond Pear Shape Engagement Ring F/VS in 9k Gold - Image 17
Solstice Pear Cut 0.80ct Lab Diamond Pear Shape Engagement Ring F/VS in 9k Gold - Image 18
Solstice Pear Cut 0.80ct Lab Diamond Pear Shape Engagement Ring F/VS in 9k Gold - Image 19
Solstice Pear Cut 0.80ct Lab Diamond Pear Shape Engagement Ring F/VS in 9k Gold - Image 20
Solstice Pear Cut 0.80ct Lab Diamond Pear Shape Engagement Ring F/VS in 9k Gold - Image 21
Solstice Pear Cut 0.80ct Lab Diamond Pear Shape Engagement Ring F/VS in 9k Gold - Image 22
Solstice Pear Cut 0.80ct Lab Diamond Pear Shape Engagement Ring F/VS in 9k Gold - Image 23
Solstice Pear Cut 0.80ct Lab Diamond Pear Shape Engagement Ring F/VS in 9k Gold - Image 24
Solstice Pear Cut 0.80ct Lab Diamond Pear Shape Engagement Ring F/VS in 9k Gold - Image 25
Solstice Pear Cut 0.80ct Lab Diamond Pear Shape Engagement Ring F/VS in 9k Gold - Image 26
Solstice Pear Cut 0.80ct Lab Diamond Pear Shape Engagement Ring F/VS in 9k Gold - Image 27
Solstice Pear Cut 0.80ct Lab Diamond Pear Shape Engagement Ring F/VS in 9k Gold - Image 28
Solstice Pear Cut 0.80ct Lab Diamond Pear Shape Engagement Ring F/VS in 9k Gold - Image 29
Solstice Pear Cut 0.80ct Lab Diamond Pear Shape Engagement Ring F/VS in 9k Gold - Image 30
Solstice Pear Cut 0.80ct Lab Diamond Pear Shape Engagement Ring F/VS in 9k Gold - Image 31
Solstice Pear Cut 0.80ct Lab Diamond Pear Shape Engagement Ring F/VS in 9k Gold - Image 32
Solstice Pear Cut 0.80ct Lab Diamond Pear Shape Engagement Ring F/VS in 9k Gold - Image 33
Solstice Pear Cut 0.80ct Lab Diamond Pear Shape Engagement Ring F/VS in 9k Gold - Image 34
Solstice Pear Cut 0.80ct Lab Diamond Pear Shape Engagement Ring F/VS in 9k Gold - Image 35
Solstice Pear Cut 0.80ct Lab Diamond Pear Shape Engagement Ring F/VS in 9k Gold - Image 36
Solstice Pear Cut 0.80ct Lab Diamond Pear Shape Engagement Ring F/VS in 9k Gold - Image 37
Solstice Pear Cut 0.80ct Lab Diamond Pear Shape Engagement Ring F/VS in 9k Gold - Image 38
Solstice Pear Cut 0.80ct Lab Diamond Pear Shape Engagement Ring F/VS in 9k Gold - Image 39
Solstice Pear Cut 0.80ct Lab Diamond Pear Shape Engagement Ring F/VS in 9k Gold - Image 40
Solstice Pear Cut 0.80ct Lab Diamond Pear Shape Engagement Ring F/VS in 9k Gold - Image 41
Solstice Pear Cut 0.80ct Lab Diamond Pear Shape Engagement Ring F/VS in 9k Gold - Image 42
Solstice Pear Cut 0.80ct Lab Diamond Pear Shape Engagement Ring F/VS in 9k Gold - Image 43
Solstice Pear Cut 0.80ct Lab Diamond Pear Shape Engagement Ring F/VS in 9k Gold - Image 44
Solstice Pear Cut 0.80ct Lab Diamond Pear Shape Engagement Ring F/VS in 9k Gold - Image 45
Solstice Pear Cut 0.80ct Lab Diamond Pear Shape Engagement Ring F/VS in 9k Gold - Image 46
Solstice Pear Cut 0.80ct Lab Diamond Pear Shape Engagement Ring F/VS in 9k Gold - Image 47
Solstice Pear Cut 0.80ct Lab Diamond Pear Shape Engagement Ring F/VS in 9k Gold - Image 48
Solstice Pear Cut 0.80ct Lab Diamond Pear Shape Engagement Ring F/VS in 9k Gold - Image 49
Solstice Pear Cut 0.80ct Lab Diamond Pear Shape Engagement Ring F/VS in 9k Gold - Image 50
Solstice Pear Cut 0.80ct Lab Diamond Pear Shape Engagement Ring F/VS in 9k Gold - Image 51
Solstice Pear Cut 0.80ct Lab Diamond Pear Shape Engagement Ring F/VS in 9k Gold - Image 52
Solstice Pear Cut 0.80ct Lab Diamond Pear Shape Engagement Ring F/VS in 9k Gold - Image 53
Solstice Pear Cut 0.80ct Lab Diamond Pear Shape Engagement Ring F/VS in 9k Gold - Image 54
Solstice Pear Cut 0.80ct Lab Diamond Pear Shape Engagement Ring F/VS in 9k Gold - Image 55
Solstice Pear Cut 0.80ct Lab Diamond Pear Shape Engagement Ring F/VS in 9k Gold - Image 56
Solstice Pear Cut 0.80ct Lab Diamond Pear Shape Engagement Ring F/VS in 9k Gold - Image 57
Solstice Pear Cut 0.80ct Lab Diamond Pear Shape Engagement Ring F/VS in 9k Gold - Image 58
Solstice Pear Cut 0.80ct Lab Diamond Pear Shape Engagement Ring F/VS in 9k Gold - Image 59
Solstice Pear Cut 0.80ct Lab Diamond Pear Shape Engagement Ring F/VS in 9k Gold - Image 60
Solstice Pear Cut 0.80ct Lab Diamond Pear Shape Engagement Ring F/VS in 9k Gold - Image 61
Solstice Pear Cut 0.80ct Lab Diamond Pear Shape Engagement Ring F/VS in 9k Gold - Image 62
Solstice Pear Cut 0.80ct Lab Diamond Pear Shape Engagement Ring F/VS in 9k Gold - Image 63
Solstice Pear Cut 0.80ct Lab Diamond Pear Shape Engagement Ring F/VS in 9k Gold - Image 64
Solstice Pear Cut 0.80ct Lab Diamond Pear Shape Engagement Ring F/VS in 9k Gold - Image 65
Solstice Pear Cut 0.80ct Lab Diamond Pear Shape Engagement Ring F/VS in 9k Gold - Image 66
Solstice Pear Cut 0.80ct Lab Diamond Pear Shape Engagement Ring F/VS in 9k Gold - Image 67
Solstice Pear Cut 0.80ct Lab Diamond Pear Shape Engagement Ring F/VS in 9k Gold - Image 68
Solstice Pear Cut 0.80ct Lab Diamond Pear Shape Engagement Ring F/VS in 9k Gold - Image 69
Solstice Pear Cut 0.80ct Lab Diamond Pear Shape Engagement Ring F/VS in 9k Gold - Image 70
Solstice Pear Cut 0.80ct Lab Diamond Pear Shape Engagement Ring F/VS in 9k Gold - Image 71
Solstice Pear Cut 0.80ct Lab Diamond Pear Shape Engagement Ring F/VS in 9k Gold - Image 72
Solstice Pear Cut 0.80ct Lab Diamond Pear Shape Engagement Ring F/VS in 9k Gold - Image 73
Solstice Pear Cut 0.80ct Lab Diamond Pear Shape Engagement Ring F/VS in 9k Gold - Image 74
Solstice Pear Cut 0.80ct Lab Diamond Pear Shape Engagement Ring F/VS in 9k Gold - Image 75
Solstice Pear Cut 0.80ct Lab Diamond Pear Shape Engagement Ring F/VS in 9k Gold - Image 76
Solstice Pear Cut 0.80ct Lab Diamond Pear Shape Engagement Ring F/VS in 9k Gold - Image 77
Solstice Pear Cut 0.80ct Lab Diamond Pear Shape Engagement Ring F/VS in 9k Gold - Image 78
Solstice Pear Cut 0.80ct Lab Diamond Pear Shape Engagement Ring F/VS in 9k Gold - Image 79
Solstice Pear Cut 0.80ct Lab Diamond Pear Shape Engagement Ring F/VS in 9k Gold - Image 80
Solstice Pear Cut 0.80ct Lab Diamond Pear Shape Engagement Ring F/VS in 9k Gold - Image 81
Solstice Pear Cut 0.80ct Lab Diamond Pear Shape Engagement Ring F/VS in 9k Gold - Image 82
Solstice Pear Cut 0.80ct Lab Diamond Pear Shape Engagement Ring F/VS in 9k Gold - Image 83
Solstice Pear Cut 0.80ct Lab Diamond Pear Shape Engagement Ring F/VS in 9k Gold - Image 84
Solstice Pear Cut 0.80ct Lab Diamond Pear Shape Engagement Ring F/VS in 9k Gold - Image 85
Solstice Pear Cut 0.80ct Lab Diamond Pear Shape Engagement Ring F/VS in 9k Gold - Image 86
Solstice Pear Cut 0.80ct Lab Diamond Pear Shape Engagement Ring F/VS in 9k Gold - Image 87
Solstice Pear Cut 0.80ct Lab Diamond Pear Shape Engagement Ring F/VS in 9k Gold - Image 88
Solstice Pear Cut 0.80ct Lab Diamond Pear Shape Engagement Ring F/VS in 9k Gold - Image 89

Solstice Pear Cut 0.80ct Lab Diamond Pear Shape Engagement Ring F/VS in 9k Gold

Discover our Solstice Pear Solitaire Engagement Ring, featuring 0.80ct of lab-grown diamonds – formed with a centre stone of 0.50ct, and 0.30ct of sidestones – set in the finest recycled 9k yellow gold. This elegant ring features a solitaire pear shaped diamond, putting a unique twist on a classic design. The diamonds on the shoulders of the ring are set with minimal claws - with the diamonds being securely ‘tucked’ into the collet – meaning a large portion of the stone is on show, for maximum sparkle. Set with sustainable lab-grown diamonds, the Solstice ring isn’t just a beautiful choice, but an ethical and eco-conscious one, too. Pair your pear solitaire with the matching Solstice wed-fit band, designed to perfectly - and comfortably - coordinate.
Product Information

Shipping & Returns

Description

Discover our Solstice Pear Solitaire Engagement Ring, featuring 0.80ct of lab-grown diamonds – formed with a centre stone of 0.50ct, and 0.30ct of sidestones – set in the finest recycled 9k yellow gold. This elegant ring features a solitaire pear shaped diamond, putting a unique twist on a classic design. The diamonds on the shoulders of the ring are set with minimal claws - with the diamonds being securely ‘tucked’ into the collet – meaning a large portion of the stone is on show, for maximum sparkle. Set with sustainable lab-grown diamonds, the Solstice ring isn’t just a beautiful choice, but an ethical and eco-conscious one, too. Pair your pear solitaire with the matching Solstice wed-fit band, designed to perfectly - and comfortably - coordinate.

You may also like

-70%NEW
Thumbnail 1Thumbnail 2

Ella Halo Lab Diamond Engagement Ring 0.55ct in 9K White Gold

$1,200.00

$360.00

-70%NEW
Thumbnail 1Thumbnail 2

Masami Diamond Engagement Ring 0.20ct Pave Set Halo in 9K White Gold

$9,050.00

$2,715.00

-70%NEW
Thumbnail 1Thumbnail 2

Princess Cut Lab Diamond Engagement Ring 0.25ct H/Si in 9K Gold

$5,000.00

$1,500.00

-70%NEW
Thumbnail 1Thumbnail 2

Halo Engagement Ring Galileo 0.50ct of Lab Diamonds in 9K Gold

$9,900.00

$2,970.00

-70%NEW
Thumbnail 1Thumbnail 2

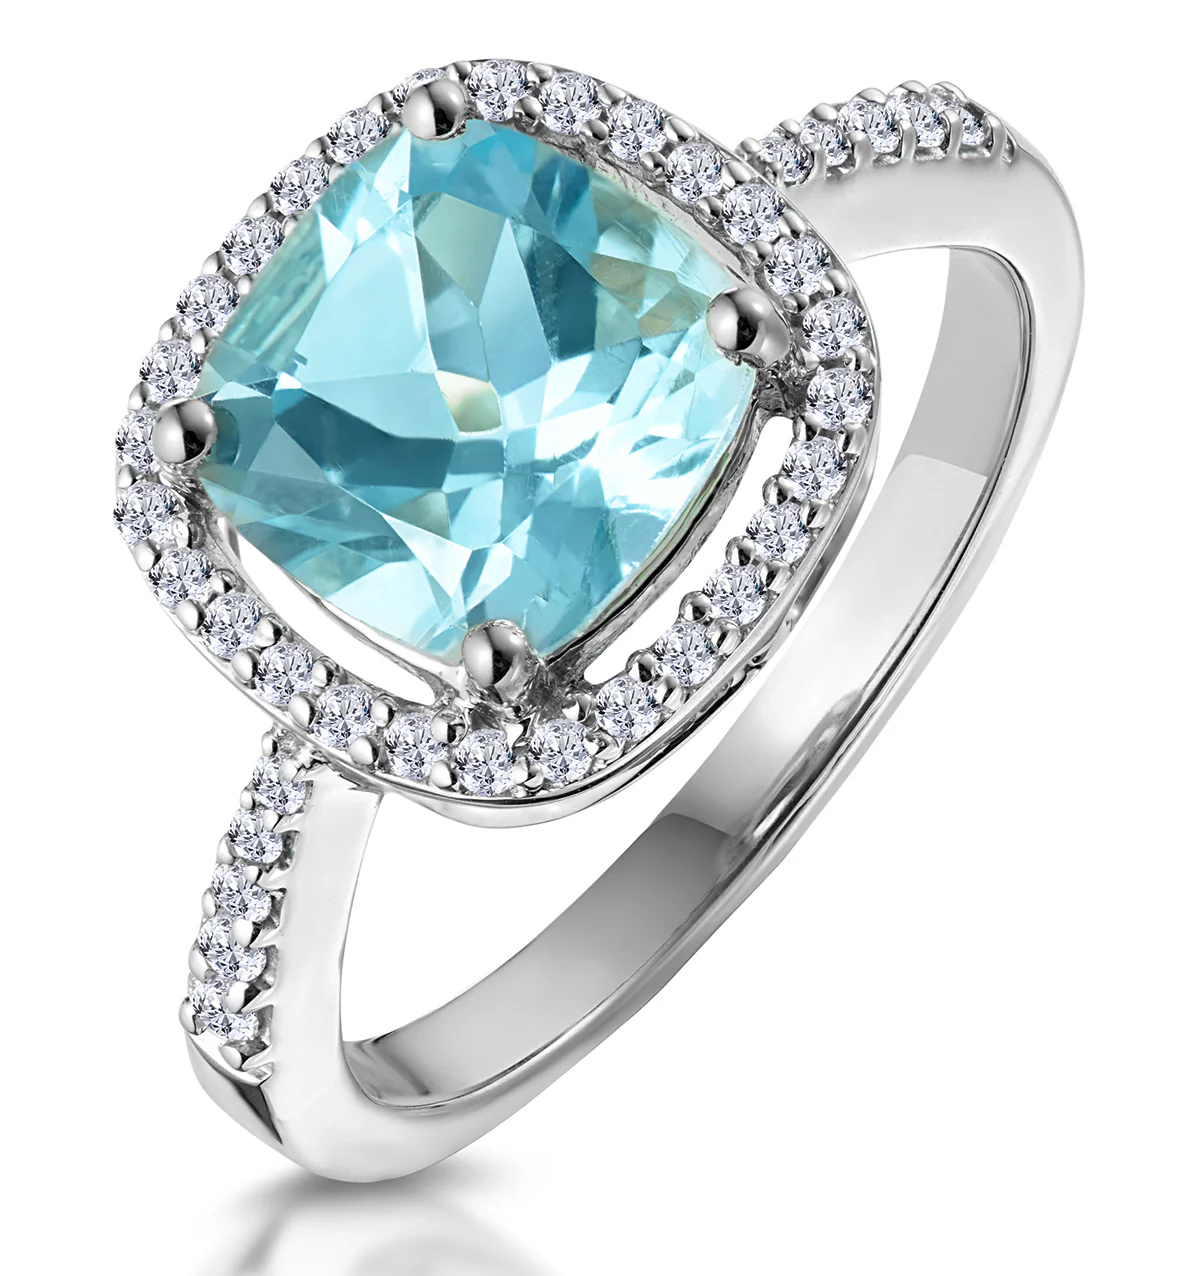
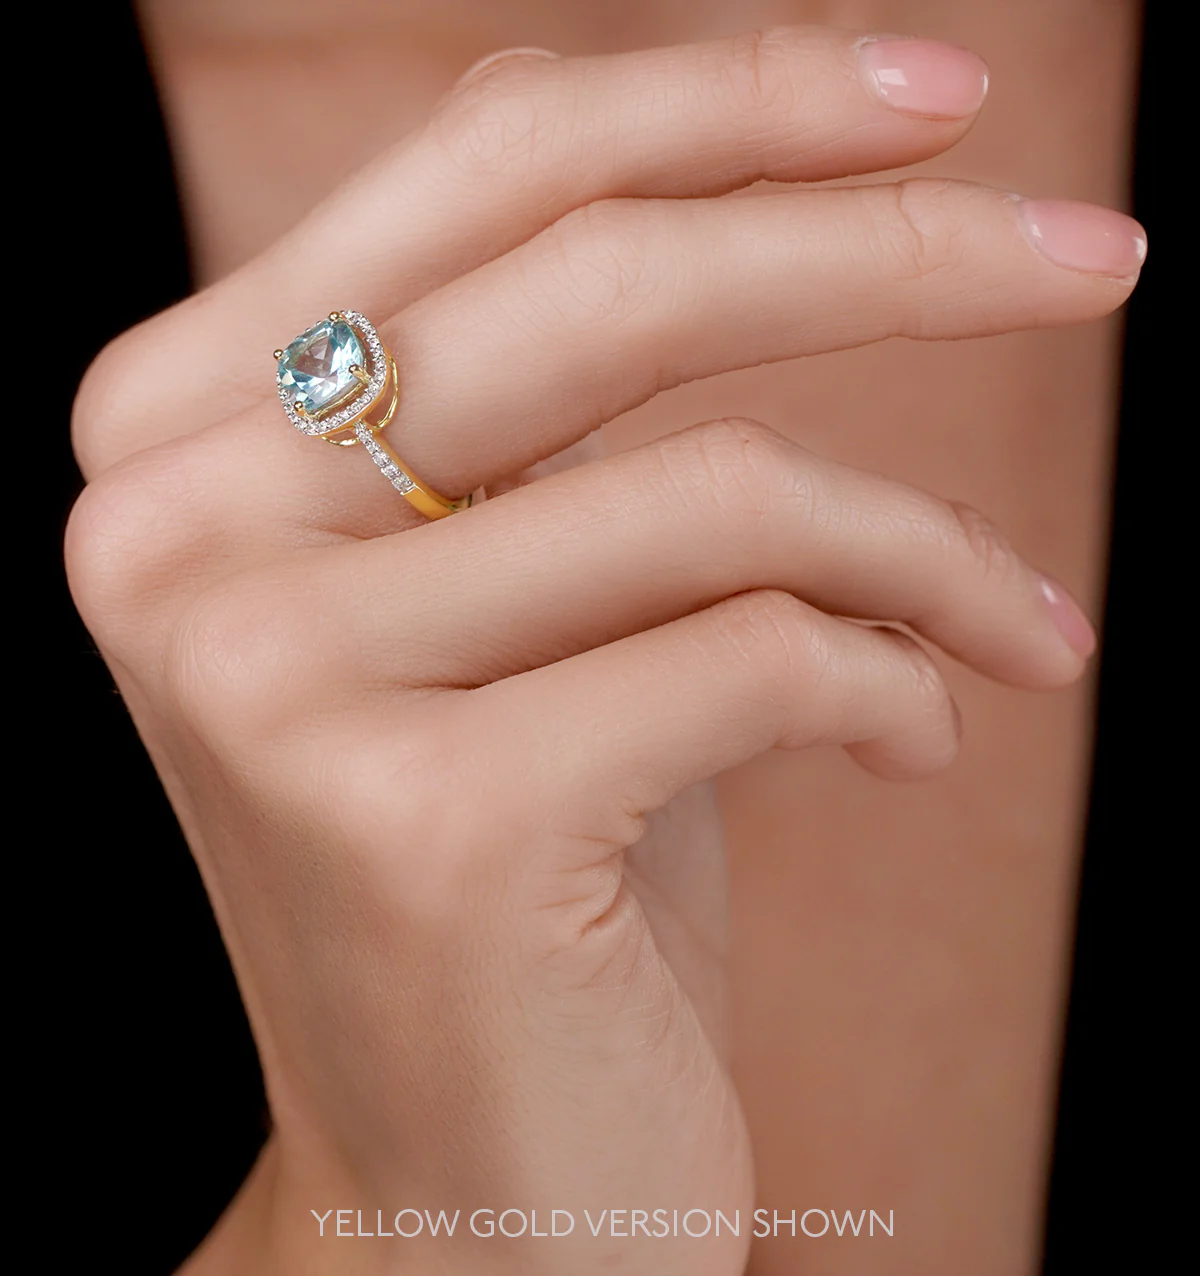
2ct Blue Topaz and Lab Diamond Shoulders Asteria Ring in 9K White Gold

$8,000.00

$2,400.00

-70%NEW
Thumbnail 1Thumbnail 2

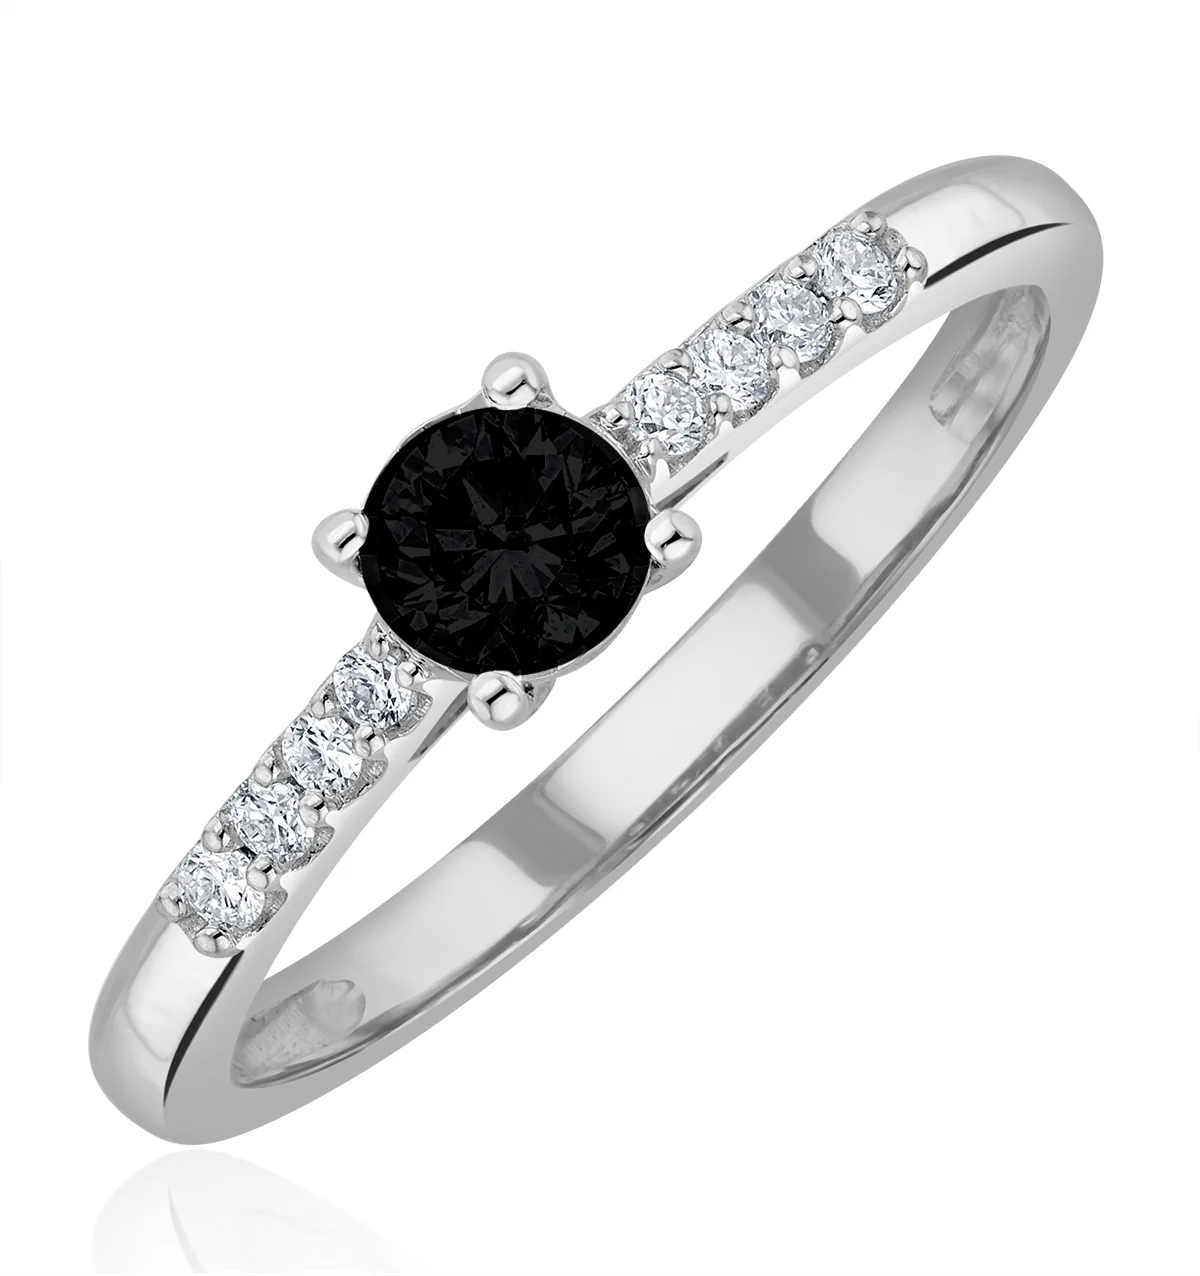
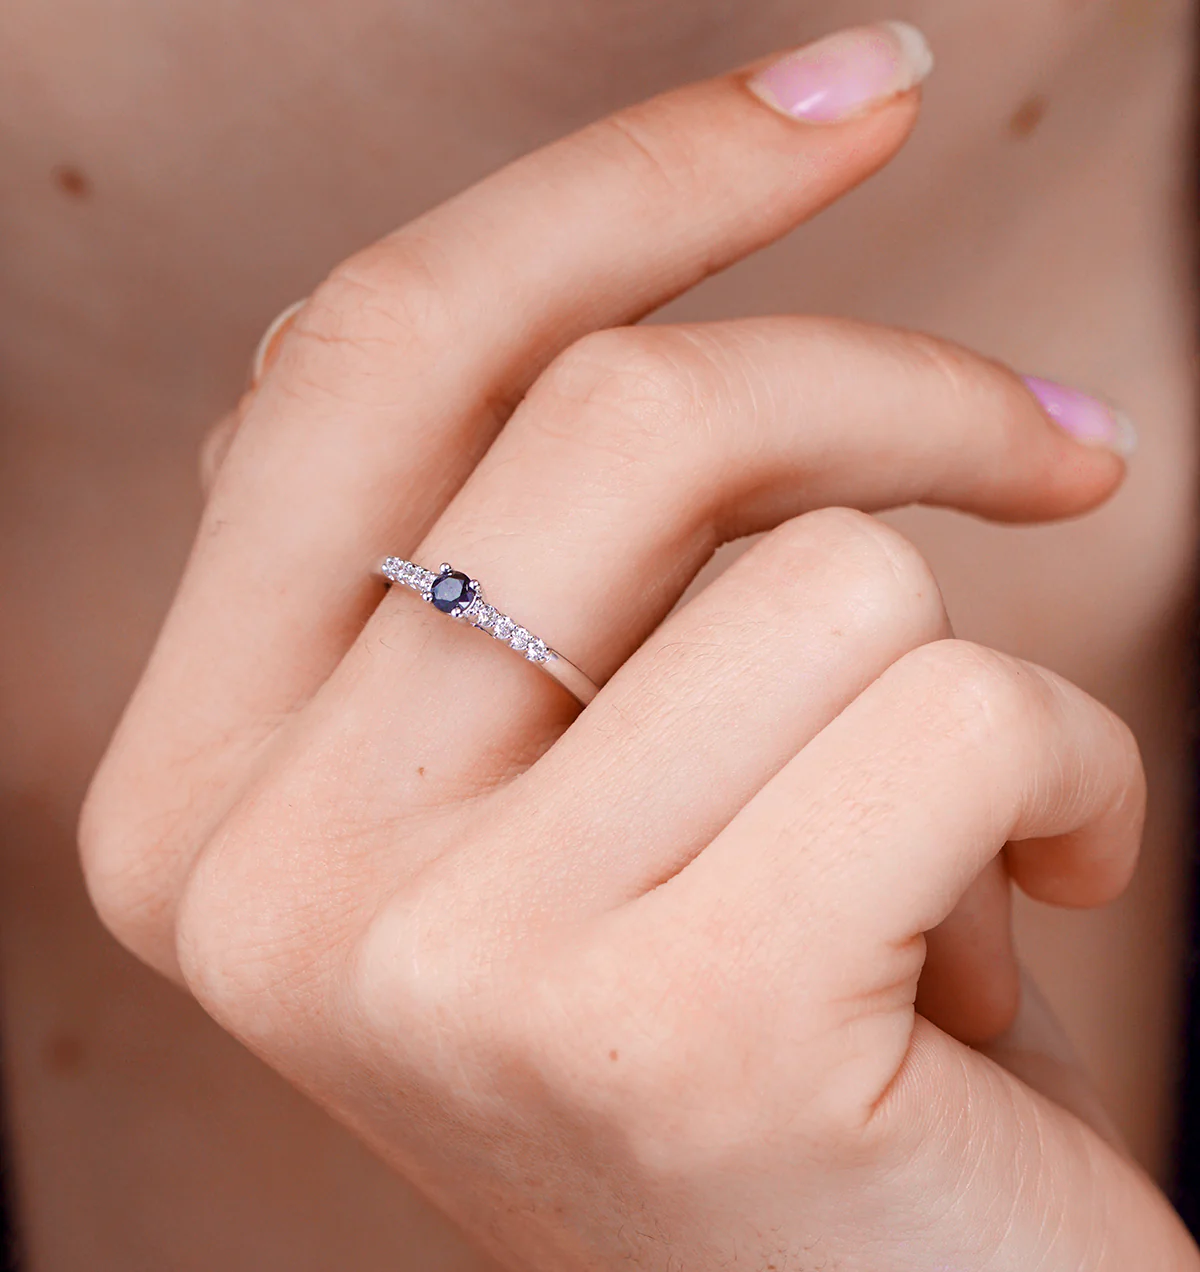
Black Diamond and Lab Diamond Engagement Ring 0.25ct in 9K White Gold

$97,100.00

$29,130.00

-70%NEW
Thumbnail 1Thumbnail 2

0.25ct Lab Diamond Cluster Solitaire Ring H/Si in 9K Gold

$890.00

$267.00

-70%NEW
Thumbnail 1Thumbnail 2

Cluster Ring 0.25ct Diamond 9K Yellow Gold - E5362

$600.00

$180.00

-70%
Thumbnail 1Thumbnail 2

Naomi Lab Diamond Engagement Ring 0.50ct H/Si in 9K Gold

$1,250.00

$375.00

-70%
Thumbnail 1Thumbnail 2

Naomi Lab Diamond Engagement Ring 0.50ct H/Si 9K White Gold

$1,250.00

$375.00

-70%

Mens Lab Diamond Signet Ring 0.50ct Emerald Cut Set in 9k White Gold

$995.00

$298.50

-70%

Mens 0.50ct Lab Diamond Signet Ring 0.50ct Round Cut Set in 9k Gold

$1,900.00

$570.00